Page 46
FW-E115-P-M_v0203_03_EN.docx
5.4.5 TEST AND ADJUST THE E115-P
This procedure assumes that the E115-P is serviceable.
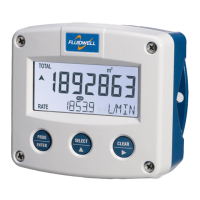
1. Make sure, the battery level
indicator does not show.
• The battery indicator is off.
Only replace with original
batteries supplied by the
manufacturer.
2. At the side, press the
PROG button for at least
7 seconds.
• The SETUP indicator
comes on continuously.
• SETUP-menu 1 is shown.
After a short period of time,
the backlight goes off. This is
normal behavior to save the
battery power.
3. At the side, press the
► button.
4. At the side, press the
▲ button.
• SETUP-menu 21 is shown.
5. At the side, press and hold
the PROG button for at
least 3 seconds.
• The display returns to
operation level and shows
the RUN indicator.
The E115-P is ready for daily
use.
• The cover is installed and
locked.
5.4.6 JOB CLOSE UP
1. Do a test of the optical keys to make sure the E115-P is ready for daily use.
2. Remove all tools, materials and equipment from the work area.
3. Make sure, the work area is clean.
4. Dispose of the (electronic) waste in accordance with the (inter)national, the manufacturer’s and
the plant owner’s standards and regulations.
5. For future reference, make a note in the maintenance log of the installation.
6. Ask the safety officer for permission to return the E115-P into service.
7. Return the E115-P into service.

 Loading...