120
Making an audio CD
This section describes how to make an audio CD (CD-DA) using a CD-RW/CD-R disc from mixed-down materials
created by the internal mixdown mode. See details for the internal mixdown mode on page xx.
The “Save PGM” menu in the Setup mode, which is used for saving song data, is also used for making an audio CD.
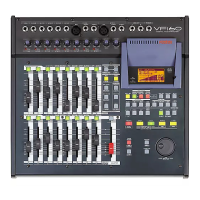
When making an audio CD using the VF160, mixed-down
materials on the current drive are recorded to a CD-RW/
CD-R disc (by the CD-DA format).
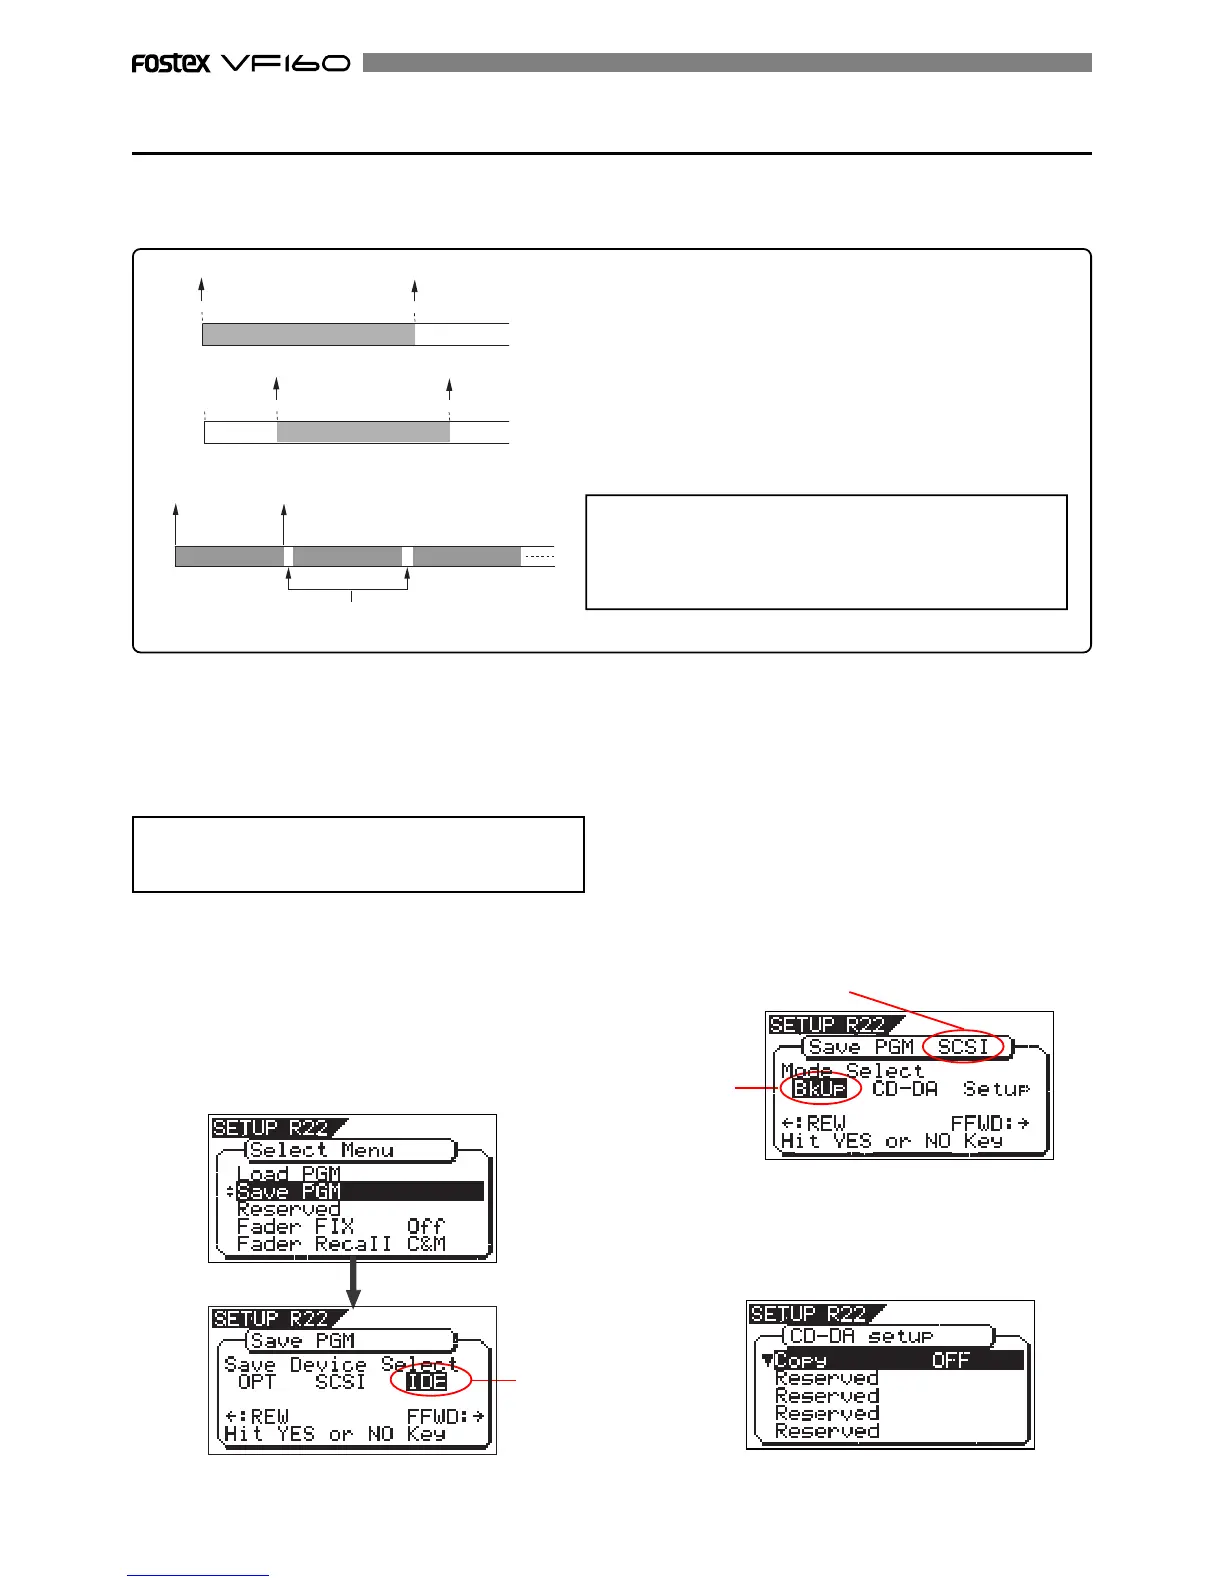
Only data between the CLIPBOARD IN and CLIPBOARD
OUT points of the mixed-down program is recorded to a
CD-RW/CD-R disc. You can record more than one material
to a disc successively. In this case, a 2-second silent space
is automatically inserted between materials as shown in
Figure-2.
approx. 2-second silent space
CLIPBOARD
IN
point
CLIPBOARD
OUT
point
Program XX data
Program YY data
Program ZZ data
<Figure-2>
<Note>
If an audio CD is made using a CD-RW disc, it can be played
back only by a player that supports CD-RW playback. You
cannot playback such a disc by a conventional CD player
that does not support CD-RW playback.
In the following operations, we assume that there are
one or more programs which are mixed down by the
internal mixdown mode on the current drive, while
an external SCSI-type or Fostex optional CD-RW drive
is connected to the VF160.
1. After turning on the power of both the VF160 and a connected
CD-RW drive, load a non-recorded disc to the CD-RW drive.
2. Press the [SETUP] key to enter the Setup mode.
3. Use the [JOG] dial to select (highlight) the “Save PGM” menu
and press the [ENTER/YES] key.
The display shows the screen for selecting the device to
which the data is saved. “IDE” flashes.
<Note>
Key operations of the VF160 should be done after com-
pleting access to a CD-RW/CD-R disc.
Flashing
Flashing
5. Use the [JOG] dial to select “Setup” and press the [ENTER/
YES] key.
The display shows the “CD-DA Setup” screen, on which
you can select the copy protection setting (see the next
page).
4. Press the [REWIND] key/ [F FWD] key to select "IDE" or
"SCSI" and press the [ENTER/YES] key.
Select "SCSI" if a SCSI-type CD-RW drive is used. Select
"IDE" if the optional CD-RW drive is used.
By pressing the [ENTER/YES] key, the display shows the
CD-RW drive name, and then changes to the save mode
select screen where "Bkup" (Backup) flashes.
To carry out making an audio CD, select “CD-DA”.
If you need to change the copy protection setting (the
default setting is “OFF”), select “Setup” (for setting writing
conditions). If you make an audio CD without changing
the copy protection setting, skip steps 5 and 6 below and
go to step 7.
ABS 0
ABS 05M 00S 00F
mixed-down song data
CLIPBOARD OUT point
CLIPBOARD IN point
ABS 00M 10S 00F
ABS 06M 00S 00F
CLIPBOARD OUT point
CLIPBOARD IN point
ABS 0
mixed-down song data
<Figure-1>
"SCSI" or "IDE" is shown according to the drive used.


 To Next Page