2
12
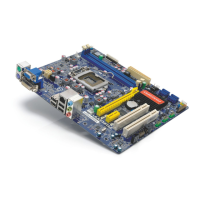
Installing a Memory
If you take a look at front side of memory module, it has asymmetric pin counts on both sides sepa-
ratedbyanotchinthemiddle,soitcanonlytinonedirection.Followthestepsbelowtocorrectly
install your memory modules into the sockets.
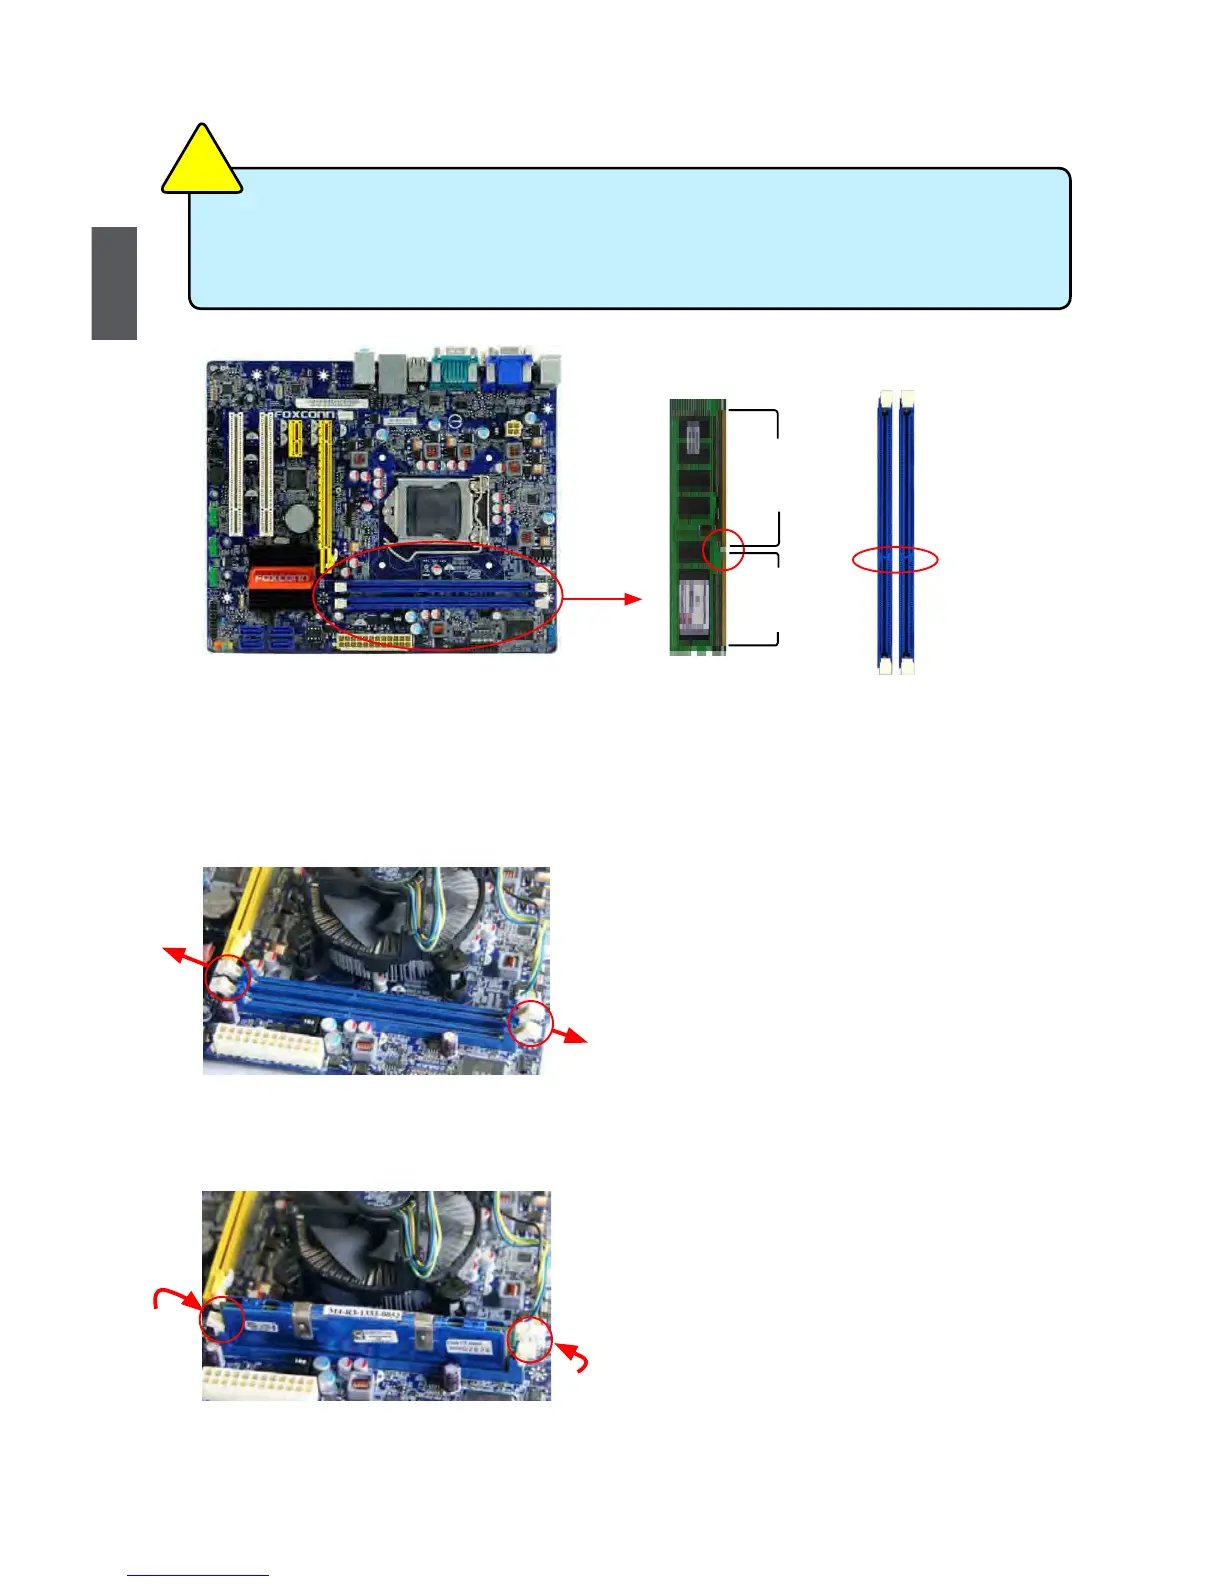
Step 1:
Spread the clips at both ends of the memory socket.
Place the memory module onto the socket, then put
your ngers on top edgeof the module, and push
itdownrmlyandseatitverticallyintothememory
socket.
Step2:
The clips at both ends of the socket will snap into
place when the memory module is securely insert-
ed.
Notch
Before installing a memory module, make sure to turn off the computer and unplug the
power cord from the power outlet to prevent damage to the memory module. Be sure
to install DDR3 DIMMs on this motherboard.
C
AUTION
!
96-Pin
144-Pin
 Loading...