87
EN-US
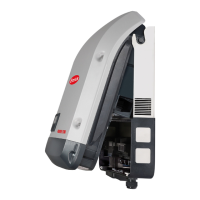
Mount Datcom lid using two 5x25 TX25
screws (2)
[2.5 Nm]
Set the DC disconnector (1) to the I po-
sition
Replacing the DC
Disconnector
Removing the DC Disconnector:
WARNING!
Follow the safety rules (see the begin-
ning of the "Safety" section)
Remove the inverter from the wall bra-
cket (see "Opening and Closing the
Device")
WARNING!
Take safety precautions.
Observe the safety rules – DC voltage pre-
sent!
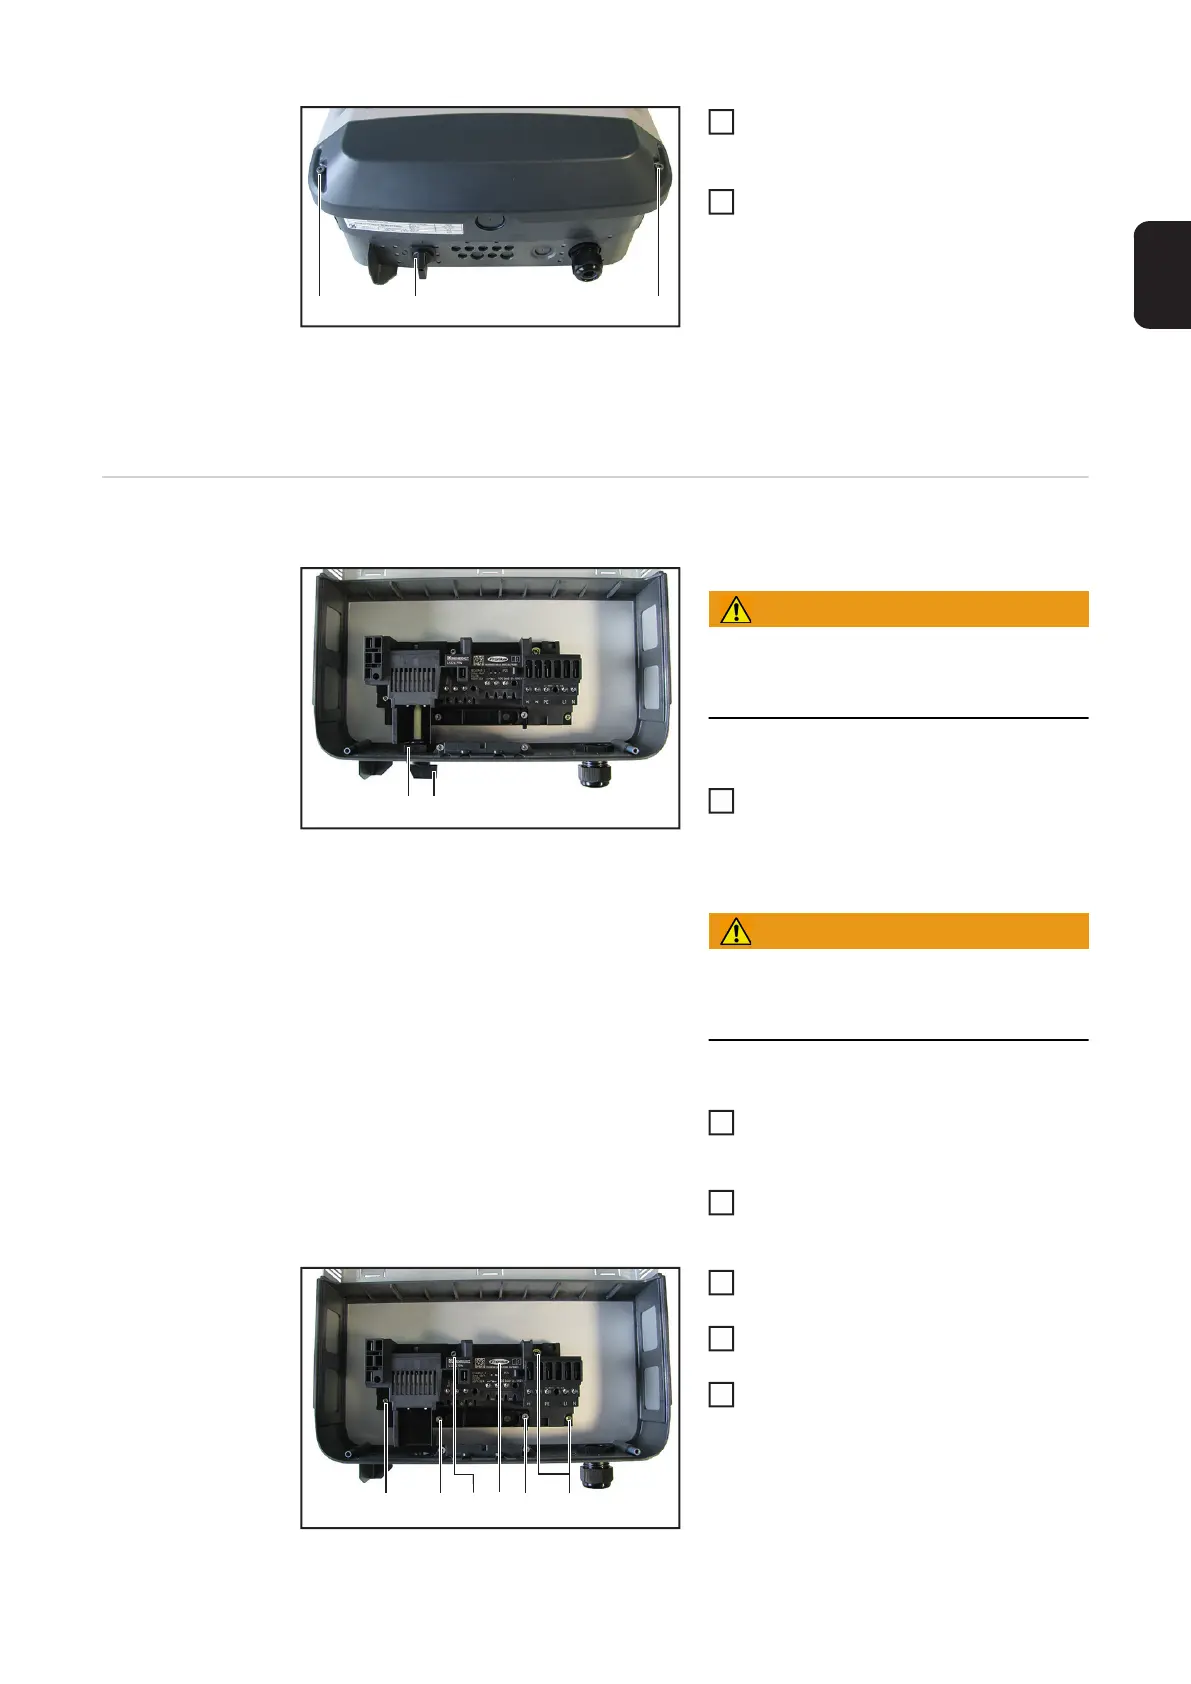
Disconnect the AC and DC leads from
the terminal block of the DC dis-
connector
Remove the retaining clip (1) and con-
trol switch with shaft (2)
Loosen the two 4x20 TX20 screws (3)
and remove the strain-relief device
Undo the four 4x9 TX20 screws (4) and
remove the DC disconnector
Remove the hidden fuse (5)
Installing the DC Disconnector:
(2) (2)(1)
8
9
(2)(1)
1
2
3
(3)(3)(4) (4) (4)(5)
4
5
6
 Loading...