93
EN-US
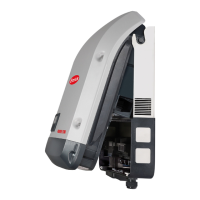
Use a slotted screwdriver to undo the
expanding rivets (2)
Remove the internal fan
Inserting the Internal Fan:
NOTE!
Ensure the air is flowing into the device!
Insert the internal fan
Use a slotted screwdriver to press in
the expanding rivets (2)
Thread in the fan cable (1) and connect
to SymoPS
Close the inverter and place it in the
wall bracket (see "Opening and Clo-
sing the Device")
After switching on the inverter, carry out a
fan test via the display (see Operating Inst-
ructions)
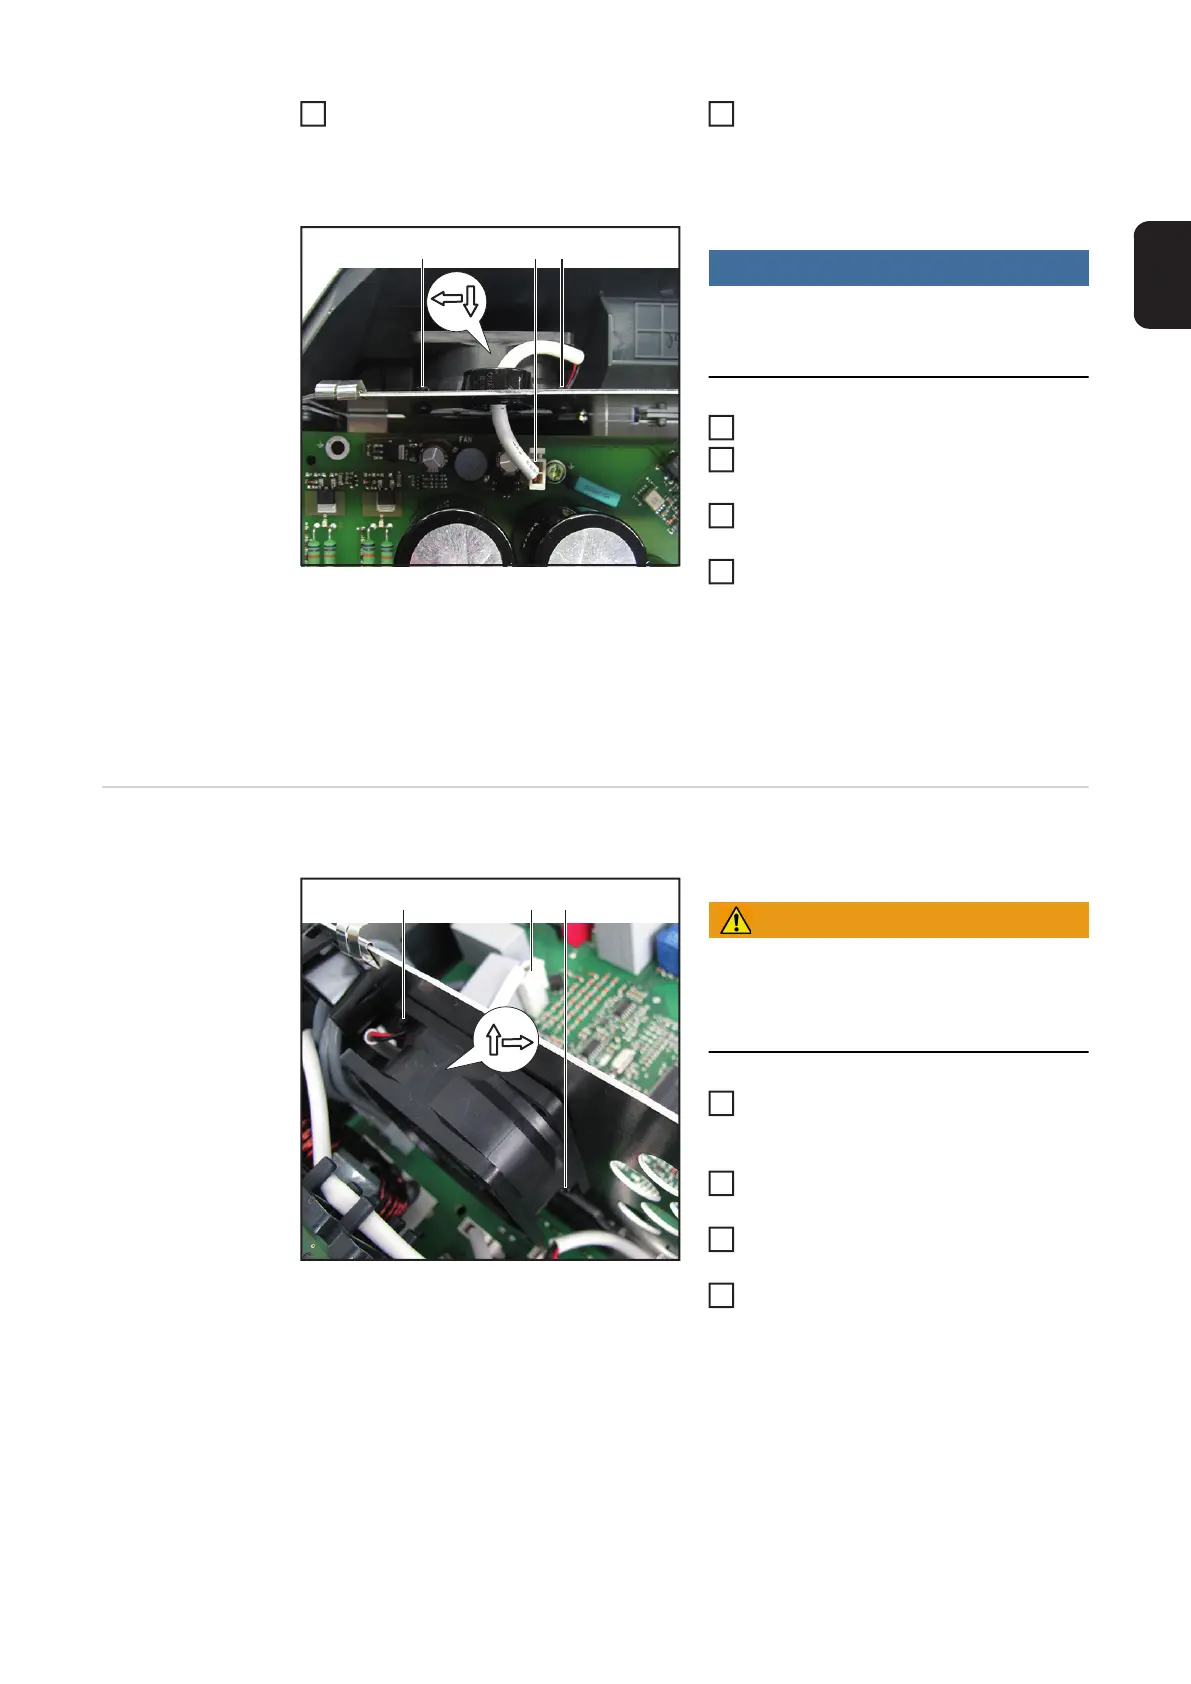
Replacing the 8k2
Internal Fan
Removing the Internal Fan:
WARNING!
Follow the safety rules (see the begin-
ning of the "Safety" section)
Take the inverter out of the wall bra-
cket and open it (see "Opening and
Closing the Device")
Disconnect and pull out the fan cable
(1) from the SymoPS
Use a slotted screwdriver to undo the
expanding rivets (2)
Remove the internal fan
Inserting the Internal Fan:
3 4
(1) (2)(2)
1
2
3
4
(1)
(2)(2)
1
2
3
4
 Loading...