44
GPr Gas pre-flow time
GPo Gas post-flow time
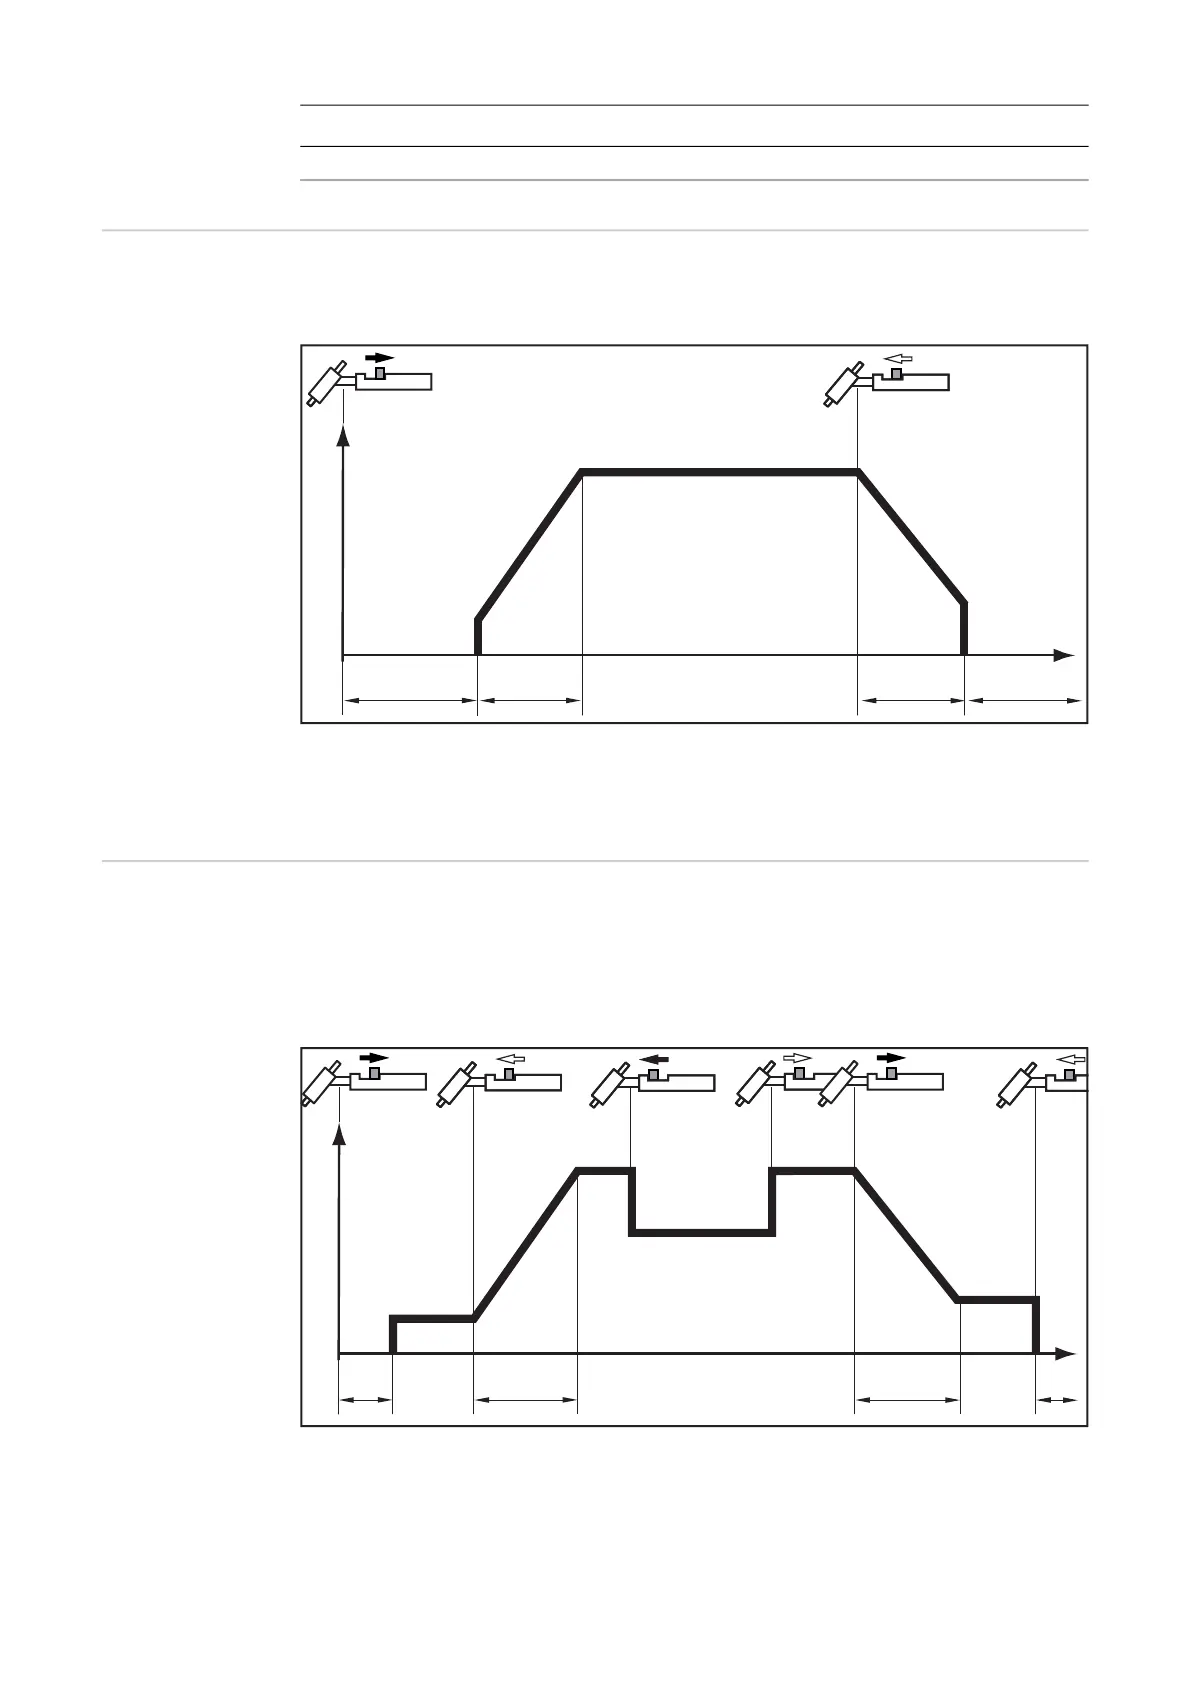
2-Step Mode - Welding: Pull back the torch trigger and hold it in this position
- End of welding: Release the torch trigger
2-step mode
The Setup menu can be used to set a starting current time (t-S) and a final current time (t-
E) for 2-step mode.
4-Step Mode - Start of welding with starting current I
S
: pull back the torch trigger and hold it in this
position
- Welding with main current I
1
: release the torch trigger
- Lowering to final current I
E
: pull back the torch trigger and hold it in this position
- End of welding: release the torch trigger
4-step mode
*) Intermediate lowering
I
t
I
1
GPoGPr t
down
t
up
I
t
I
1
GPr
I
S
t
down
t
up
I
E
I-2
GPo
I
1
*)