5. VIDEO PLOTTER OPERATION
5-4
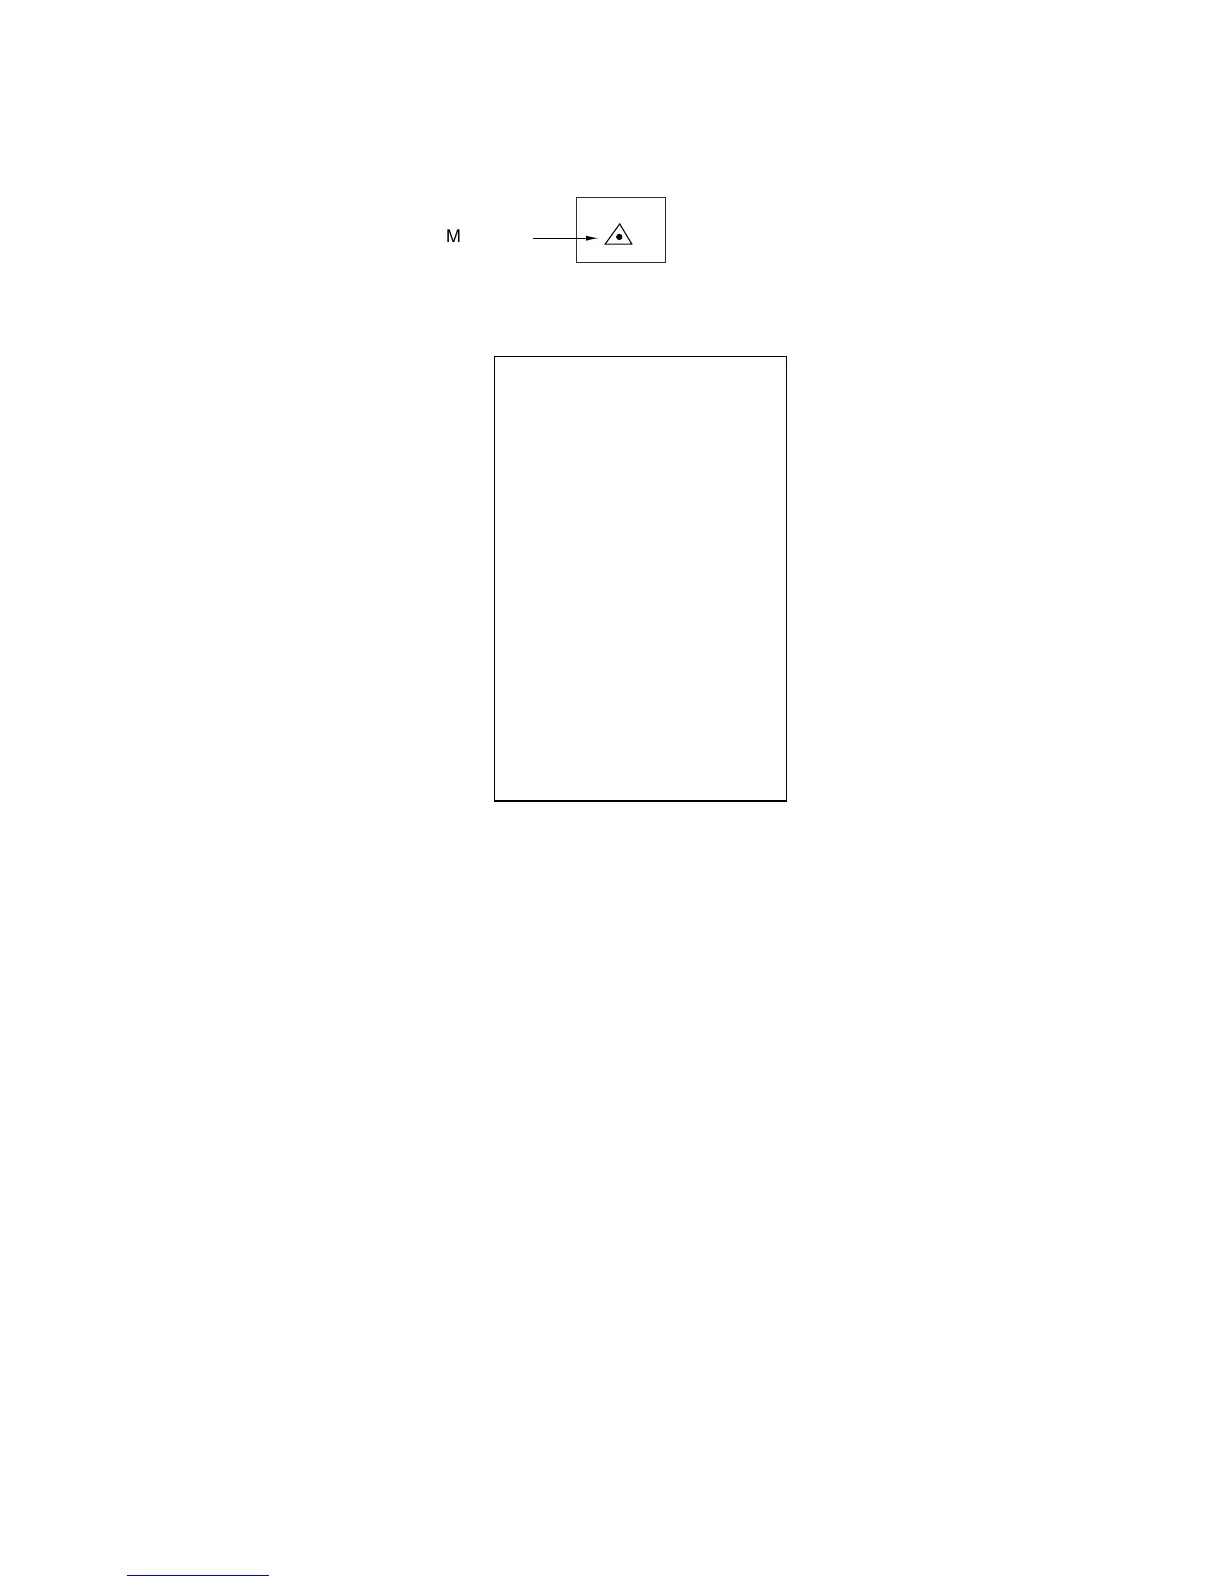
[MARK MENU]
1 ORIGIN MARK STAB
GND/SEA
2 MARK KIND
ORIGIN MARK(No.)/
ORIGIN MARK(SYM)/
MAP MARK/
WP 1~50/
WP 51~100/
WP 101~150/
WP 151~198/
OWN SHIP SHAPE
9 MAP DISPLAY
OFF/ON
0 MAP MARK COLOR*
RED/GRN/BLU/YEL
CYA/MAG/WHT
5.4.2 Inscribing radar map marks and lines
1. Roll the trackball to choose the MARK box at the left side of the display.
MARK
>
Mark type
-> +
MARK box
2. Push the right button to open the MARK menu.
MARK menu
3. Roll the wheel to choose 2 MARK KIND and then push the wheel or the left
button.
4. Roll the wheel to choose MAP MARK and then push the wheel or the left
button.
Note: For non-IMO type radars you may specify mark color by choosing 0
MAP MARK COLOR, pushing the wheel and the choosing color
desired.
5. Push the right button to close the menu. The guidance box now reads
“MARK SELECT / MARK MENU.”
6. With the cursor choosing the MARK box, roll the wheel to choose the mark or
line type you wish to inscribe and then push the left button. See the next
page for available marks.
7. Push the left button again. The cursor jumps into the effective display area
and the guidance box now reads “MARK / EXIT.”
8. Roll the trackball to place the cursor on the location desired. (You can see the
range and bearing from own ship to the cursor location by monitoring the
bearing and range indication just below the MARK box.)
9. Push the left button to inscribe the mark or line point.
*: NOT available
on IMO radar.