47
The servo submenu includes two features:
Real-time bar-graph display to demonstrate exactly what commands the
transmitter is sending to the servos. (This can be particularly handy in setting
up models with complicated mixing functions, because the results of each
Servo cycle function
Adjustability:
servos to be cycled.
GOAL of EXAMPLE: STEPS: INPUTS:
6 from VR
SWITCH C.
Complete desired programming
function. (Ex: in
AUX-CH
, move ch. 6 to
SWITCH C)
See
AUX-CH
for details. (p. 43.)
Open the
SERVO
function.
for 1 second.
to
SERVO
.
Move each control to see the operation.
(Ex: SWITCH C in all positions)
C to center position.
Note change in position of ch. 6 servo.
Cycle the channel 6 servo.
Prepare servos to be cycled.
Plug in servos. POWER ON.
Open the servo cycle function.
to
GRAF>
.
Set up cycle mode. (Ex:
JMP
mode)
to
TYPE
. to
JMP
.
Choose channels to be cycled.
(Ex: ch. 6)
to
CH6
. to
ACT
.
Cycle the channel 6 servo.
to
TEST
.
End cycling and close.
Where next? Set up dual/triple rates and exponential (
D/R
,
EXP
): see p. 39.
Set up desired programmable mixes: see p. 65.
Set up dual aileron servos: see p. 52.
Set up dual elevator servos: see p. 54.
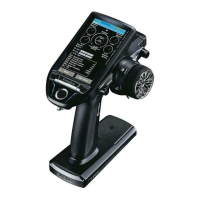
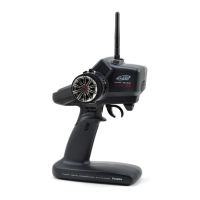
SERVO
display and cycle submenu: