GAT ECO.Lock 7xxx F/ISO
Configuration
44
HB_GAT-ECOLock-7xxxFISO--EN_12
www.gantner.com
► Click on the “(2) Configure” button (2 in Figure 6.4).
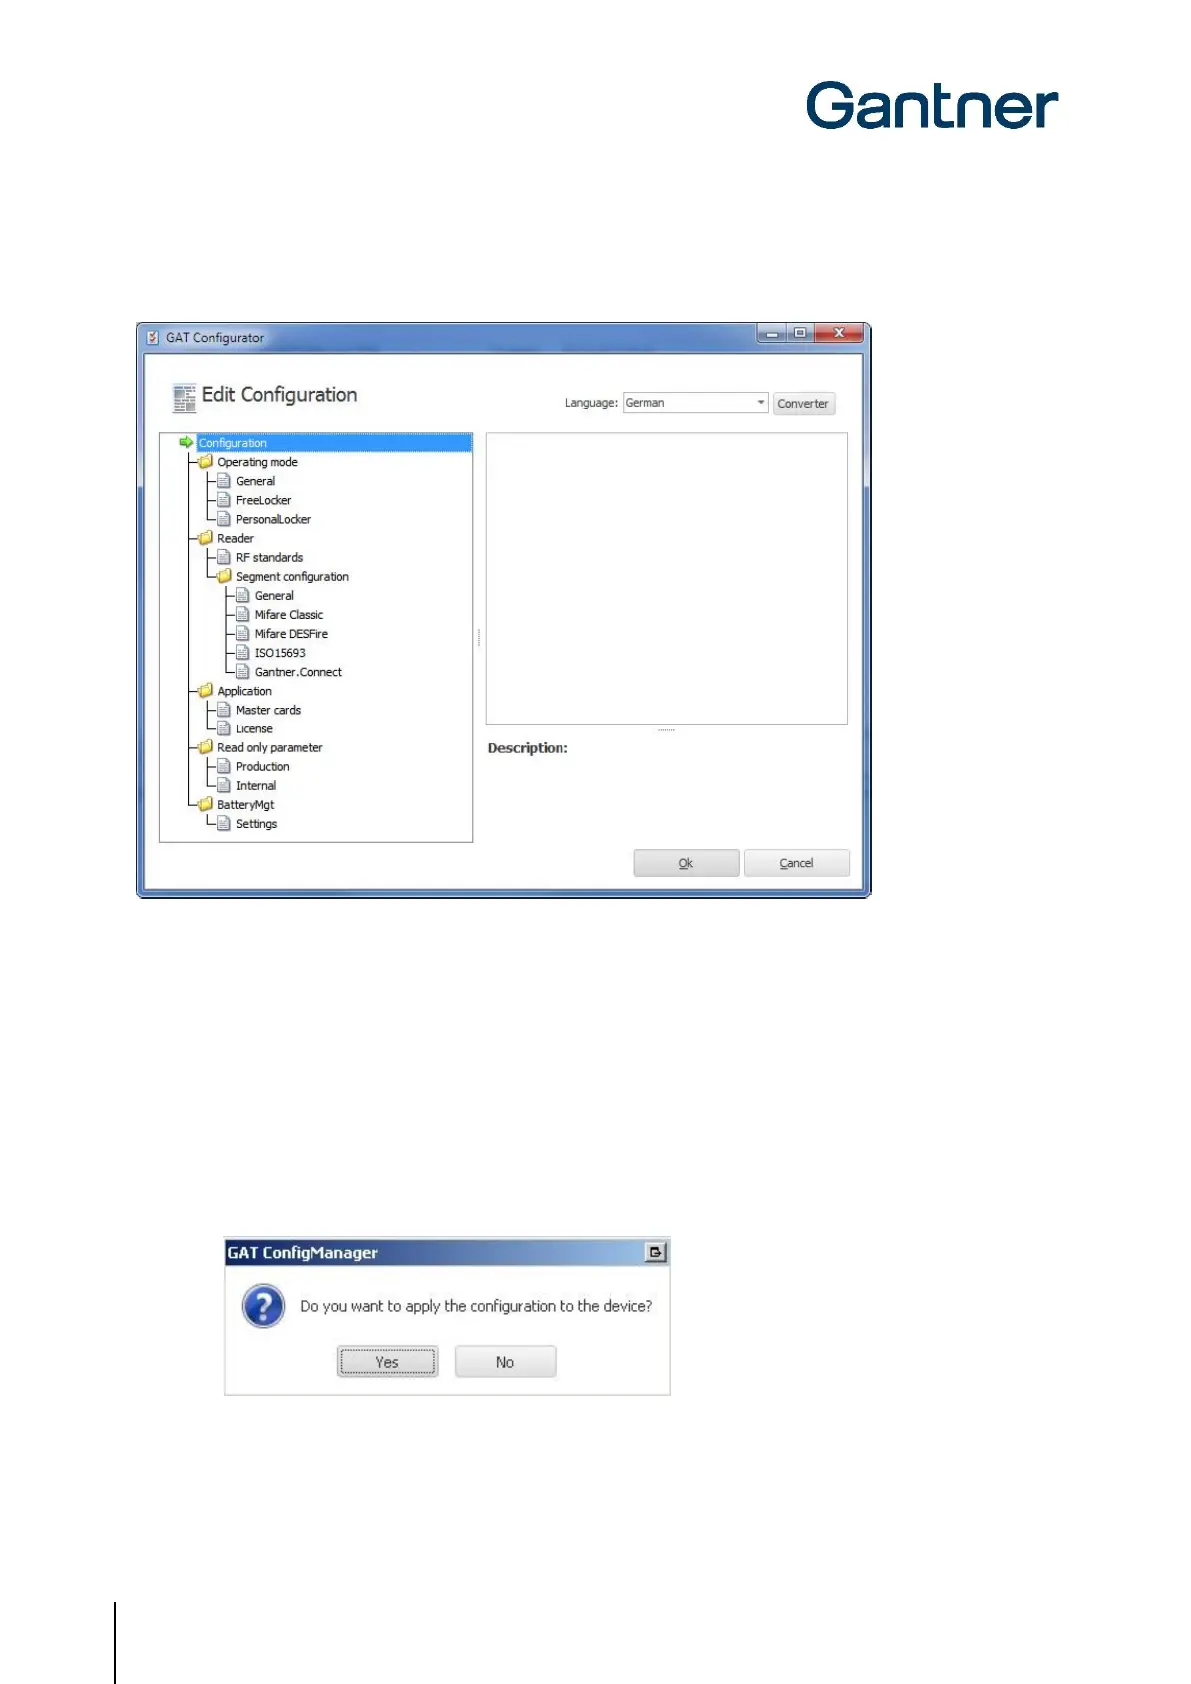
o The “GAT Configurator” window opens (Figure 6.5 ).
Figure 6.5 – GAT Configurator window
6.4 Upload Configuration Settings to the GAT ECO.Lock 7xxx F/ISO
When you are finished configuring the GAT ECO.Lock 7xxx F/ISO settings in GAT Config Manager, it is important to
finalize the configuration by uploading the file to the GAT ECO.Lock 7xxx F/ISO. Complete the following steps to
finalize the configuration.
► Click on “OK” in the GAT Configurator Window (Figure 6.5 ).
o The confirm upload window opens.
► Click “Yes” to apply the configuration to the lock.
o The configuration settings are uploaded to the GAT ECO.Lock 7xxx F/ISO.
 Loading...