FP1500 Installation, Configuration and Commissioning Manual 25
If more detailed information is required about
the type and address of each device of the
loop, select option 2 <ELEMENTS> (See
section 4.1.5.).
From this point on, the configuration can be carried out using the software (external PC) or
continued with the fire panel menu.
4.1.4 Configuring a zone
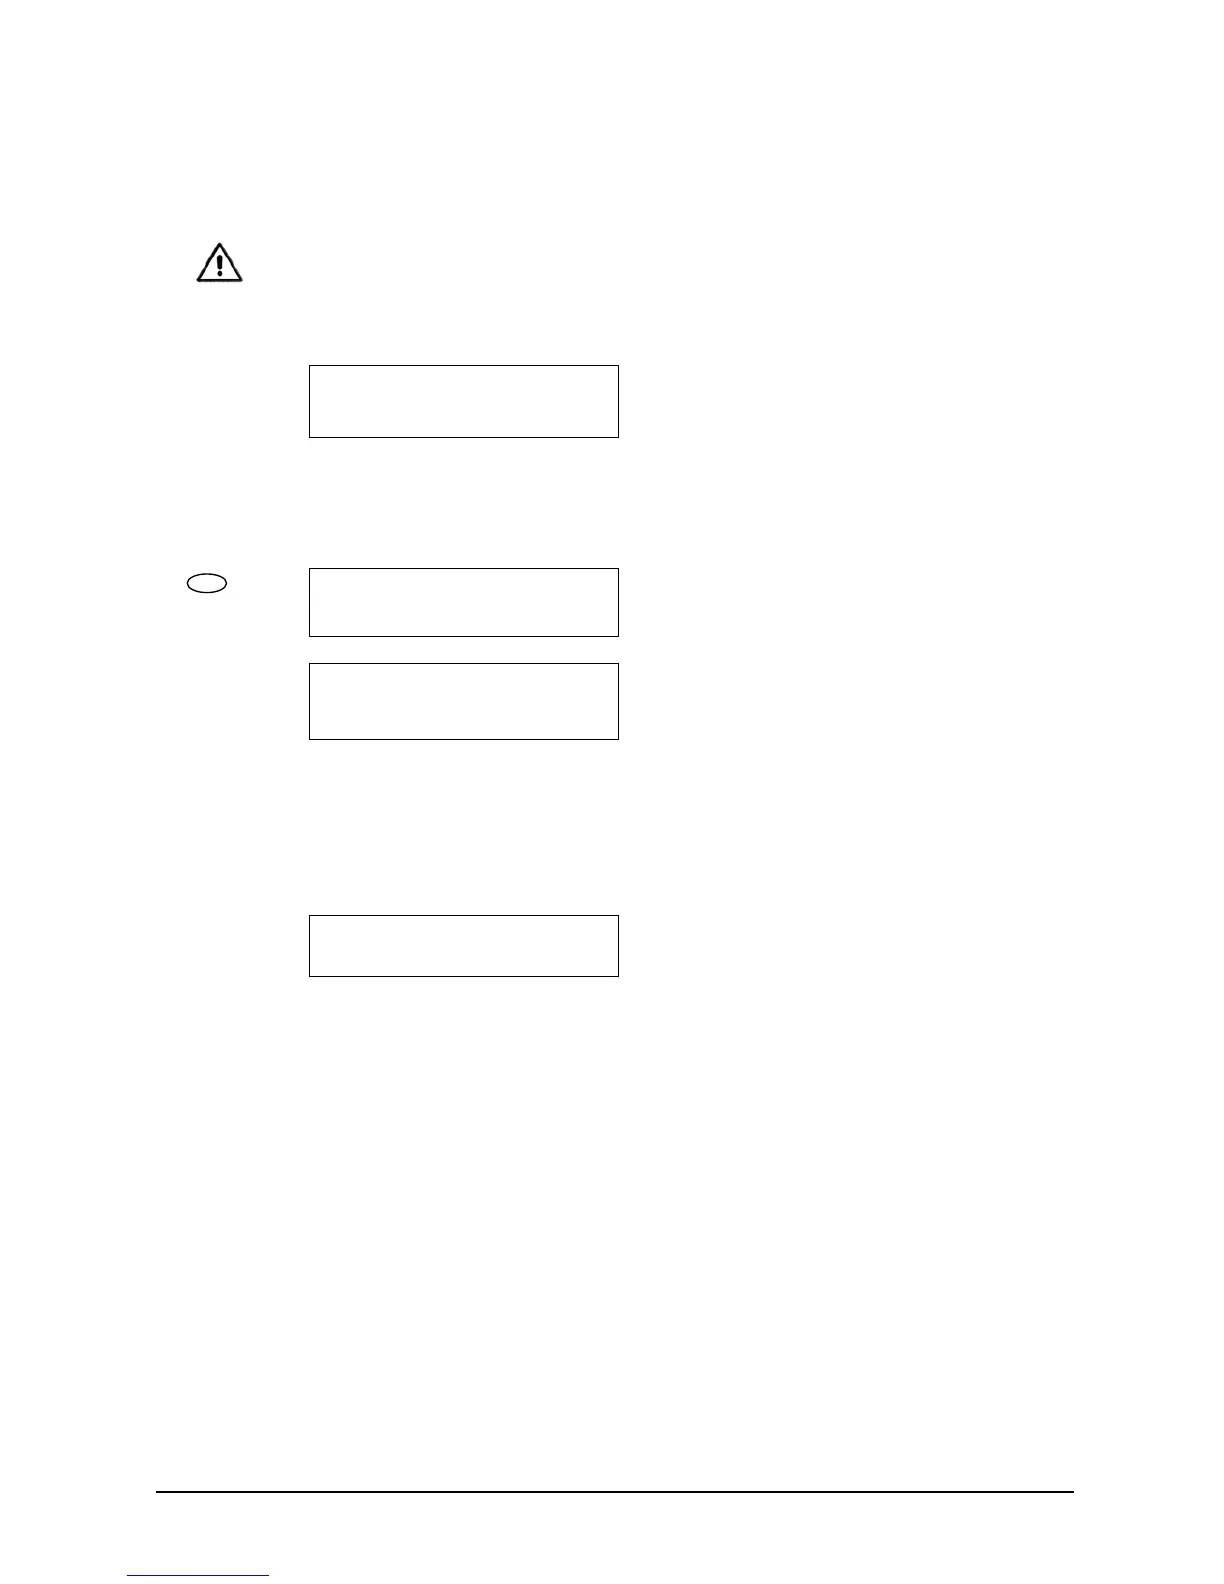
[SYSTEM] [# Exit]
1. Loop 1 4. Loop 4 7. Sirens
2. Loop 2 5. Loop 5 8. Relays
3. Loop 3 6. Peripherals 9. PC
The installation can be divided into zones. The
system enables the setting up of up to 20 zones
per panel. By default, all the devices are
allocated to zone 1. This makes it possible to
organise the installation correctly and enable
optimum identification of each element
connected to the panel.
To set up the zones, proceed as follows:
[Loop 1] [# Exit]
1. Zones 4. Calibrate
2. Elements 5. Prog. Dir.
3. Auto-search
From the [SYSTEM] screen, select the loop you
wish to configure.
E.g. Option 1<Loop 1>, select option 1 <Zones>
All the devices of Loop 01
From the address [000]
To the address [255]
Are in Zone [001]
This screen indicates the addresses of all the
elements in this zone.
E.g. The devices of Loop 1 with addresses
between [001] and [255] are in zone [001]
To change the values, use the arrow keys to go
to the text to be modified. The text flashes and
the new data may be supplied
When the new values have been inserted,
confirm with the <ENTER> key. The changes
are made instantly.
Zone 001 is called
[Write the name of the zone]
If you press <#>, the operation is cancelled and
the screen returns to the previous menu.
Pressing the <ENTER> key automatically
moves on to the next zone to be defined until
there are no further devices to be allocated.
Once all the elements have been allocated,
press the <ENTER> key to introduce the texts
for describing the zones.
Each zone may have a description allocated to
identify the area it covers. This text appears on
the screen if a fault or alarm is detected at any
of the devices allocated to the zone.
The description of the zone can be changed by
typing in letters and numbers or pre-defined
words (See section 4.1.5 Introduction and
modification of the location text).
1