PROTEUS XR/a
GE MEDICAL SYSTEMS Operator Manual
REV 11 DIRECTION 2259724-100
9-7
9-4-3 Cassette Removal
Note: It’s a two-hand operation cassette tray.
Procedure
1. Extract the cassette tray pulling by its handle.
2. Pull up the tightening lever and remove it from the cassette, which remains
free.
3. Remove the cassette.
9-4-4 AEC Detector Areas
The SG120 may operate with an Ion Chamber Detector. The three field pattern
on the front panel of the SG120 corresponds to the three detection areas for the
Ion Chamber Detector.
9-4-5 Alignment
It is important that the X-ray tube is accurately centered with the Bucky
transversely. If the alignment is not accurate, density cut-off at the edges of the
film and appearance of grid patterns may be found.
The alignment is not critical when an anti-diffusion grid is used. In this case, tilted
tube techniques may be used without undue cut-off.
Note: The cassette tray handle is marked to indicate the vertical center of the
bucky. To assure the bucky is vertically aligned with the X-ray beam, move
the bucky or the tube in order the collimator light is aligned with this center
mark.
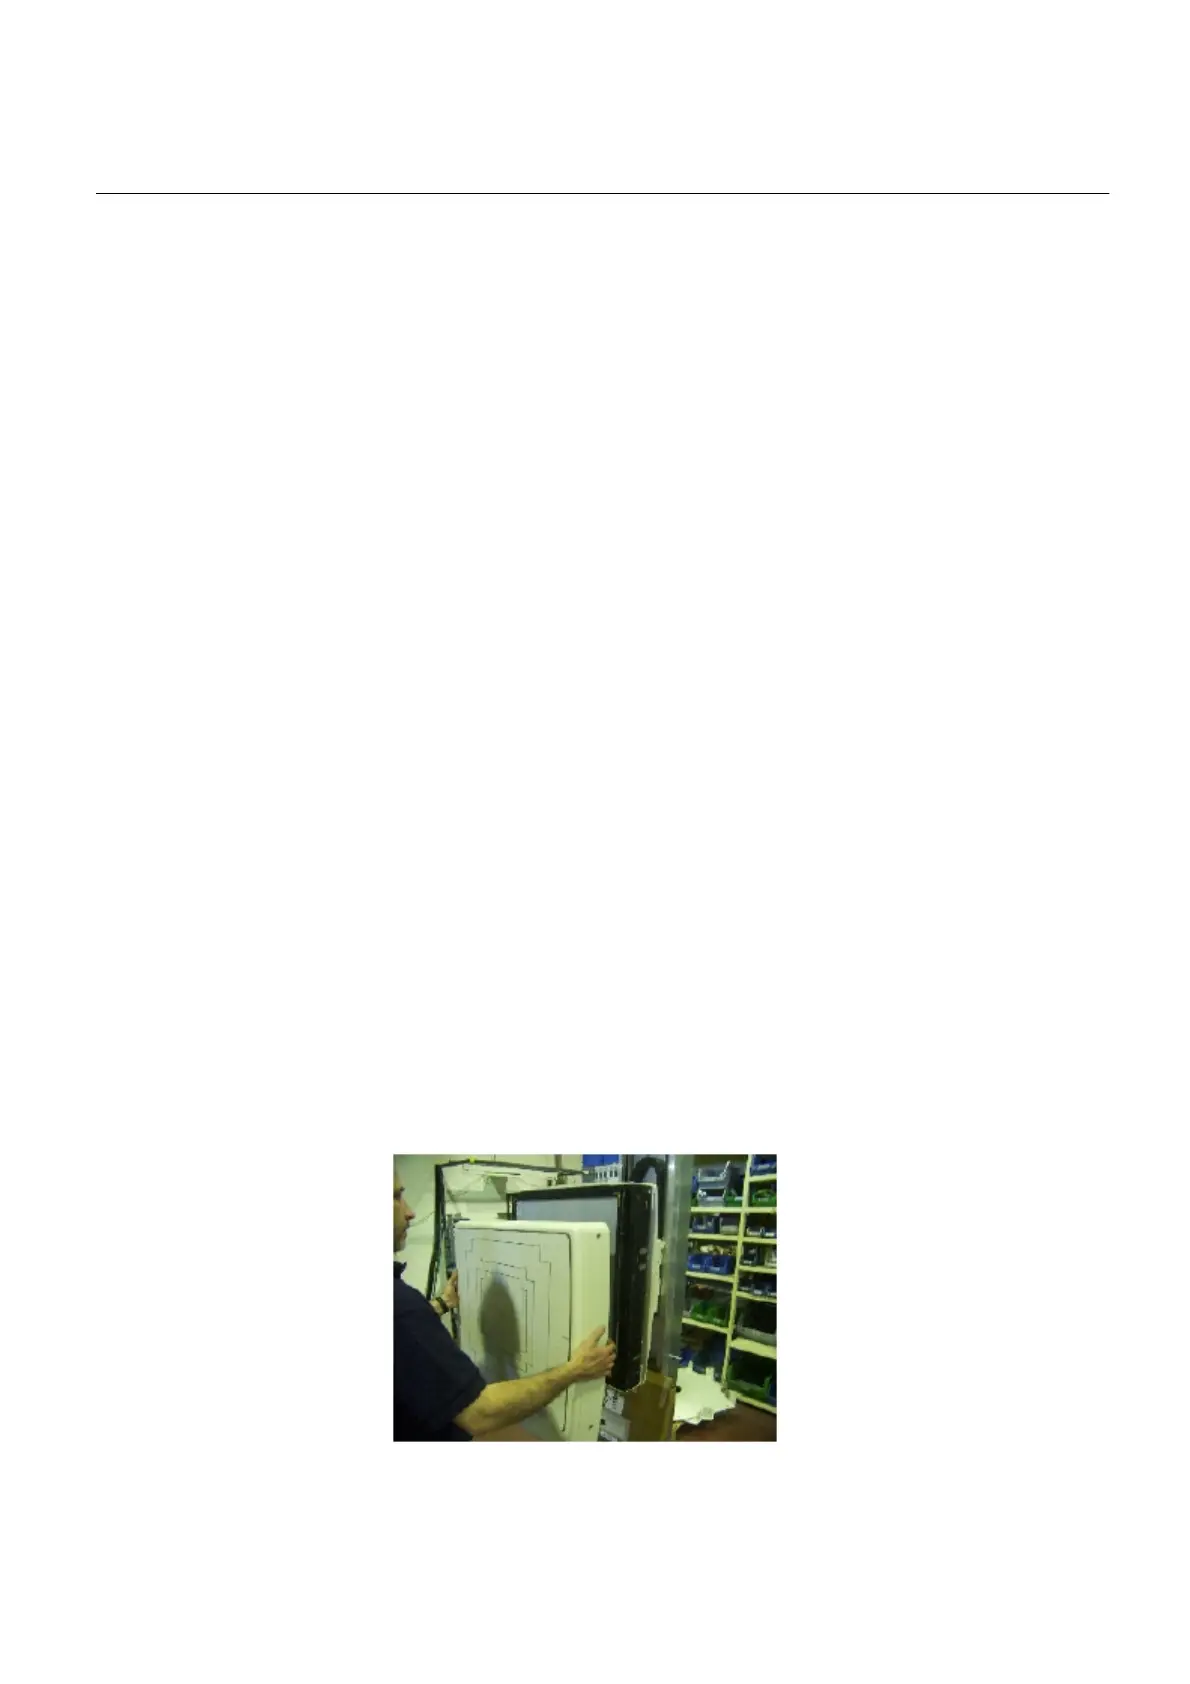
9-4-6 Frontal Panel
The bucky assembly mechanism and grid can be easily accessed by removing
the front panel of the SG120. Loosen the screws that hold the front panel to the
bucky support and remove it with care.
FOR TRAINING PURPOSES ONLY!
NOTE: Once downloaded, this document is UNCONTROLLED, and therefore may not be the latest revision. Always confirm revision status against a validated source (ie CDL).

 Loading...