Do you have a question about the Geeetech Prusa I3 and is the answer not in the manual?
Assemble the port and starboard sides of the chassis using printed corners, rods, and bearings.
Assemble the Y idler by attaching bearings to a printed piece with a screw and nut.
Connect front and back chassis parts with threaded rods, nuts, washers, and the Y idler.
Complete the chassis assembly, ensuring all components are aligned and secured.
| Build Volume | 200 x 200 x 180 mm |
|---|---|
| Layer Resolution | 0.1-0.3 mm |
| Filament Diameter | 1.75 mm |
| Nozzle Diameter | 0.4 mm |
| Print Technology | FDM (Fused Deposition Modeling) |
| Connectivity | SD card, USB |
| Supported Materials | PLA, ABS, Wood |
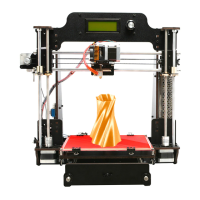
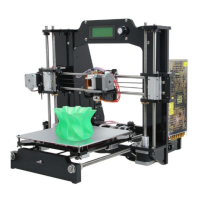
| Frame Material | Acrylic |
| Power Supply | DC 12V |
| Machine Weight | 8 kg |