3. Assemble the front and back of the chassis
Printed Y motor mount (no. 2)
Note: the easier way to put on these nuts and washers is to put one the inside ones first, then
sandwich the rod between two chassis corners, and then put on the outside nuts and washers.
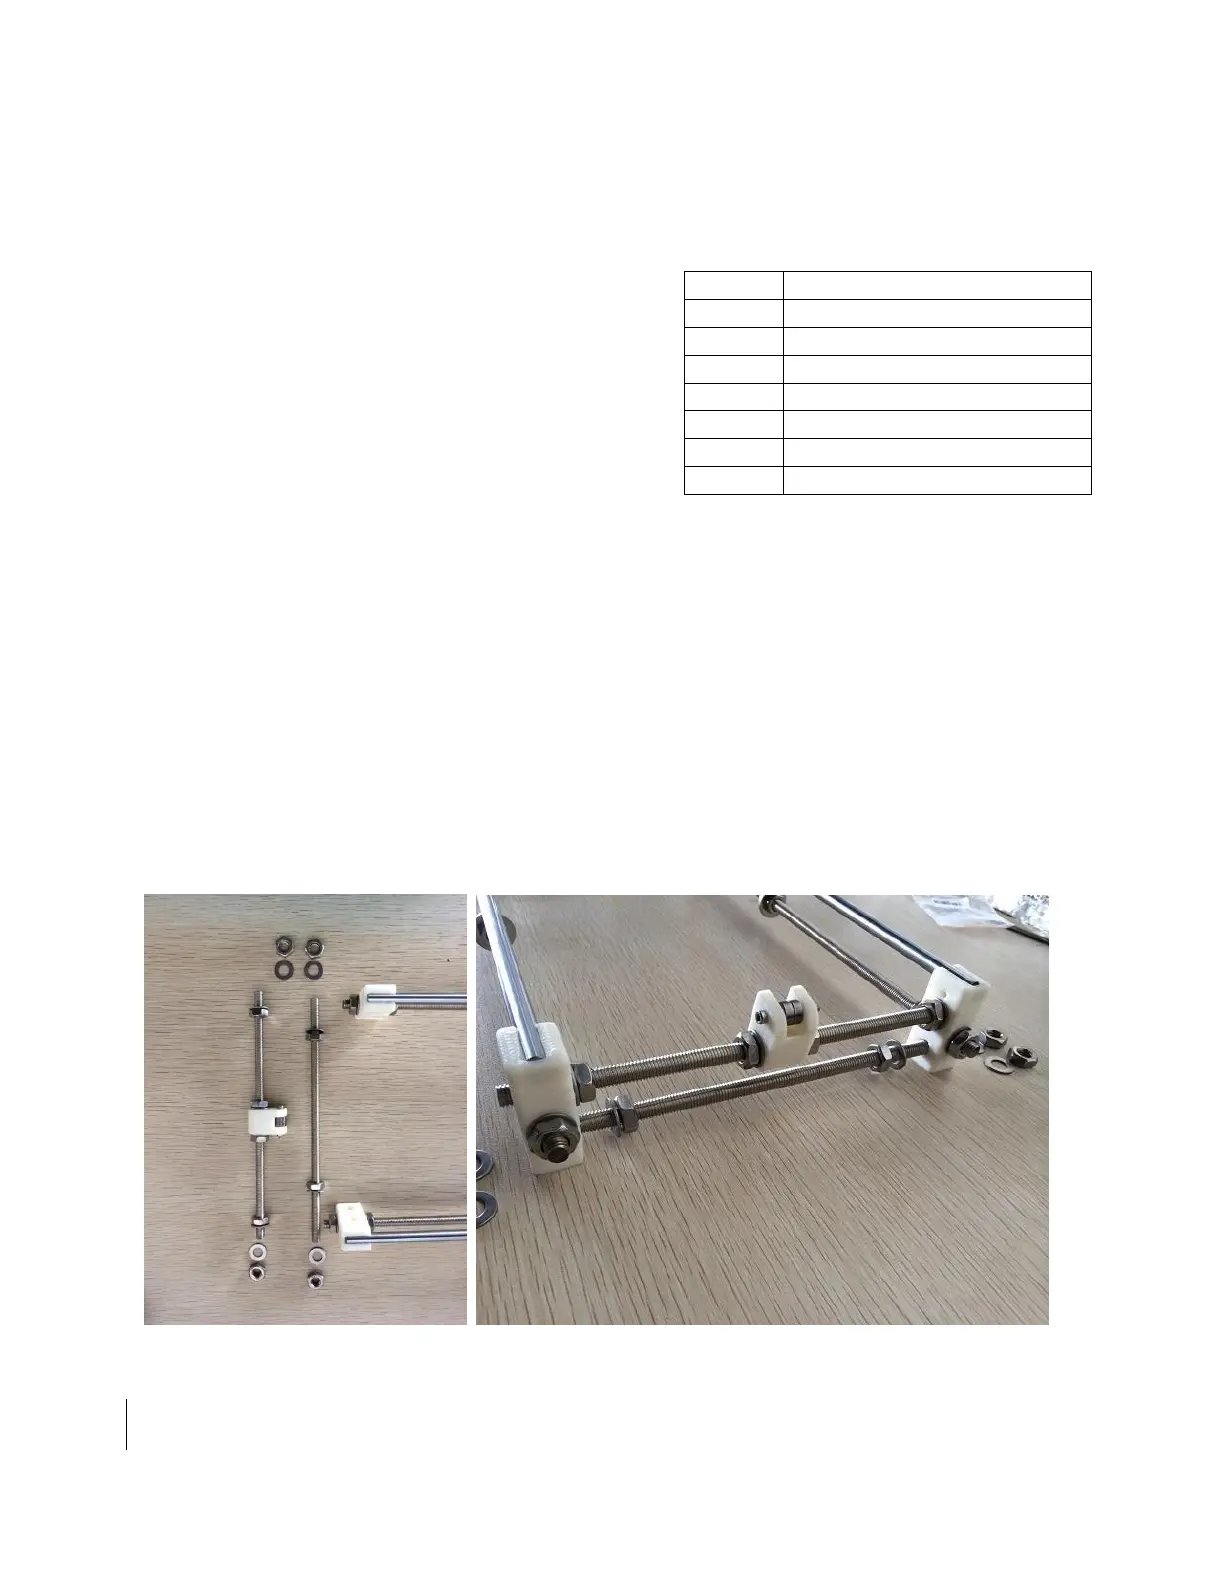
1. Put m8 nuts, washers, and assembled Y idler on a 205mm m8 threaded rod. Slide this rod thru
the top holes of the front chassis corners. The order is: nut – washer – chassis corner – washer
– nut – nut – washer –assembled Y idler – washer – nut – nut –washer - chassis corner –
washer – nut. Do not tighten yet.
2. Repeat the previous step without the Y idler, and fix the rod on the bottom holes of the chassis
corner. The order is: nut – washer – chassis corner – washer – nut – nut – washer – chassis
corner – washer – nut. Do not tighten yet.
Pictures for step 1 and 2