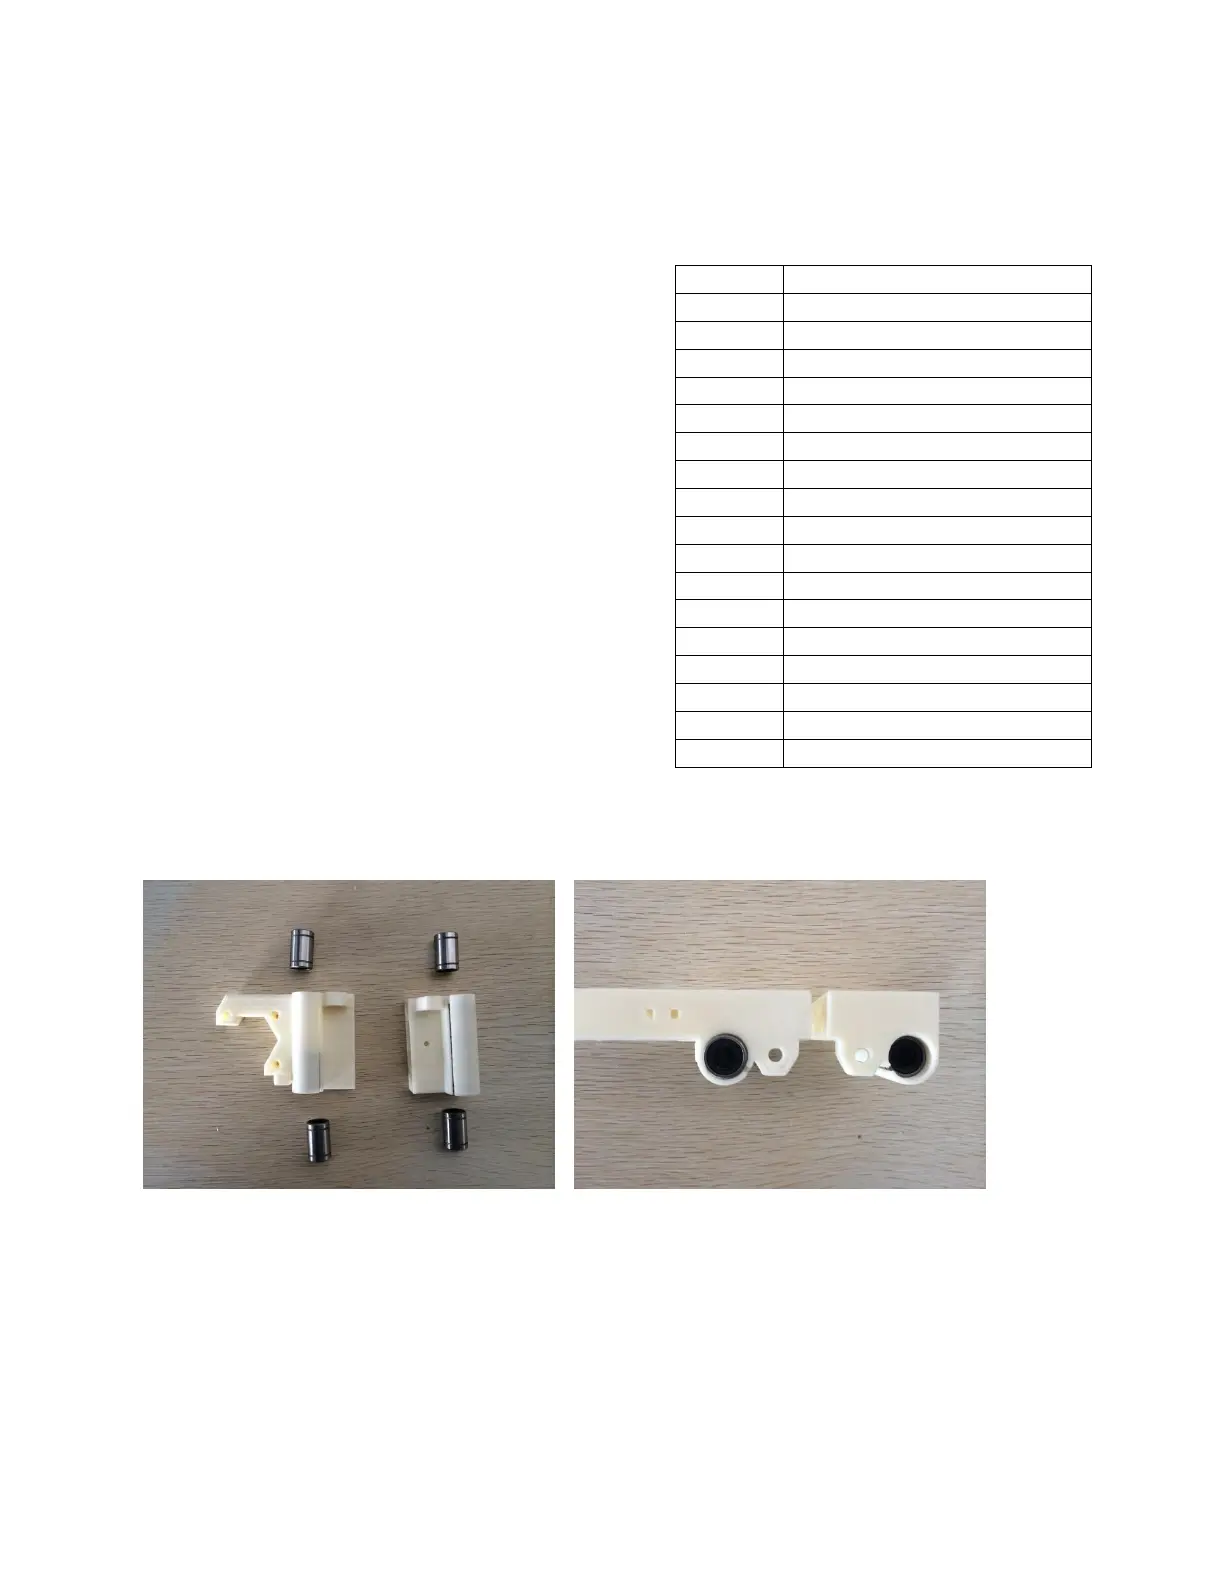
Build the X-Z axes
Printed x motor holder (no.8)
Printed x carriage (no. 10)
1. Insert two LM8UU bearings into the x idler and the x motor holder. A little force is required to
push the bearings in.
2. Insert the M5 nuts into the hexagonal slots on the X idler and the X motor holder. These two
nuts must be tightly situated in the slots for proper z movement. If you find the two nuts falling
out of place during z movement, heat the nuts on fire (do this carefully, of course) and insert hot
M5 nuts into the hexagonal slots. The heat will melt the ABS a bit and provide a tight fit.