37 / 44
554
Important:
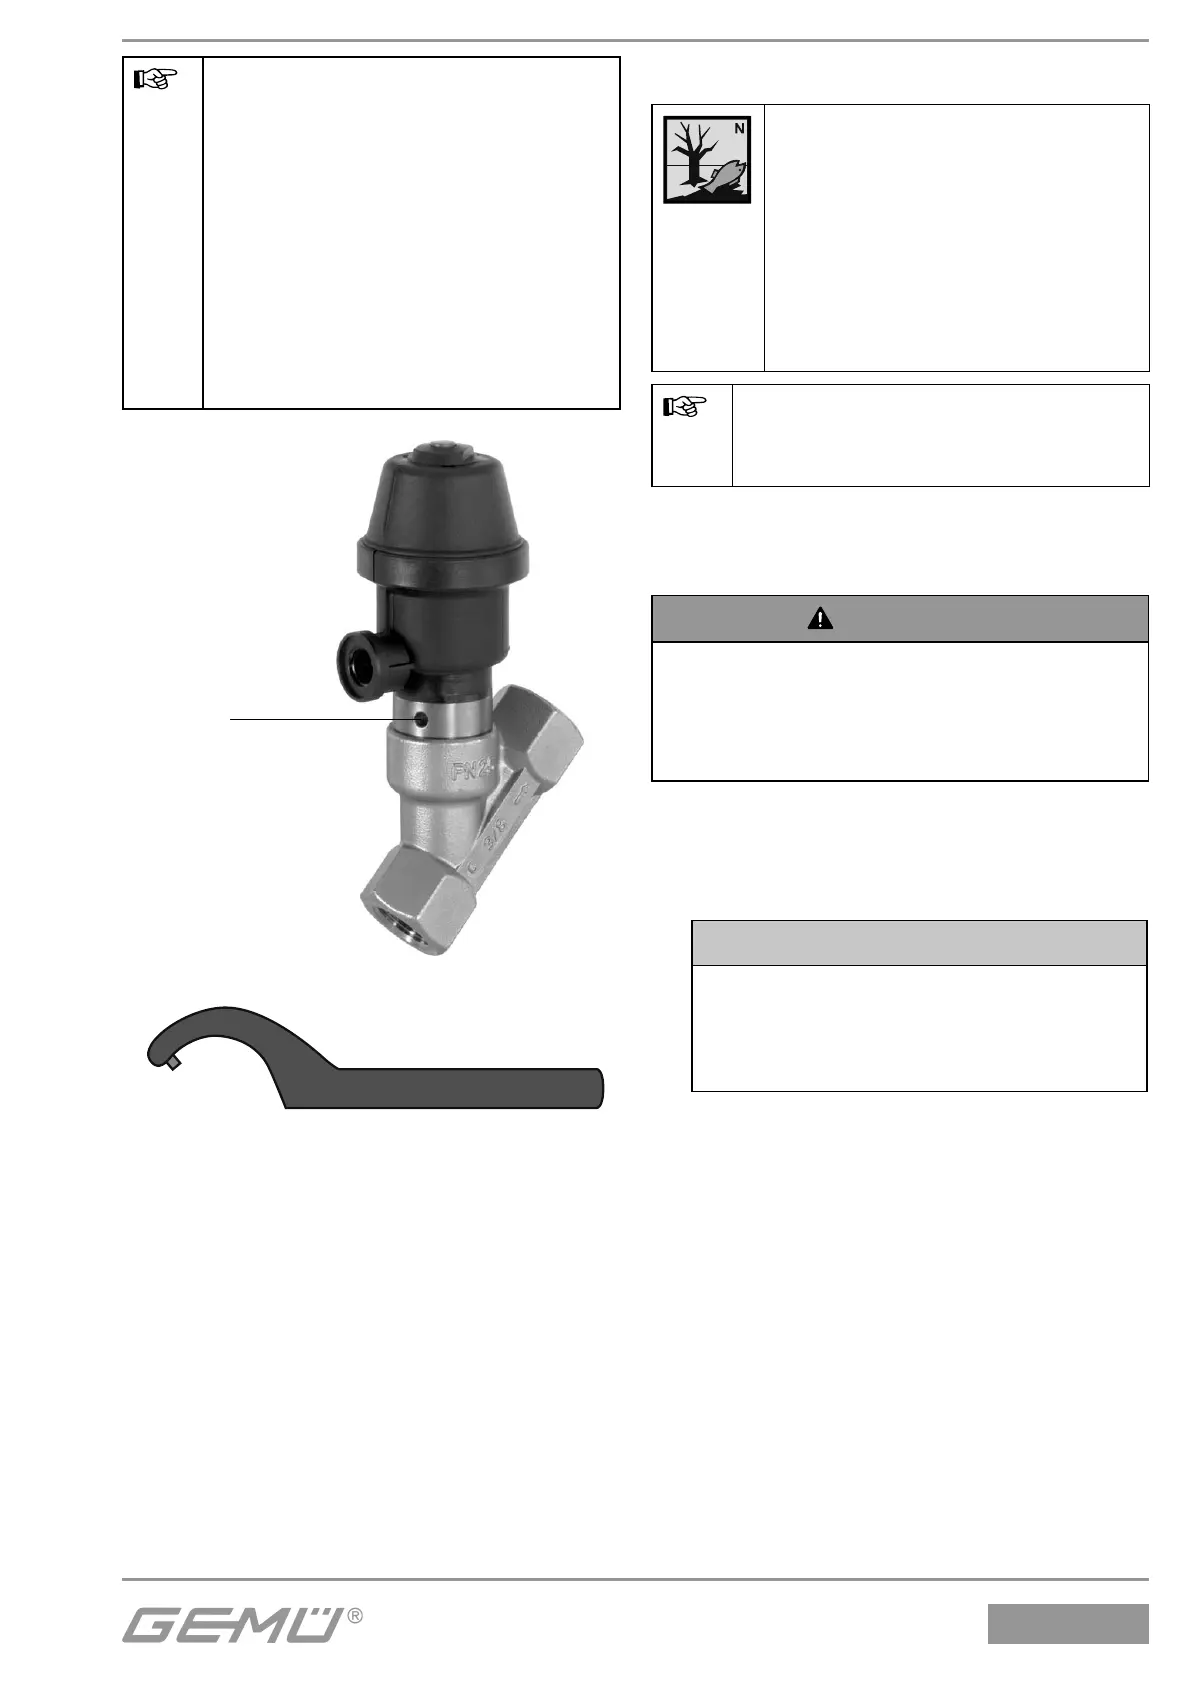
Service and maintenance:
Seals degrade in the course of
time. After valve disassembly /
assembly check that the actuator
is fixed tightly and retighten as
necessary at the union nut a
for actuator sizes 0, 0K, 1, 1K,
2, 2K, 3, 3L, 4, 4L. For actuator
size B retighten with a pin wrench
(pin size 3 mm) (see pictures on
page 33).
Attachment
for pin wrench
Pin size 3 mm
GEMÜ 554
Actuator size B
Pin wrench
15 Disassembly
Disassembly is performed observing
the same precautionary measures as for
installation.
G Disassemble the valve (see chapter 12.1
"Disassembly of actuator").
16 Disposal
G All valve parts must be
disposed of according to
relevant local or national
disposal regulations /
environmental protection laws.
G Pay attention to adhered
residual material and gas
diff usion from penetrated
media.
Note:
Once disassembled, the parts
must not be re-assembled!
16.1 Disassembly for disposal for
control function 1
WARNING
Actuator top is under spring pressure.
® Risk of severe injury or death!
G Only open the actuator under a press.
1. Remove the actuator A (see
chapter 12.1 "Removing the actuator").
2. Tension the actuator A using a suitable
press.
CAUTION
Applied pressure is too high!
® Risk of breakage to actuator top 10.
G Only use minimum required
pressure.