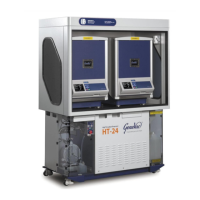
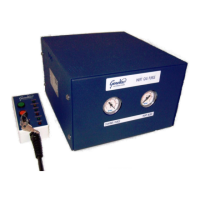
HT Series II Inert Gas Purge
10-1474 Issue 3-6 March 2014 9
Getting Started
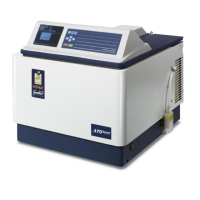
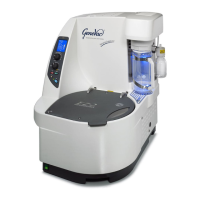
The information in this section is applicable when using HT Series II evaporation system with
the inert gas purge system in PURGE mode. The following instructions should be read in
conjunction with instructions in the evaporator user manual.
Pre-start checks
Make sure the condenser has been drained before starting an evaporation run. If necessary,
defrost and drain the condenser.
Check the N
2
OK LED on the remote control is on (this indicates the inert gas supply
pressure is sufficient for safe operation of the system). If the LED is off, check the inert gas
supply.
Starting an evaporation run
Purging can be interrupted at any time during the purge cycle by pressing the CANCEL
button.
1. On the remote control, turn the key switch to select PURGE.
2. Load the samples into the evaporator and close the door / lid.
3. On the evaporator, select the required run and press START.
Note: The evaporator displays Not Ready / Purged and will not start until the purge cycle
has completed. The purge time is pre-set and is specific to the evaporator system type.
4. On the remote control, press the START button (the system purges with inert gas for a
pre-set purge time; for times, see: Specifications. During the purge cycle, the yellow
PURGING LED flashes to indicate the inert gas purge system is operating. When
purging is complete the green READY LED lights to show the system is ready and the
evaporation run starts automatically).
Note: If the N
2
OK LED goes off during the purge cycle, the system resets and the
evaporator cannot be started until a purge cycle has been restarted and successfully
completed.