DRG700 User Guide Installation
Page 11 of 35
Installation
This chapter describes the physical installation of the DRG700.
Requirements
• DRG700 Base, preferably with an active Internet subscription.
• For DRG700 without WIFI, a network cable. Use standard 10/100/1000 BaseT network (Cat5) cables with
RJ45 connector.
• For DRG700 with WIFI, a wireless device compliant with IEEE802.11b/g/n.
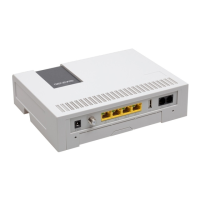
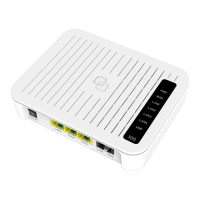
Installing the DRG700
To install the DRG700, do the following:
1. Locate the DRG700Base access point for your broadband network for the DRG700 pre-installed in your
home.
2. Remove the dust covers on the FTU.
3. Remove the dust covers on the DRG700.
4. Slide the DRG700 upwards until the optical connectors connect and press downwards gently so the DRG700
sits firmly on the FTU.
5. Connect the PSU to the PWR socket on the bottom panel of the DRG700. The PWR LED on the top panel
will blink first GREEN, then RED, while the DRG is booting.
When the DRG has booted successfully, the PWR LED will be display a constant GREEN color. If an error
occurs, it will be indicate a constant RED color.