30
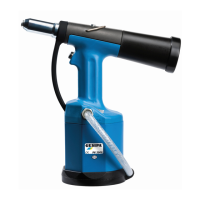
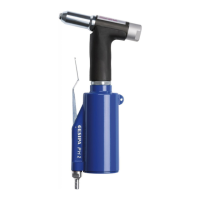
8.2 Relling hydraulic oil
• Disconnect the setting tool from the compressed air network.
• Unscrew oil rell screw using Torx screwdriver T20 and at the same time remove the
seal.
• Insert the supplied oil press into the oil rell container.
Caution!
Push the oil press in as far as the buffer, otherwise the oil will be discharged
without any control.
• Unscrew supplied oil rell container.
• Connect the rivet setting tool to the compressed air network and activate the trigger; then
disconnect the rivet setting tool from the compressed air network.
• Unscrew the oil rell container with oil press and remove the old oil from the oil rell
container.
• Screw up the oil rell container tight by hand and ll up to the mark with hydraulic oil.
• Insert the oil press into the oil rell container and push in until it can‘t go any further or
there is no more oil in the oil rell container.
• Connect the riveting tool to the compressed air supply.
• The riveting tool vents automatically and excess oil is transferred back into the oil rell
container.
• Unscrew the oil rell container with oil press. Remove any remaining oil from the rivet
setting tool.
• Insert the seal and screw in tight the oil rell screw using Torx screwdriver T20.
Regular maintenance will extend the service life of your high-quality GESIPA
®
tools and
they should be serviced at least every 2 years by an authorised workshop or by GESIPA
®
Service. For tools that are used intensively, we recommend servicing ahead of schedule.
8.3 Storage
The setting tool should be stored in a dry place where there is no danger of frost.