 Loading...
Do you have a question about the Getac S410 Series and is the answer not in the manual?
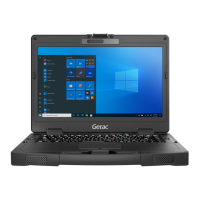
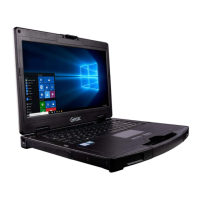
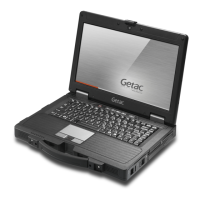
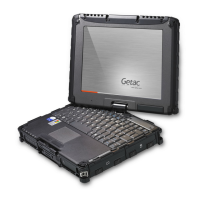
| Processor | Intel Core i5/i7 |
|---|---|
| Graphics | Intel UHD Graphics |
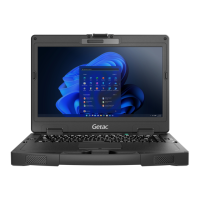
| Display | 14" FHD (1920 x 1080) LCD |
| RAM | Up to 32GB DDR4 |
| Storage | Up to 1TB PCIe NVMe SSD |
| Operating System | Windows 10 Pro |
| Weight | 2.2 kg |
| Rugged Features | MIL-STD-810H certified IP53 certified |
| Wireless | Wi-Fi 6, Bluetooth 5.0 |
| Ports | HDMI |
| Security | TPM 2.0, Smart Card Reader |
| Battery | Removable Li-Ion |