15PowerUp Installation and Operation Manual
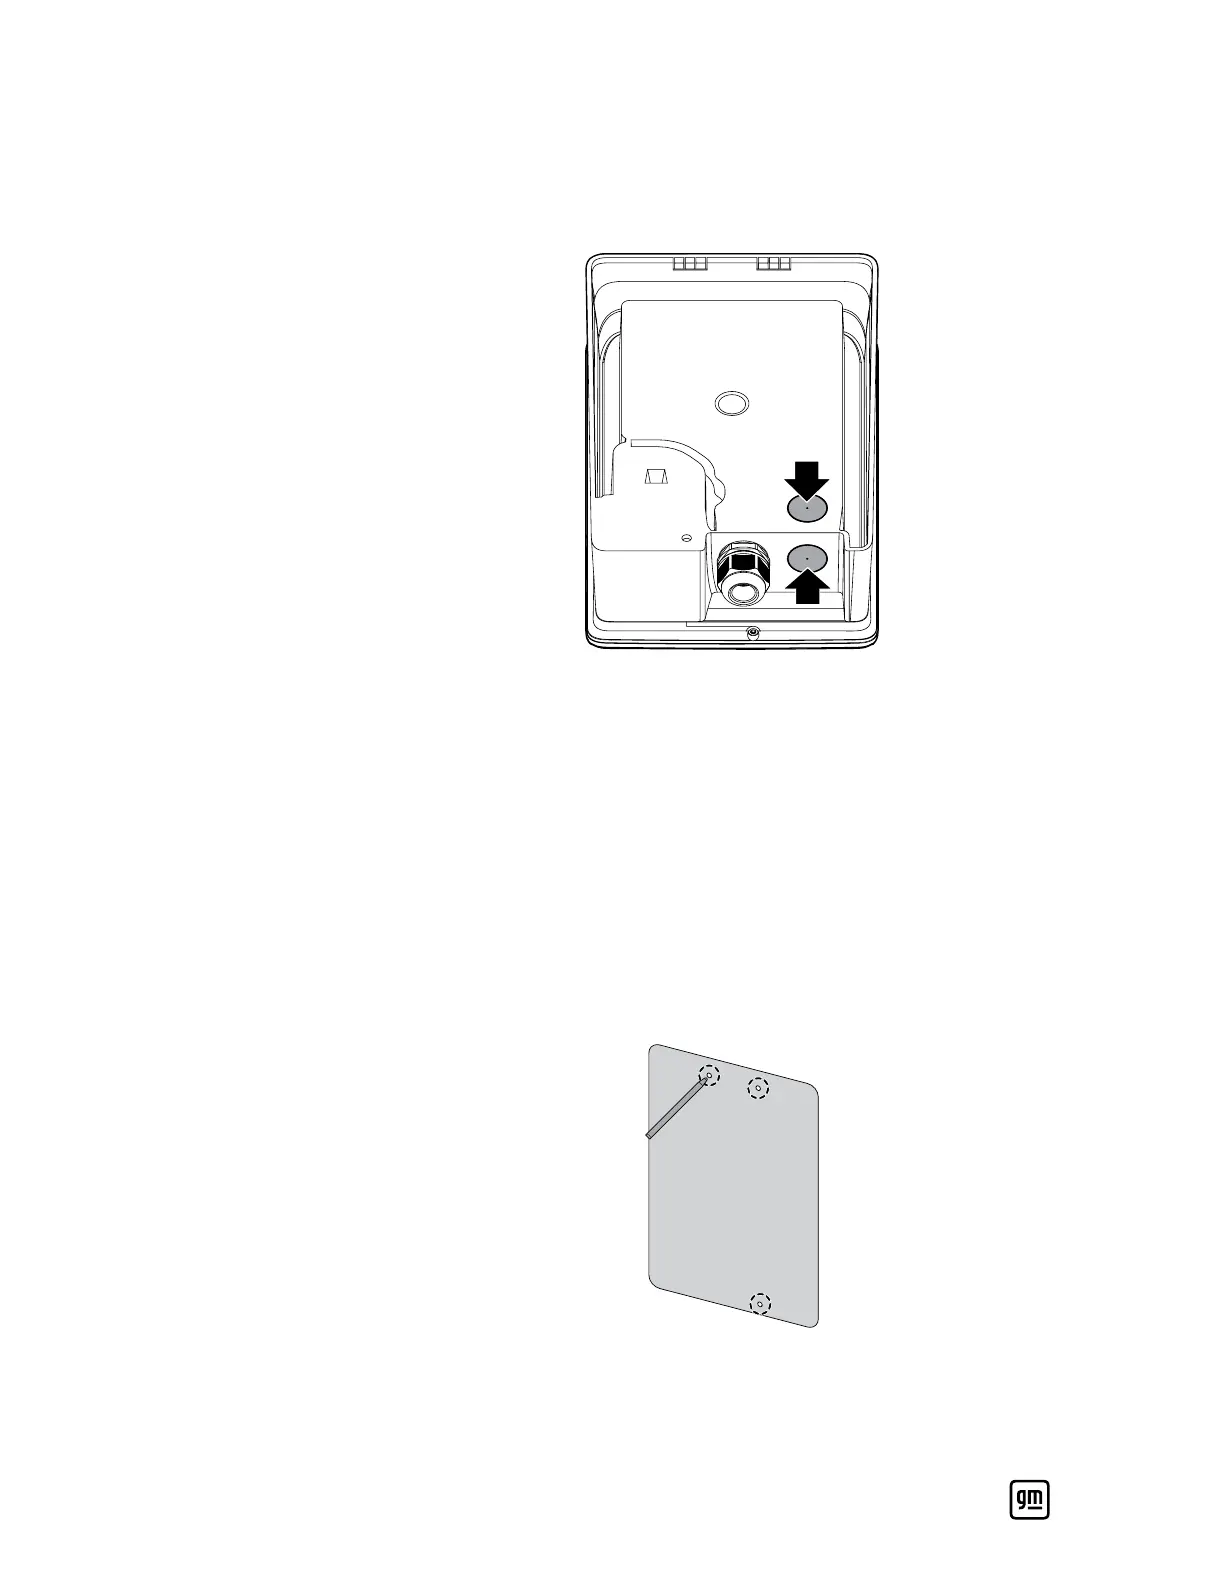
3. Routing the AC power wires is possible through the bottom or rear of the
enclosure. Using the power drill and 1-1/8” step drill bit, drill an opening
for the wires from the outside of the unit based on how the power wires
need to be fed into the unit (i.e., the bottom or rear).
4. Use the vacuum to clean up any debris left from the drilling process.
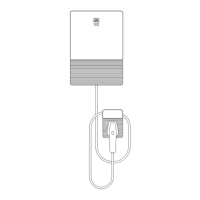
Wall Mounting
The unit must be mounted on one of the following types of (solid) walls only:
• Non-cracked concrete or solid brick: Use the three 1/4” concrete anchor
screws provided to secure the PowerUp charger unit onto the wall.
• Solid wood or drywall and solid wood (wall stud): Use the three 5.5 mm
wood screws provided to secure the PowerUp charger unit onto the wall.
1. Use the template and level to mark out the position of the three screws
that will be used to secure the wall mounting bracket and unit to the wall.
2. Use the power drill to drill the three pilot holes marked in the previous
step.