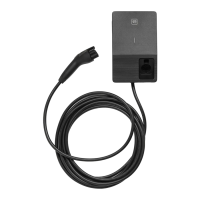
22PowerUp Installation and Operation Manual
3. Place the middle and cosmetic cover back onto the PowerUp charger. See
"Completing the Installation" on page 23.
4. Turn on the breaker to power on the PowerUp charger. When the LED is
solid. The installer can use the commissioning app to confirm whether the
DIP switch setting has been completed.
Refer to the following steps if the output current has already been set using
the DIP switches and you want to change the output current.
1. Turn off the breaker to ensure that the customer does not open the cover
with the power on.
2. Open the cosmetic and middle cover.
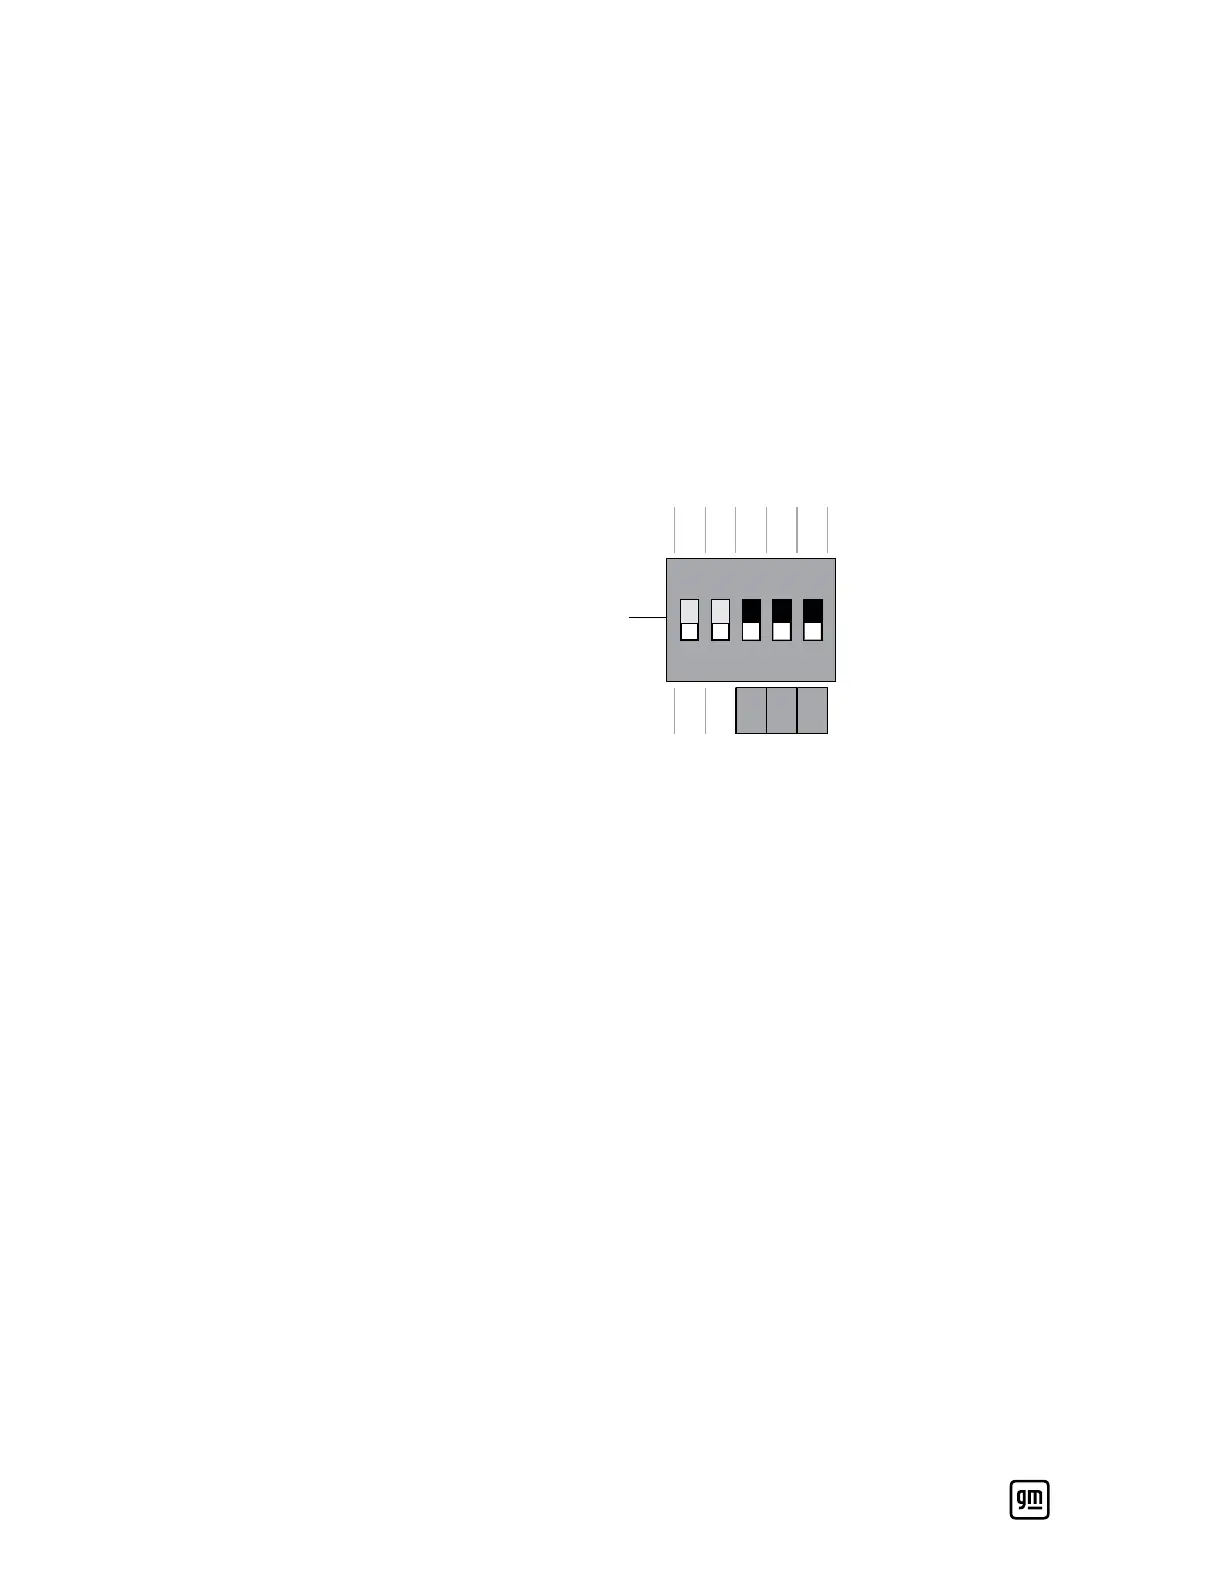
3. Change the DIP switch to the original factory settings (i.e., 00000).
DIPON
ONOFF
1 OFF
2 OFF
3 OFF
4 OFF
5 OFF
1 ON
2 ON
3 ON
4 ON
5 ON
12
4. Reinstall the middle cover, then power on the PowerUp charger until the
LED lights up solid red, white, and green (all on).
5. Turn off the breaker to power off the PowerUp charger.
6. Refer to the steps in the previous section (DIP switch configuration for
initial installation).