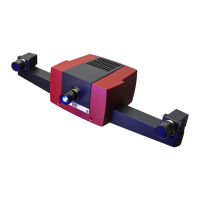
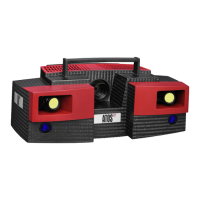
Sensor Calibration
Calibration Using Calibration Cross CC 30
Page 35 (40)
atos_cs_rev01_en_rev-c 2012-09-03
10.4.3 Preparing the Calibration Process
When you want to calibrate a measuring volume, the sensor is already
set up (see section 8) and the ATOS software knows which measuring
volume and which camera position you want to use. Based on this in-
formation, the software determines the required focal lengths of the
lenses.
Open the calibration dialog in workspace Set Up ► Calibrate Sen-
sor.
►
Choose the required calibration object, e.g. , with the
mouse, and start the process with Next.
Maybe you are asked whether the settings are to be reset to the rec-
ommended calibration settings. This always happens when the cali-
bration object has never been used before or it was used in connec-
tion with a different measuring volume. Confirm the request with Yes.
In the following windows, enter the current measurement temperature
and accept the adjusted camera focal lengths.
Place the calibration object at the measuring distance in front of the
sensor using a stand. As the laser pointers are already adjusted to this
distance (see section 8.4.2), you only need to move the stand until the
two laser points become one (see section 10.4).
10.4.4 Calibration Process
After that the software will guide you through the individual calibration
steps. In the first step, you are asked to place the sensor in the center
of the measuring volume with respect to the calibration object.
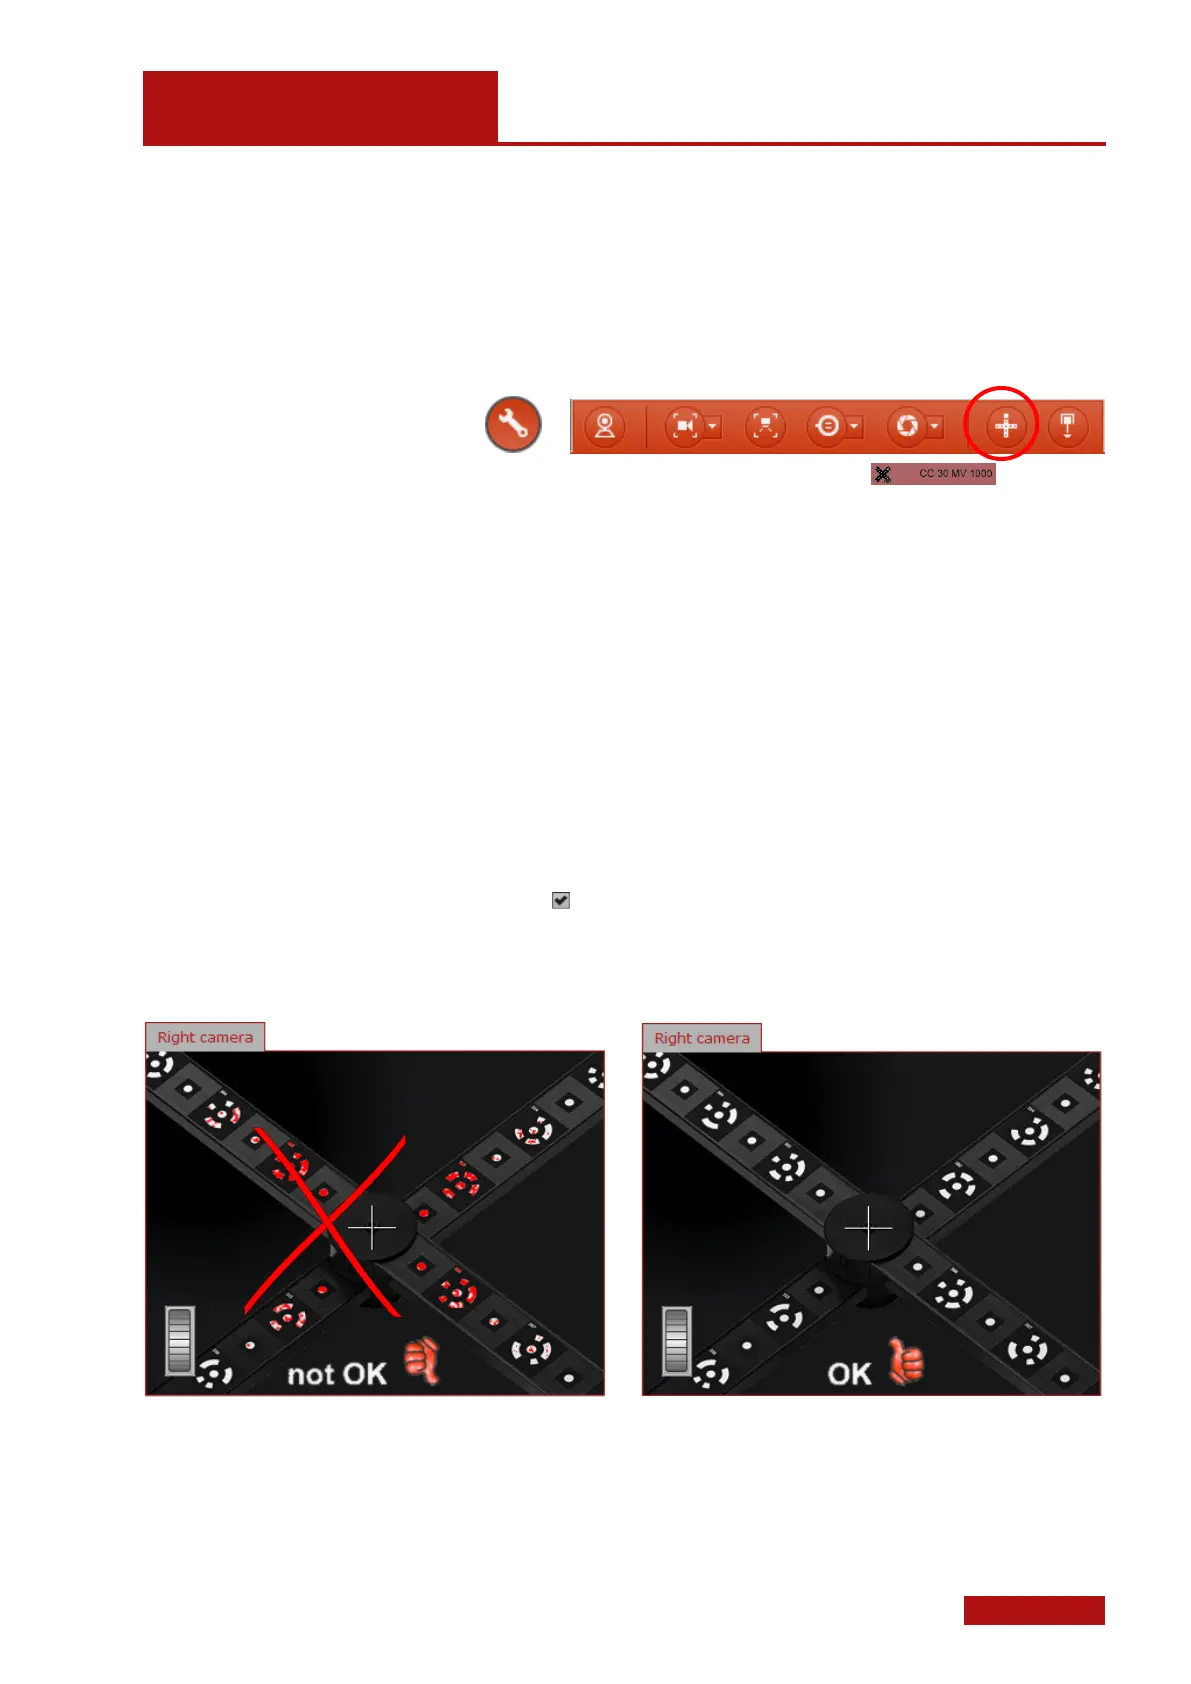
Enable the Automatic exposure time.
In exceptional cases it might happen that the function Automatic ex-
posure time cannot work correctly.
In this case, disable the function and use the exposure time wheel to
adjust the optimum exposure time for each calibration image.
Exposure time adjustment for calibration
An optimum exposure time is given when the red overexposed areas
are just no longer visible.
In the subsequent steps you are then asked to place the calibration
object at defined distances and angles to the sensor.
If you have not chosen the automatic exposure time setting, you need
to adjust the exposure time for each new image again.