8.2. MICROCONTROLLERS REPLACEMENT
Tools:
► Torx T15 screwdriver: front face (rack) or tip plate (case)
► Torx T10 screwdriver: lid (rack) + front face (case) + output cards
► PLCC extractor: microcontroller
► Gorgy Timing reference: CIS8951RC2P
► Unplug every cable at the back of the product
► Remove the four M3.5 screws from the front face
► Remove the six M3 screws from the lid
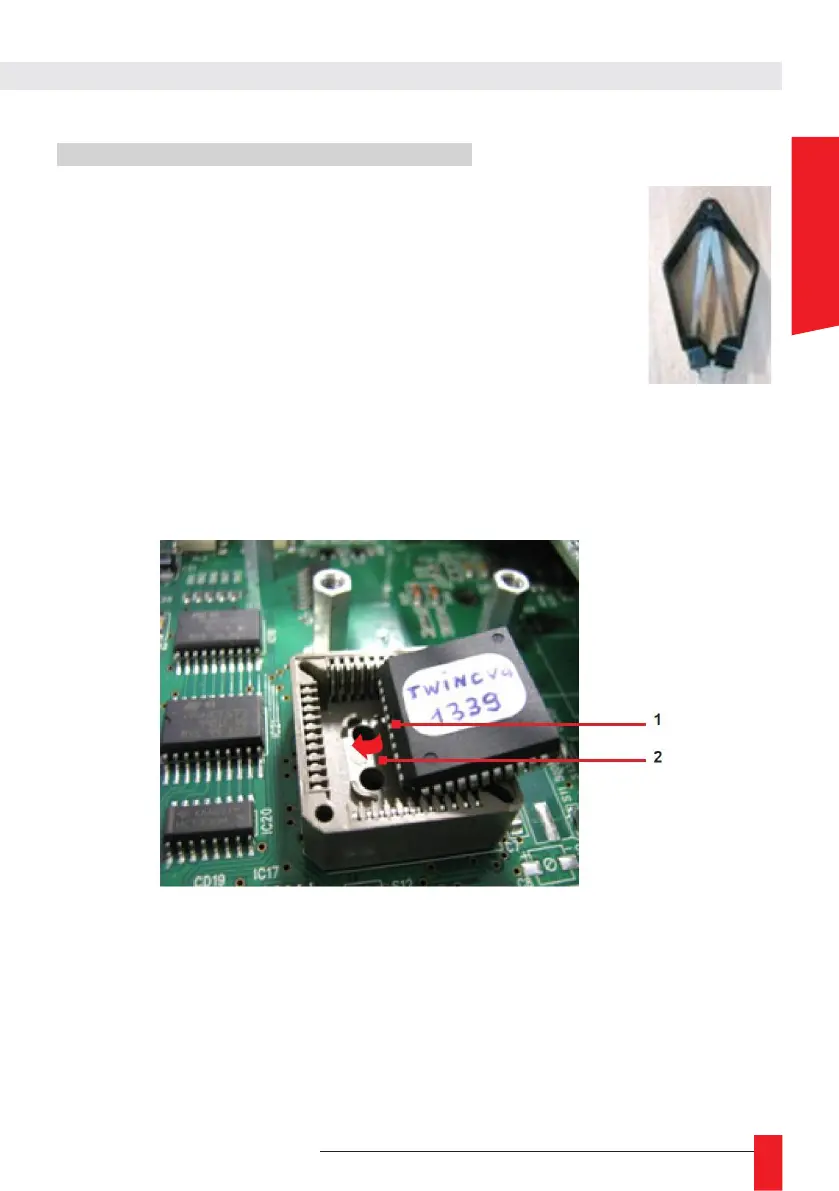
► Use the PLCC extractor to remove the microcontroller
► Insert the new Microprocessor, making sure to match the indexing slots
☛
On one side of the micro there is a point (marked 1). Make sure that the support
arrow (marked 2) is on the same side as the point.
Note: the system has 2 indexing slots:
The bevelled corner of the micro must face one of the bevelled corners of the support.
 Loading...