3
Task 1 - Installing the Lower Encoder (continued)
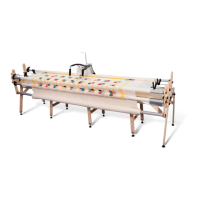
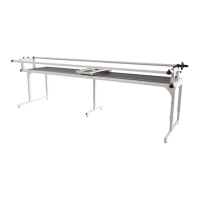
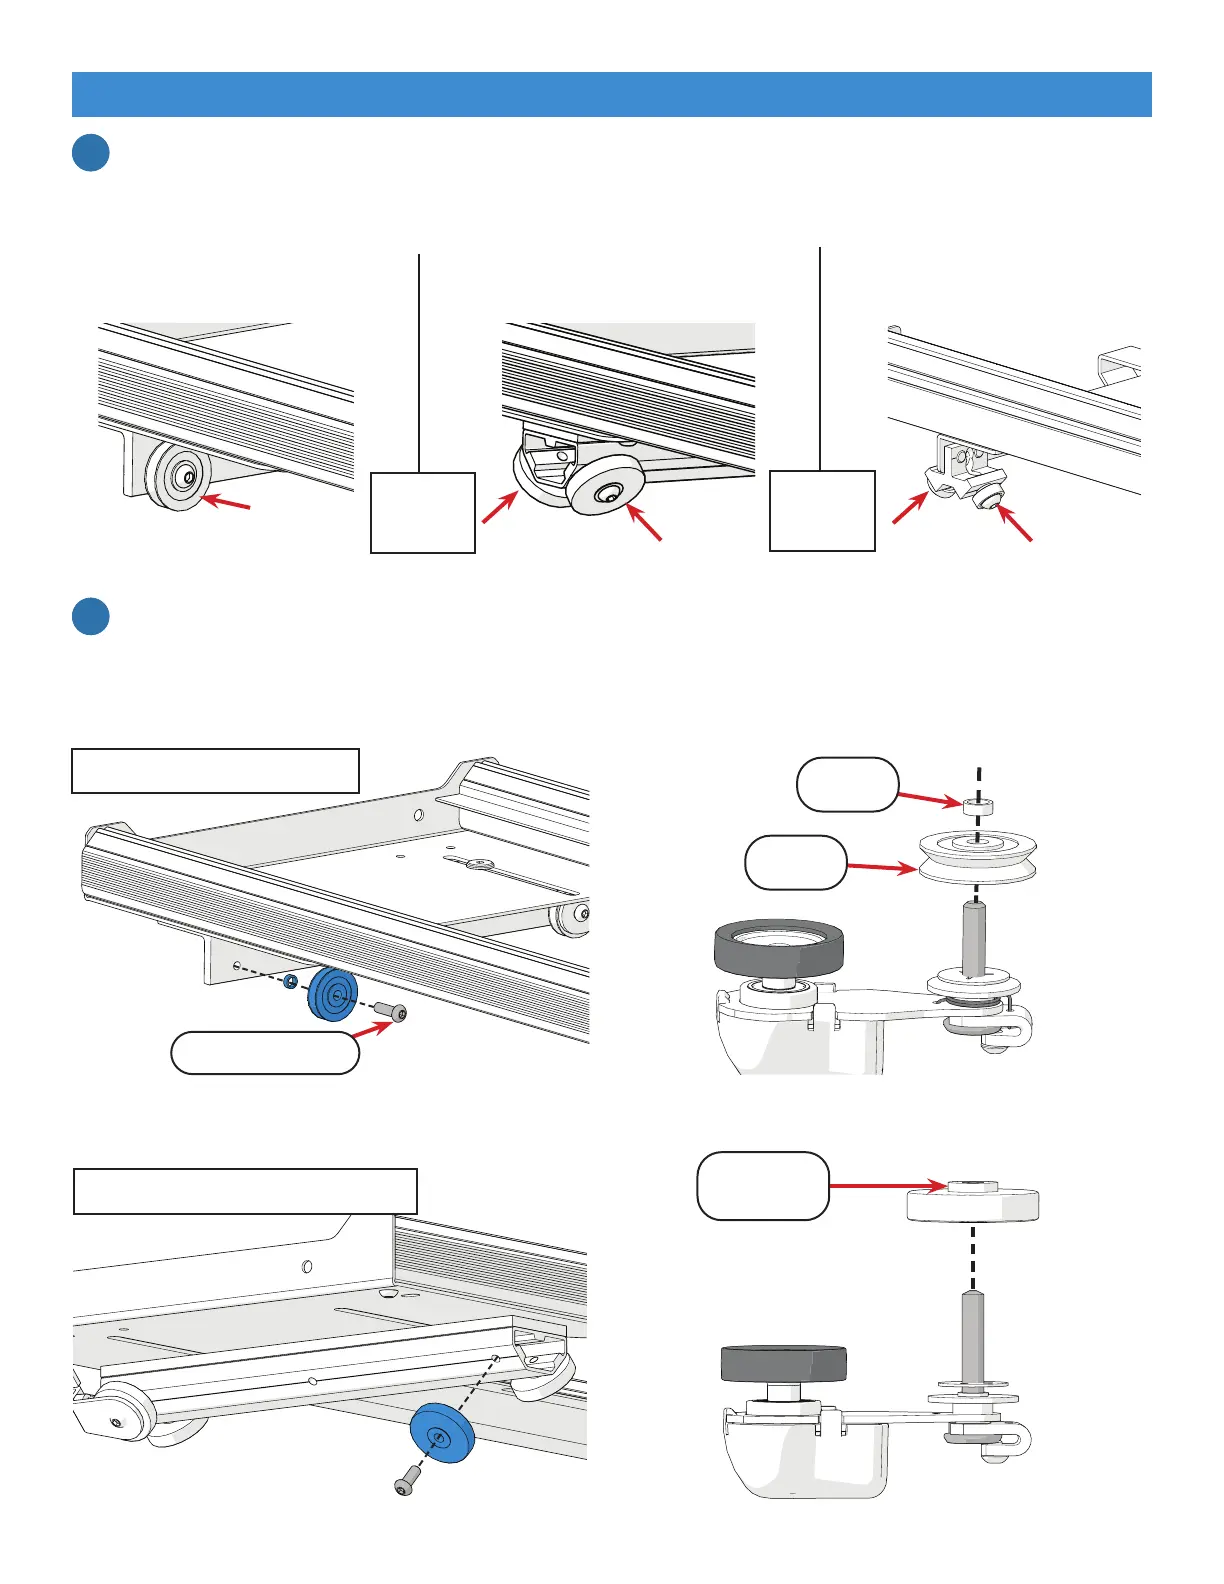
1. For the following steps, know whether your bottom carriage is dual-wheel (two wheels at each
corner) or single-wheel (one wheel at each corner). If it is dual-wheel, does it have large wheels
or small wheels?
OR
OR
1. For large wheel carriages: Use the 4 mm Allen wrench to remove the left rear wheel from
the bottom carriage and install it onto the encoder screw. The wheel screw will not be needed
again and can be stored with the packaging materials.
For single-wheel carriages, place the spacer on the encoder after the wheel.
Single-Wheel Carriage
Spacer
Wheel
Large Dual-Wheel Carriage
Wheel
Hub
Wheel Screw
On large dual-wheel carriages, remove the outward-facing wheel (shown in blue) and place
the wheel onto the encoder screw so the wheel hub faces away from the encoder.
Single-Wheel Carriage
(large wheels)
Dual-Wheel Carriage
(large wheels)
Dual-Wheel Carriage
(small wheels)
Part One | Out of Box Assembly
4
5
 Loading...