Pressure Relief Procedure
8 3A4399A
Pressure Relief Procedure
Follow the Pressure Relief Procedure whenever
you see this symbol.
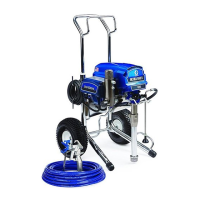
1. Turn power OFF. Wait 7 seconds for power to
dissipate.
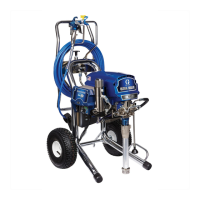
2. Engage trigger lock. Always engage the trigger lock
when sprayer is stopped to prevent the gun from
being triggered accidentally.
Trigger Locked (no spray) Trigger Unlocked (spray)
3. Remove guard and SwitchTip.
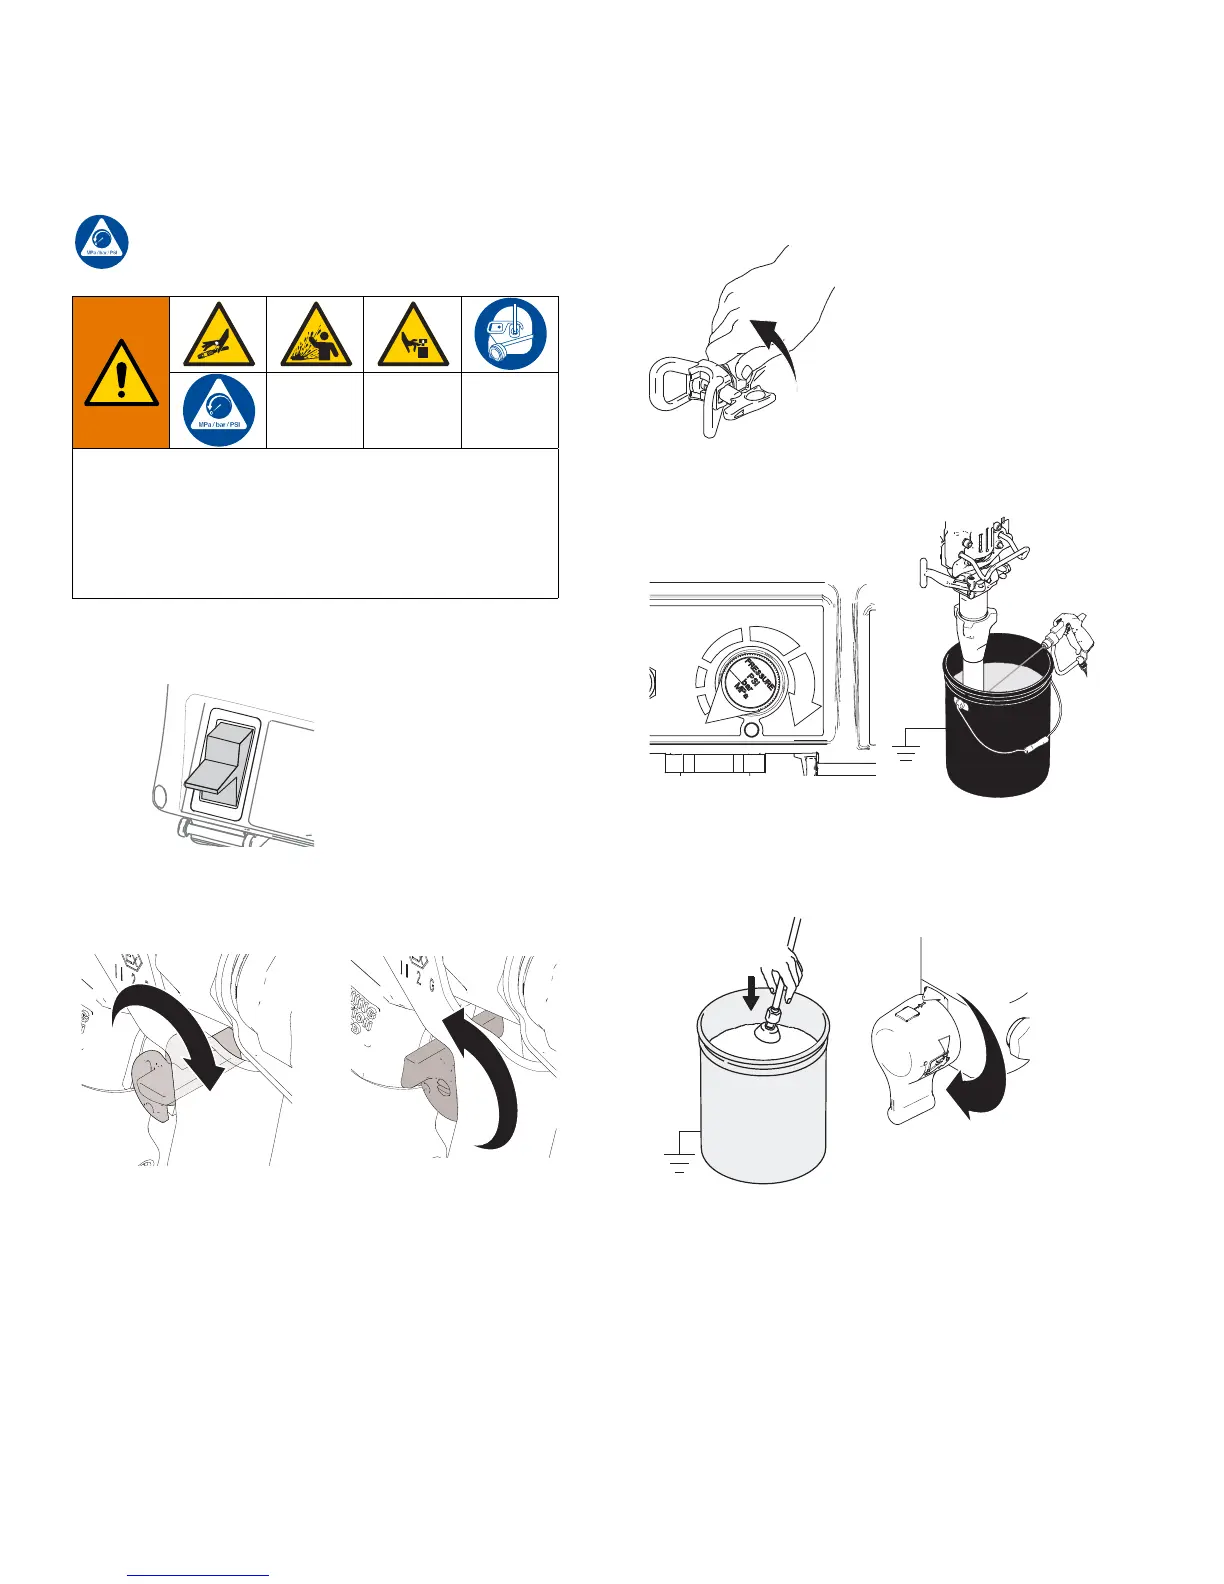
4. Turn pressure to lowest setting. Trigger gun to
relieve pressure.
5. Put drain tube in pail. Turn prime valve down to
DRAIN position. Leave prime valve in DRAIN posi-
tion until you are ready to spray again.
6. If you suspect the spray tip or hose is clogged or that
pressure has not been fully relieved:
a. VERY SLOWLY loosen the tip guard retaining
nut or the hose end coupling to relieve pressure
gradually.
b. Loosen the nut or coupling completely.
c. Clear hose or tip obstruction.
This equipment stays pressurized until pressure is
manually relieved. To help prevent serious injury from
pressurized fluid, such as skin injection, splashing
fluid and moving parts, follow the Pressure Relief Pro-
cedure when you stop spraying and before cleaning,
checking, or servicing the equipment.