ix
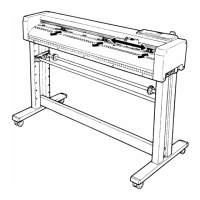
(3) Mount the pen bracket
so that the cutter pen’s
flange is covered, then
tighten the screw.
CAUTION
Tighten the screw only after having confirmed that the cutter pen’s flange is being held down by the
pen bracket as illustrated in the figure below Step (3).
The Cutting Conditions
Before cutting a medium when you are uncertain of its optimum cutting conditions, run a test cut in ad-
vance. At such time, initially set the cutting conditions as follows: extend the cutter blade’s tip a minimum
length based on the thickness of the loaded medium, set the CUT FORCE setting to 10, the SPEED setting
to 5, and the QUALITY setting to 1. Next, gradually increase the conditions until the optimum test results
are achieved.
A cutting operation based on unsuitably specified cutting conditions will place a heavy load on the blade
and plotter, causing the blade to break or the plotter to break down.
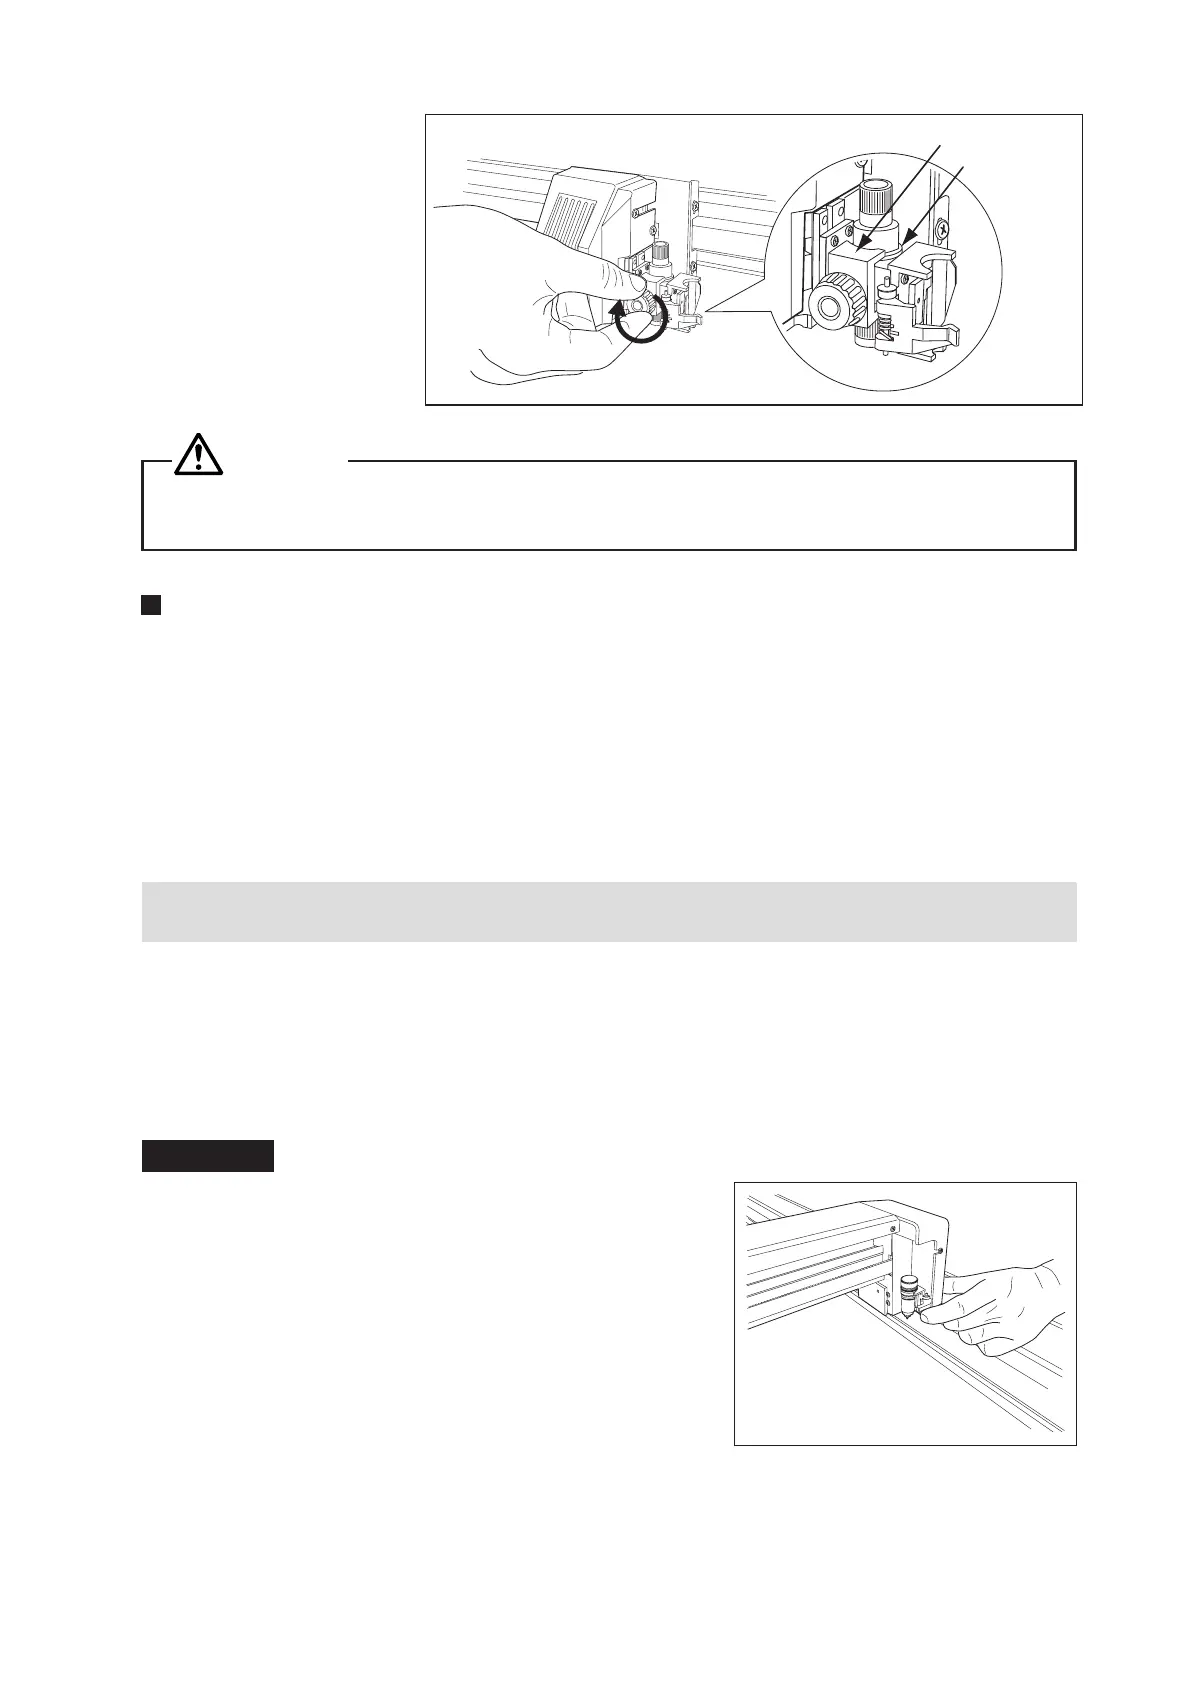
Attaching a Pen for Plotting
This plotter enables you to have a cutter pen and plotter pen concurrently attached, because the plotter
pen is mounted at the pen station.
Mount a plotter pen by inserting it into the pen station as illustrated below.
Contact with a moving pen when turning on the plotter or during a cutting operation is extremely danger-
ous, so be sure not to touch the pen’s tip at such times.
Procedure
(1) Use your finger to open the pen station’s holder and then
insert the pen into the pen station.
Pen bracket
Cutter pen’s flange