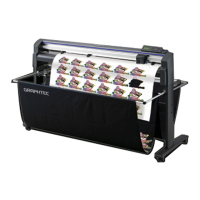
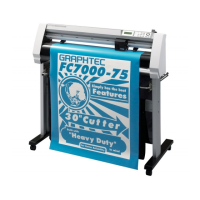
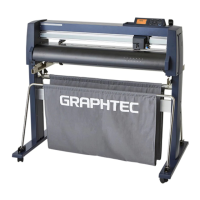
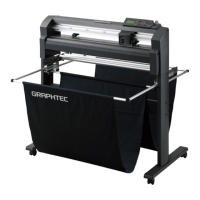
Do you have a question about the GRAPHTEC FC4100 series and is the answer not in the manual?
Proper procedures for safely handling cutting blades.
Proper procedures for safely handling cutting cutters.
Procedures for connecting the plotter to a computer via serial or parallel interface.
Overview of different cutter blades, their specifications, and uses.
Detailed steps for replacing Supersteel and Ceramic/Sapphire blades.
Information on adjusting and obtaining the correct blade length.
Explanation of the plotter's control panel layout and functions.
Procedures for loading sheet media correctly.
Procedures for loading roll media correctly.
How to choose the appropriate media type (ROLL-1, ROLL-2, SHEET, CONTINUE).
How to set cutting conditions (force, speed, quality, offset).
How to select the appropriate tool (cutter, pen, pounce, light pointer).
Fine-tuning cutter force, speed, quality, and offset parameters.
Performing test cuts to optimize settings and ensure quality.
Setting conditions for pen plotting, including recommended values.
Detailed explanation of menu-driven functions like Pen UP/DOWN, Buffer Clear, Feed.
Setting Origin, Area, Expand, and Page Length for cutting.
How to set the cutting origin point for the plotter.
Specifying the effective cutting area by defining Upper Right and Lower Left points.
Setting parameters for aligning pre-printed media accurately.
Choosing between LIGHT POINTER and LOUPE for axis alignment.
Choosing between 2 Points and 3 Points methods for angle adjustment.
Performing the actual adjustment of axis alignment.
Function to prevent media slipping by automatically advancing it.
Blade control to prevent issues with small letters or thick material.
Performing self-test to check plotter functions and identify issues.
Solutions for common problems like power, initialization, and operation.
Explanations of error messages and their probable solutions.
Connecting and configuring the plotter using a parallel interface.
Configuring plotter for serial communication via RS-232C.
Configuring baud rate, data length, parity, and handshaking.
| Number of Tools | 1 |
|---|---|
| Repeatability | ±0.1 mm |
| Type | Cutting Plotter |
| Media Type | Vinyl, paper, film |
| Programmable Resolution | 0.025 mm |
| Interface | USB |
| Command Set | HP-GL |
| Power Supply | AC 100-240V, 50/60Hz |
| Operating System Compatibility | Windows |
| Weight | 10 kg |
| Model | FC4100 series |


