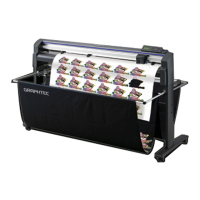
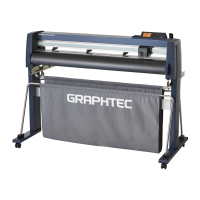
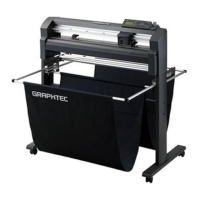
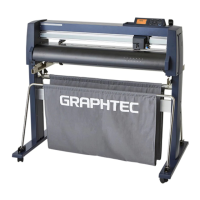
Do you have a question about the GRAPHTEC FC2250 Series and is the answer not in the manual?
Details safety precautions for handling sharp cutting blades and pens.
Warns about moving parts and safe operation procedures immediately after turning on the plotter.
Describes different types of cutter blades and their specific characteristics and uses.
Provides step-by-step instructions for safely replacing cutter blades in different pens.
Explains how to adjust the blade length for optimal cutting based on media thickness.
Details how to connect the plotter to a computer via USB or RS-232C interfaces.
Provides instructions on how to properly mount cutter pens and other tools in the plotter.
Explains how to adjust the pen carriage height for different media thicknesses.
Covers the procedure for turning on the plotter and the automatic initialization process.
Guides users on how to load various types of media, considering different hold-down methods.
Explains how to set and save cutting parameters like force, speed, and quality for different media.
Details how to perform test cuts and creases to verify settings before actual operations.
Describes how to select different modes (e.g., 2, 3, 4-point reading) for mark detection.
Explains how to adjust the distance between registration marks for automatic detection.
Defines the offset for the registration mark origin point relative to the cutting area.
Guides through sensor adjustment methods for accurate mark reading.
Describes the process of detecting registration marks automatically or manually.
Assigns the THICK mode setting to specific condition numbers for cutting thick media.
Adjusts initial cutting force for thick media to ensure proper cutting from the start point.
Provides solutions for common symptoms related to plotter operation and results.
Lists common error messages, their causes, and suggested solutions.
| Repeatability | ±0.1 mm |
|---|---|
| Category | Plotter |
| Cutting Force Range | 50 gf to 500 gf (0.49 to 4.9 N) |
| Resolution | 0.025 mm |
| Programmable Resolution | HP-GL: 0.025 mm |
| Media Type | Vinyl, paper, film, etc. |
| Interface | USB |
| Command Set | GP-GL, HP-GL |
| Power Supply | AC 100 V to 240 V, 50/60 Hz |
| Operating System Compatibility | Windows |


