L
Lindsey BrownSep 18, 2025
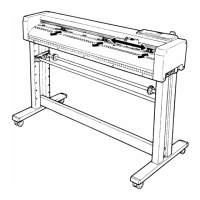
Why can't I change the tool condition on my GRAPHTEC FC8000 Plotter?
- CCindy WilliamsSep 19, 2025
If you cannot change the tool condition on your GRAPHTEC Plotter, the setting for the sorting is likely set to ON. Normally, use the plotter with the setting for the sorting OFF.