37
NOTE: Use caution with DUPE. As soon as you press
DUPE
, a duplicate
of the selected object is created and saved in memory. Be certain to delete
any DUPEd objects that you create accidentally.
Basic Scanning Operation
Now that you have entered a few CONV or TGRP objects you can
experiment with Scan and Manual operation.
Activating Scan Mode will cause your scanner to scan through all
Scannable Objects that are members of enabled Scan Lists and are not
locked out. Manual Mode allows you to browse the Scannable Objects you
have created so you can select just one to monitor.
To activate Scan Mode, just press the SCAN key on the keypad. Unless you
have explicitly changed Scan List membership, all of the objects you have
entered so far should be mapped to Scan List 01, and your scanner should
begin scanning these objects immediately when you press the SCAN key.
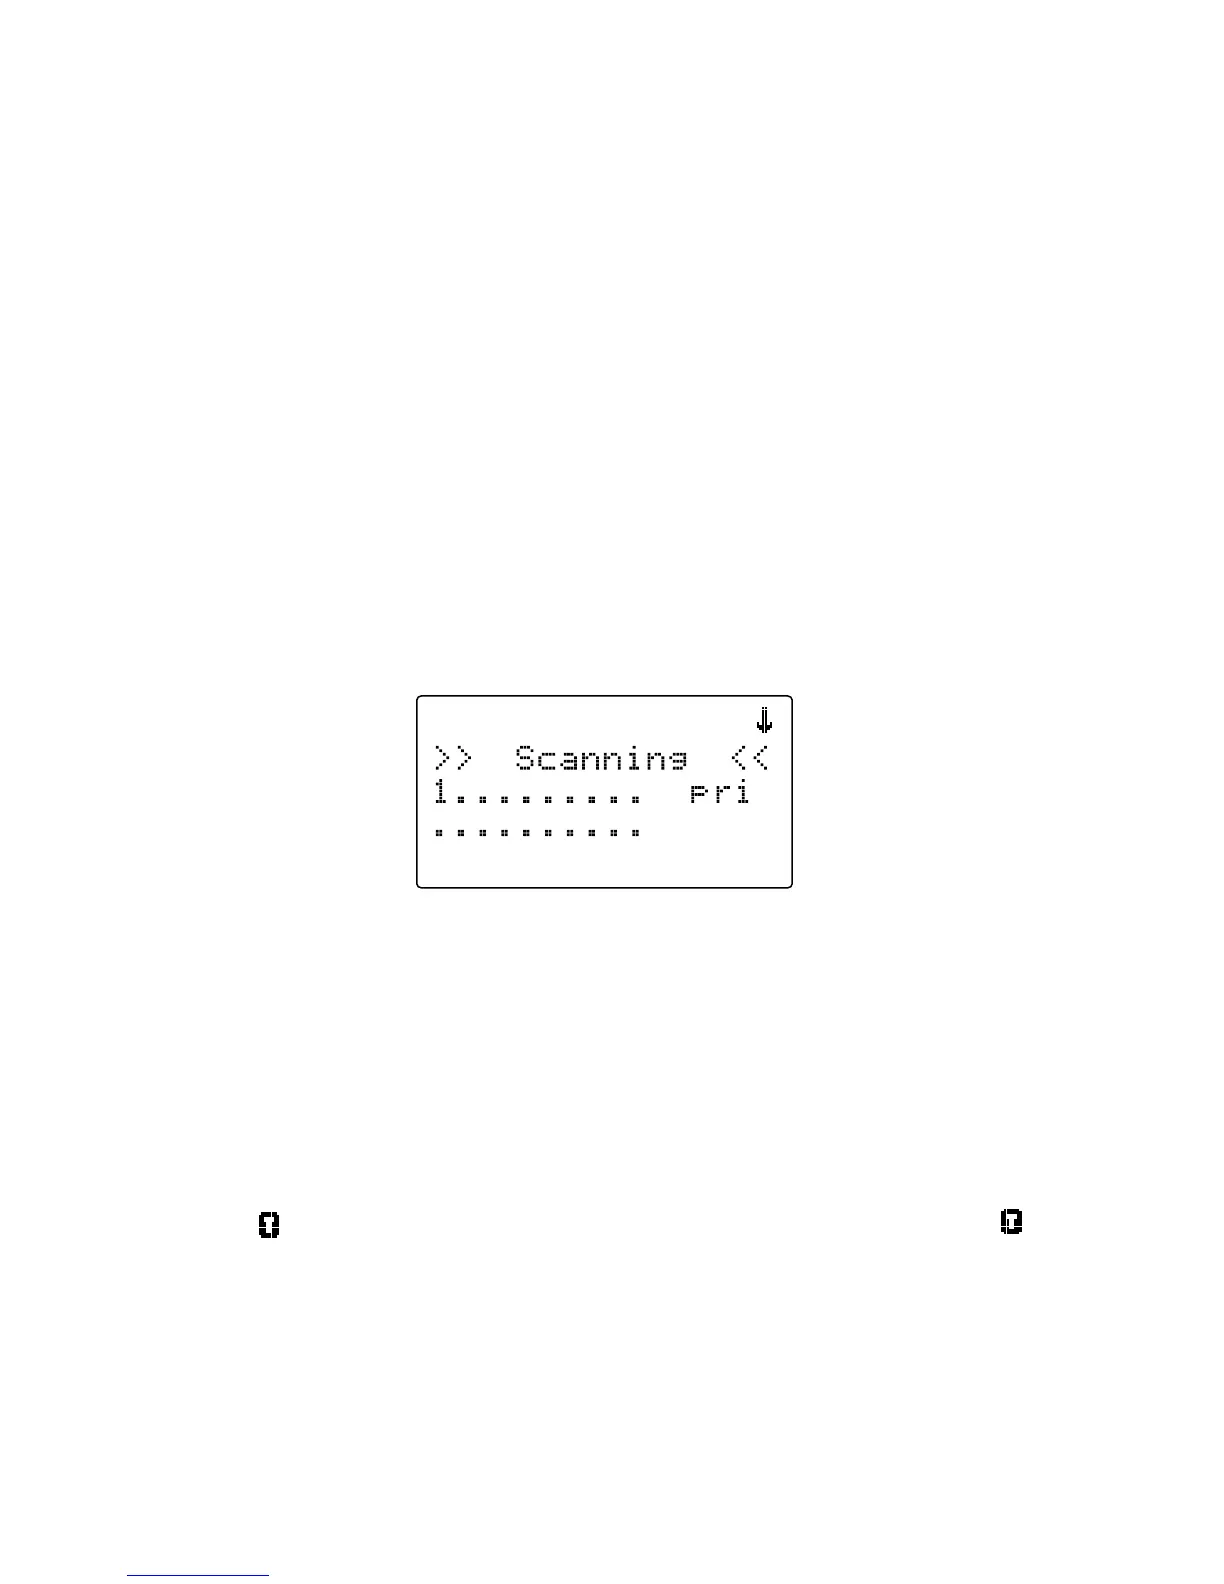
The scanner display indicates Scan Mode as follows:
Study the two rows under the “Scanning” display. Each space represents
the status of a Scan List in your radio. The top row of numbers represents
Scan Lists 1 through 10, and the bottom row represents Scan Lists 11
through 20. Unless you have already enabled other Scan Lists in your
radio, you will only see the number “1” in the top row. All of the other
spaces contain “•” symbols, which indicates that these other Scan Lists are
currently not enabled.
If you have included one or more TGRP objects in your programming,
and are within range of the trunked radio system for those TGRPs, you will
see the icon flash periodically while the radio is scanning. The icon
indicates that the scanner is receiving control channel data from a trunked
radio system.