GTO 3000XLS/3200XLS Instruction Manual © 01.10.12 7
9. Installation Overview
Pull-To-Open Gates (Gate Opens into the Property)
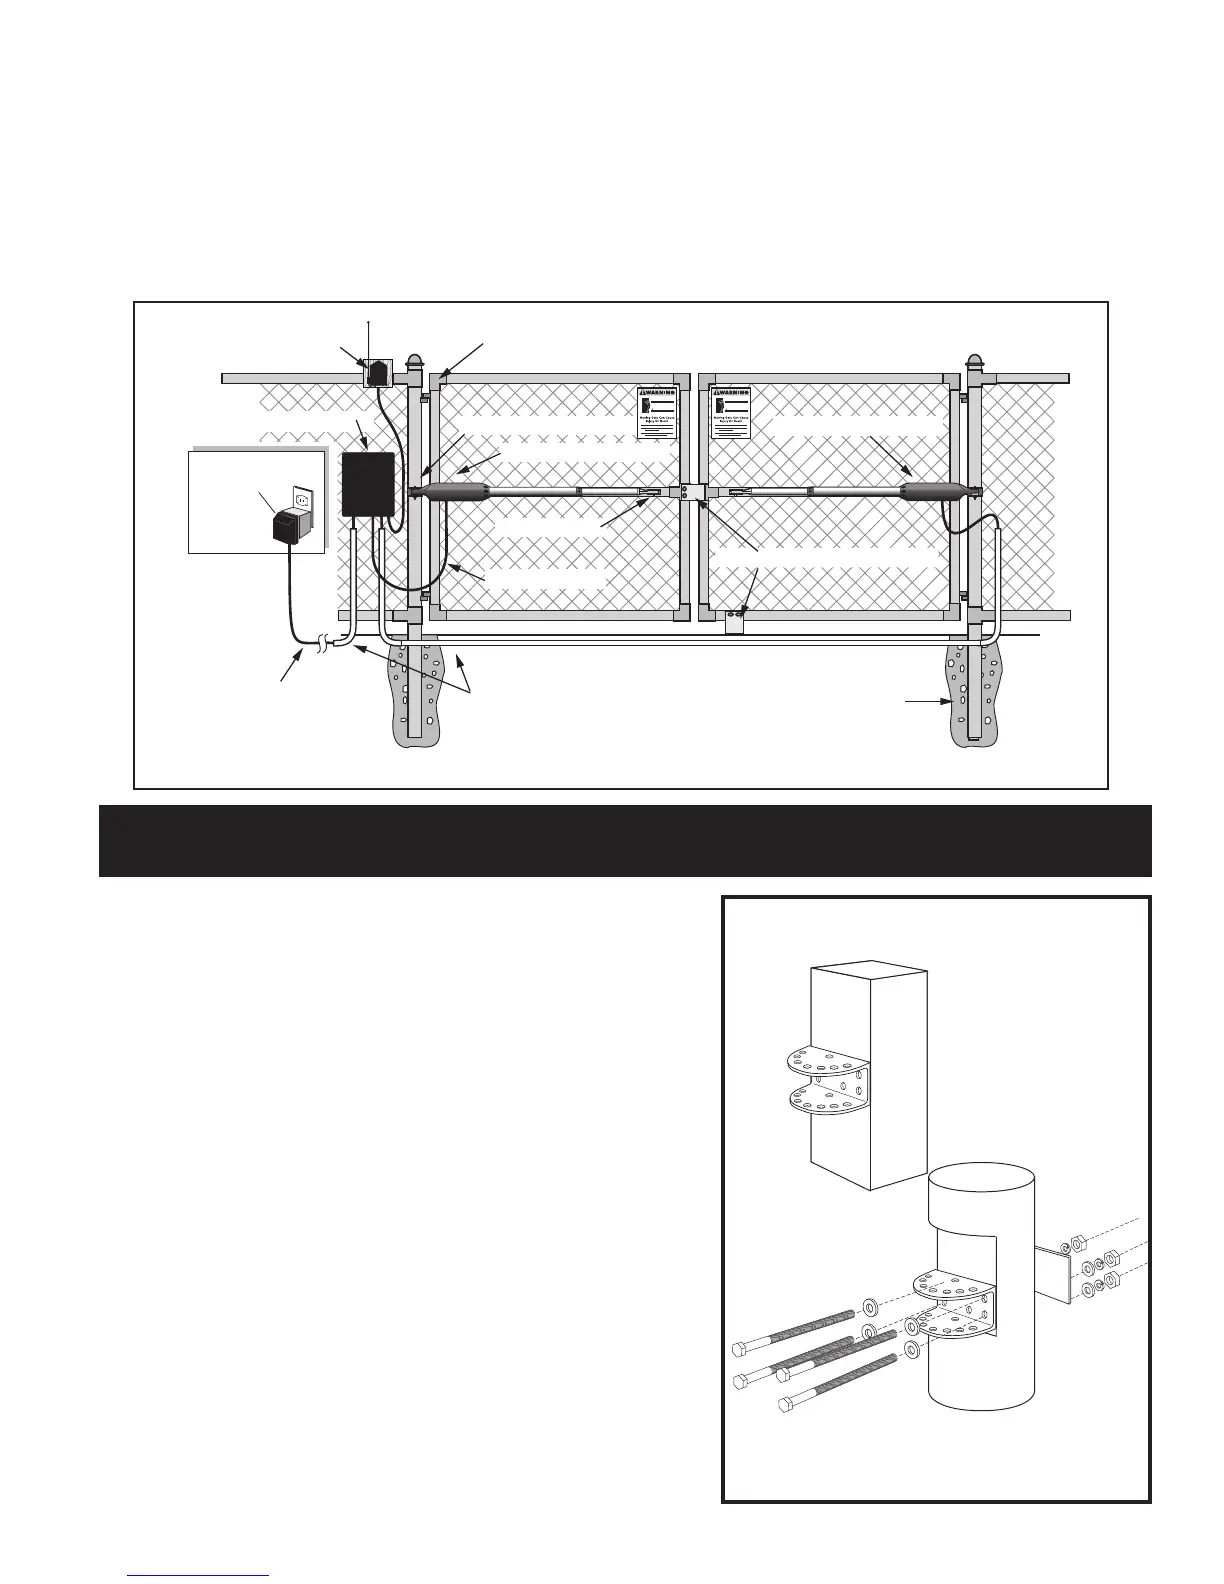
The diagram shown below is an example of a Pull-To-Open installation on a chain link fence and dual
gate. Mounting the operators on masonry columns requires special procedures; see Column Installation
Information on page 27. Furthermore, if you have a Push–To–Open gate, see Push–to–Open Installation
on page 25 before proceeding.
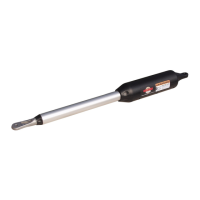
Install the Master Gate Operator (3000XLS)
Install the Post Bracket Assembly
Thepostbracketisdesignedtoworkonaatpost.Posts
must be at least 6” square in order to bolt the post bracket.
When using bolts to mount the post bracket, the bolts must
completely penetrate the post.
• Thebestmethodofattachingthepostbrackettoa
metal post is welding.
• Ifyourpostexceeds8”,itwillbenecessarytousehex
head bolts longer than those supplied.
• Roundwoodposts(nosmallerthan8”diameter)may
benotchedtocreateaatsurfaceforattachingthe
post bracket.
• Woodpostswillrequireametalplate(notprovided)
between the nuts and post to prevent the operator
from pulling the bolts and washers through the wood.
• Apostsmallerthan6”indiametershouldbemade
of metal instead of wood so that it will remain stable
while the operator is moving the gate.
• Masonrycolumnswillrequiremasonryanchors/
hardware (not provided).
Gate Swings Evenly and Freely
Hung Firmly and Plumb
Receiver
PVC conduit (not included)
to protect second opener
power cable and low voltage wire
from lawn mowers and weed eaters.
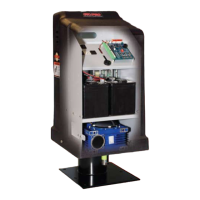
Post Bracket Assembly
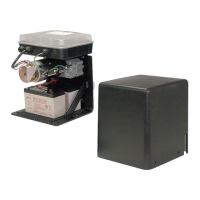
Control Box with Battery
Gate Bracket
MASTER Gate Opener
Concrete Poured
Around Gate Post
Run 1000' (max.) of low
voltage wire to control
box from transformer
(wire not included).
6' Power Cable
Closed Position Stop Plates
120 Volt Indoor
Transformer
(surge protector
not supplied)
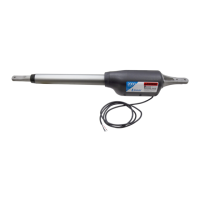
SECOND Gate Opener

 Loading...