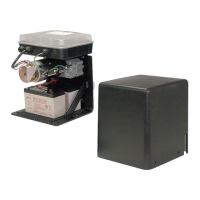
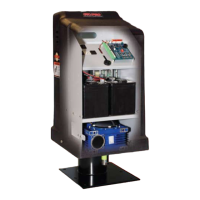
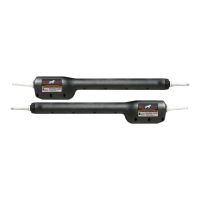
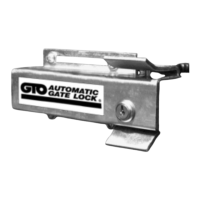
8 GTO 3000XLS/3200XLS Instruction Manual © 01.10.12
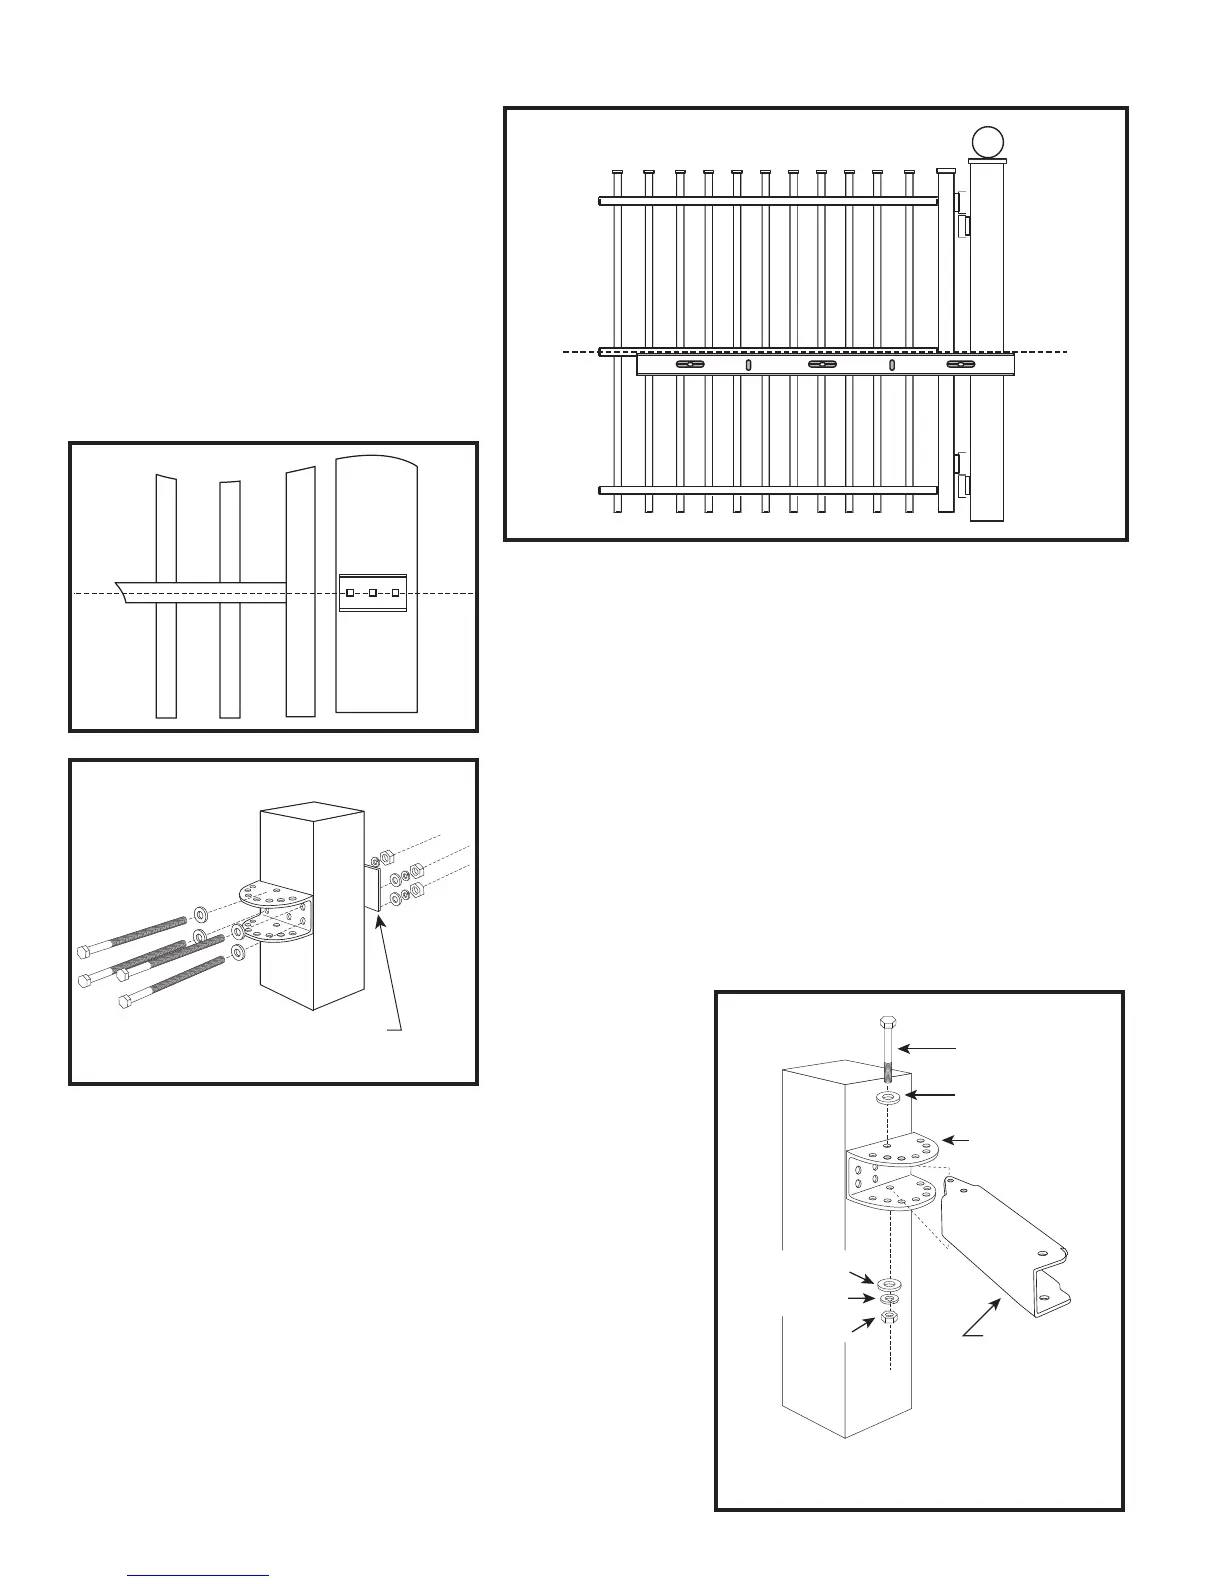
Step 1
Close the gate and place your level
against the horizontal cross member.
Position the level so that the top should
be in the center of the cross member
and overlaps the post. Scribe a line
across the cross member and post.
You will use this line to help determine
position of post and gate brackets.
Step 2
Position the post bracket on the post with the mounting holes
centered over the scribe line. The post bracket should be
ushwiththeedgeofthepostclosesttothegate.Markthe
position of post bracket holes on the post.
Step 3
Drill holes through post as marked using a
3
/8” drill bit. Install
the post bracket using the
3
/8” x 8” hex head bolts and
3
/8”at
washers, lock washers, and nuts (provided) .
Step 4
Place the end of post pivot bracket with two holes inside the
post bracket. (Notched end of Post Pivot Bracket should face
gate, to accommodate the operator arm.) Align the back hole
in the post pivot bracket with back hole in the post bracket.
Insert
3
/8” x 3” hex head bolt and washer through post pivot
bracket and post bracket and secure with
3
/8” washer, lock
washer and nut.
Metal reinforcement plate
for wood post
3/8" x 3" Bolt
Post Pivot Bracket
Post Bracket
3/8" Nut
3/8" Lock Washer
3/8" Washer
3/8" Washer