24
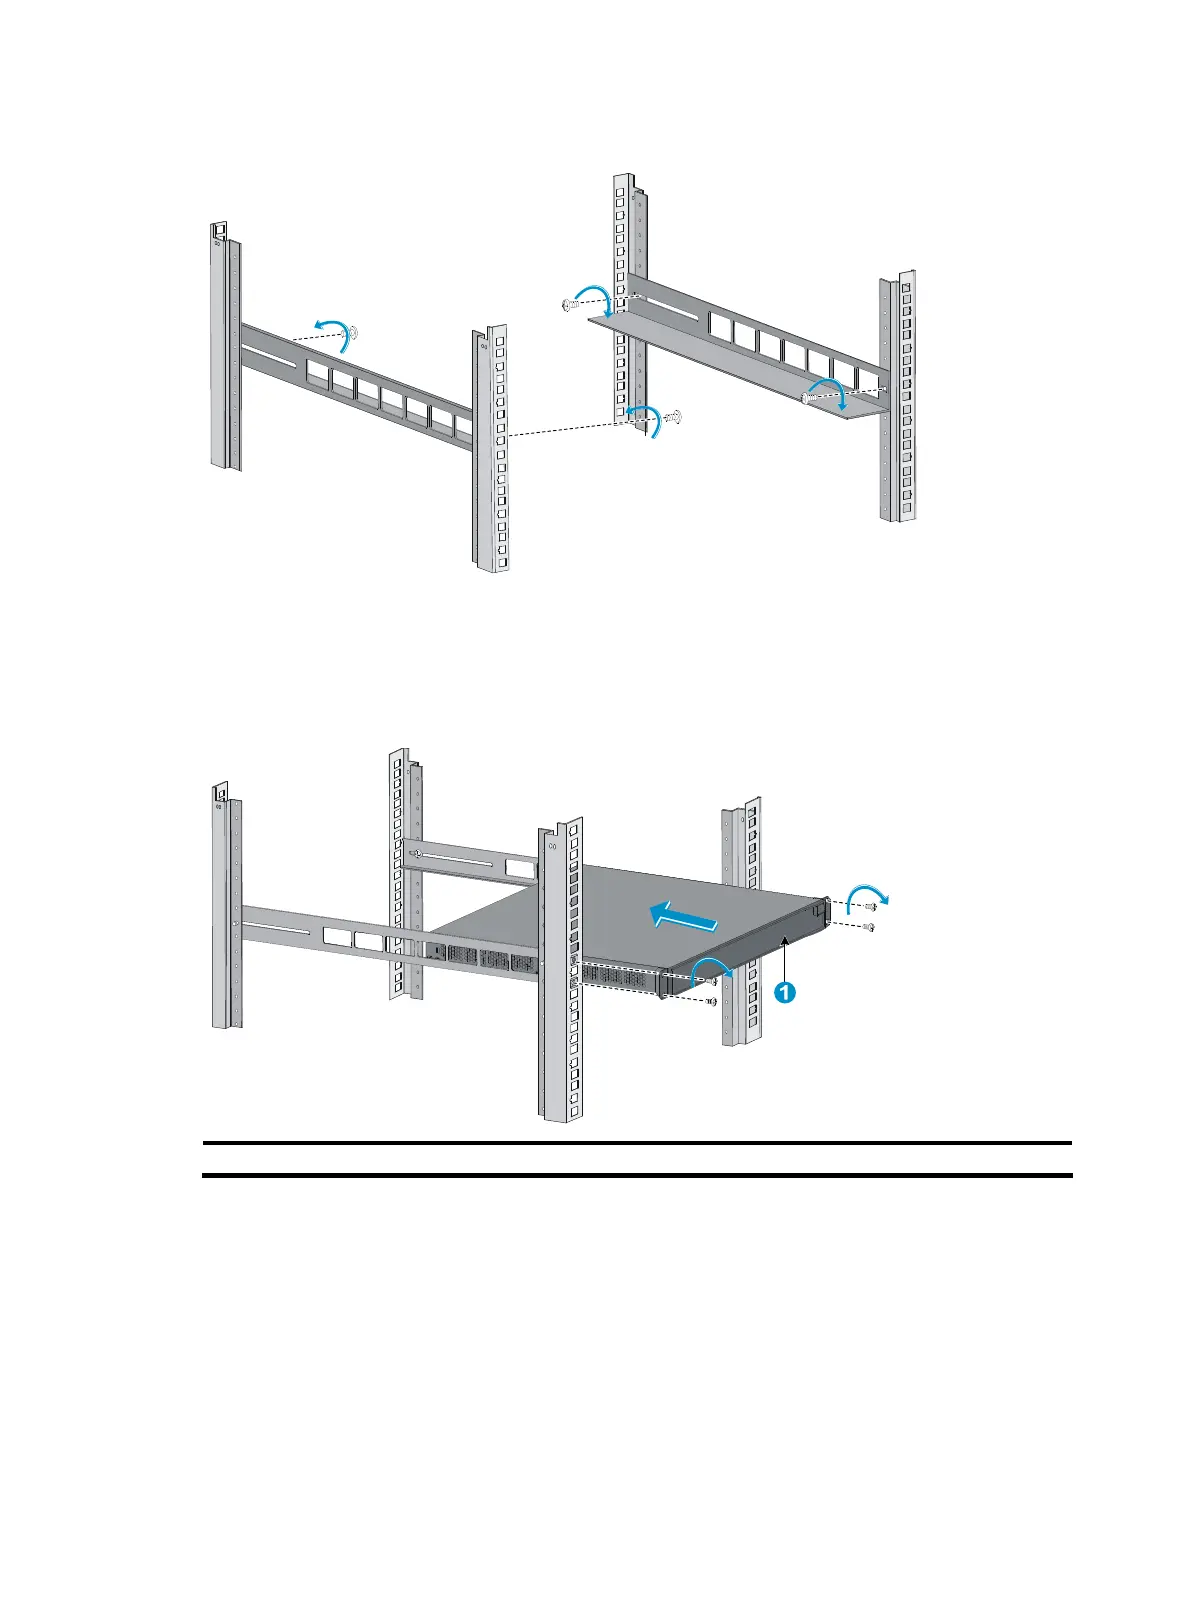
Figure 30 Install the slide rails
Step5 Supporting the switch bottom, slide the switch along the slide rails into the rack until the lower edges of
the slide rails make close contact with the switch bottom. Then use the M6 screws to fix the front mounting
brackets to the front rack posts, as shown in Figure 31.
Figure 31 Mount the swi
tch to the rack by using front mounting brackets and slide rails
(1) Switch front panel
Mounting the switch on a workbench
In many cases, standard 19-inch racks are not available. Switches are often placed on clean
workbenches. To place the switch on a workbench, follow these steps:
Step1 Place the switch with bottom up carefully, and then clean the round holes on the chassis bottom with dry
cloth.
Step2 Attach the rubber feet to the four round holes on the chassis bottom.
Step3 Place the switch with upside up on the workbench.

 Loading...


