26
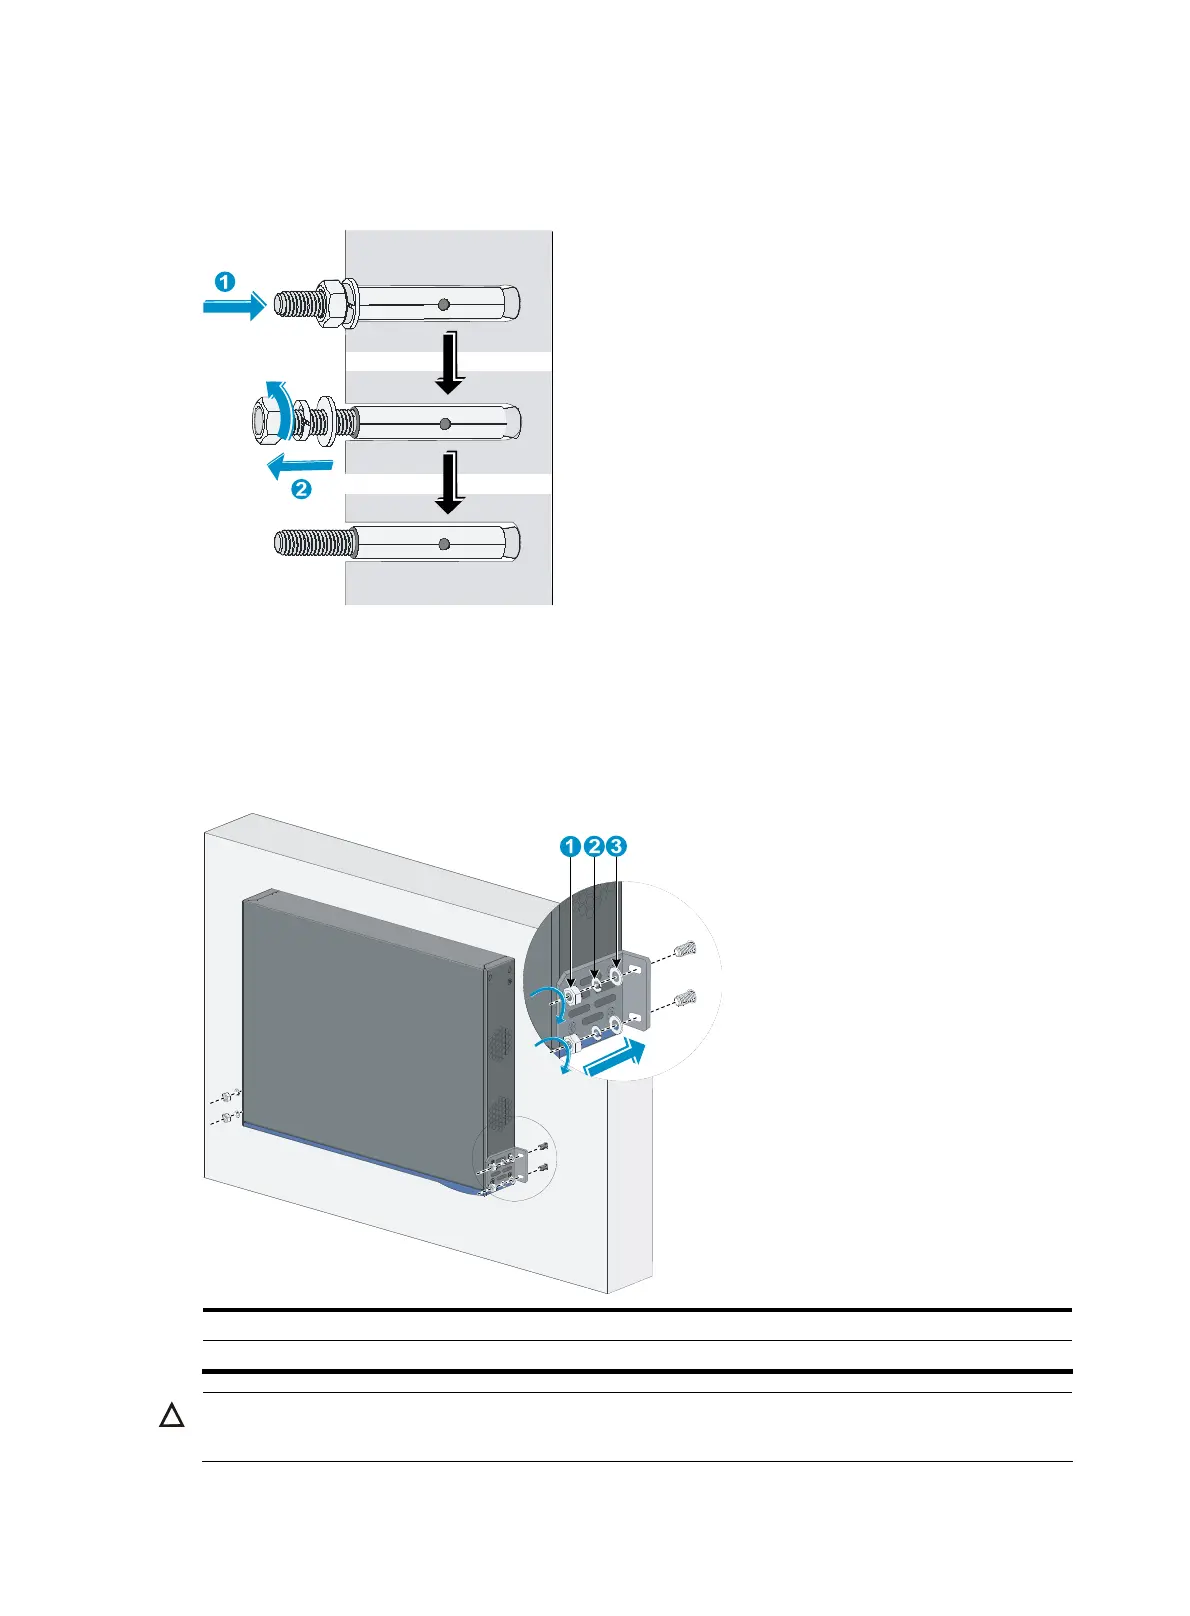
Step3 Insert the expansion anchors into the holes, and remove the hex nut, spring washer, and flat washer from
each expansion anchor, as shown in Figure 34.
Figure 34 Install an expansion anch
or
Step4 Supporting the switch with the network ports facing downwards, insert the mounting brackets into the
four expansion anchors.
Step5 Attach the flat washer, spring washer, and hex nut in turn to each expansion anchor, and fasten the hex
nut with a wrench, as shown in Figure 35.
Figure 35 Mount the swi
tch on a wall
(1) Hex nut (2) Spring washer
(3) Flat washer
CAUTION:
Make sure the front and rear of the chassis are perpendicular to the floor.

 Loading...


