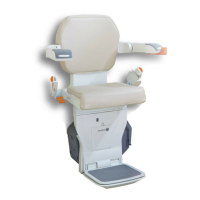
Figure 42
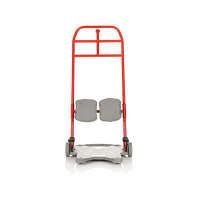
Figure 43
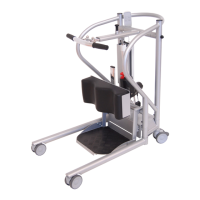
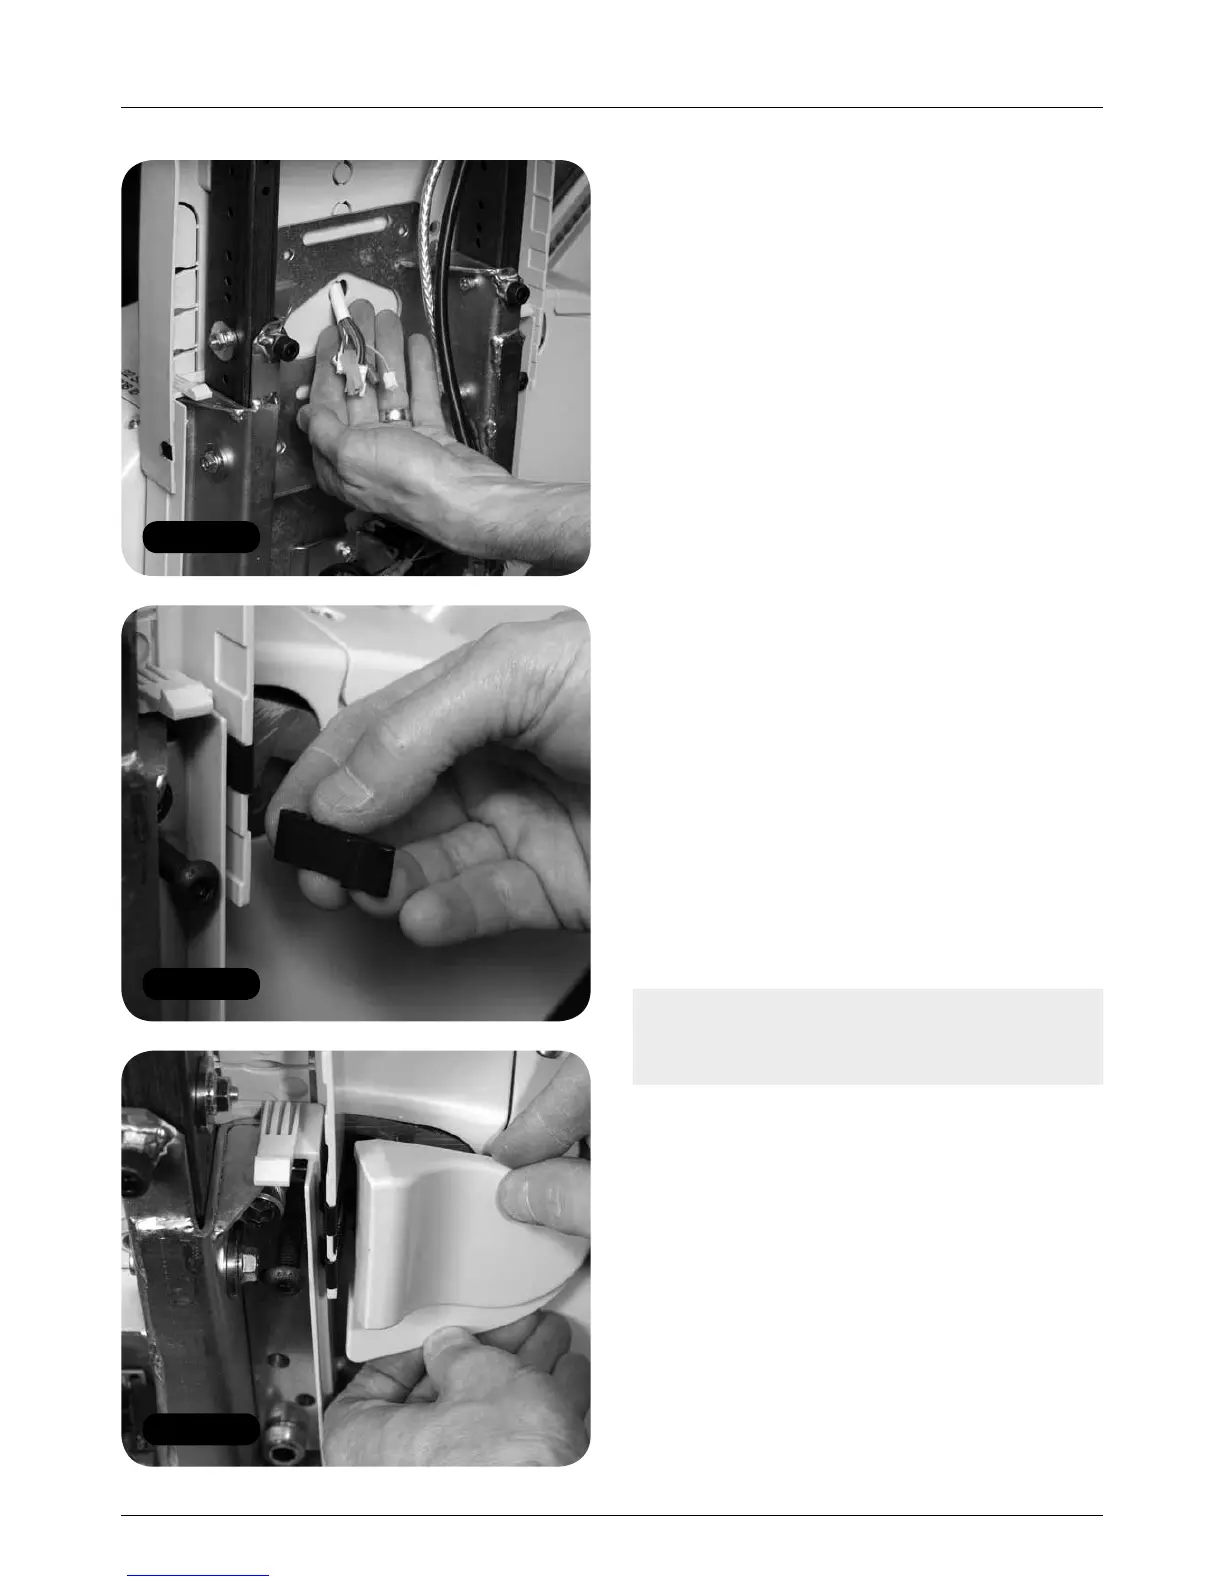
Figure 44
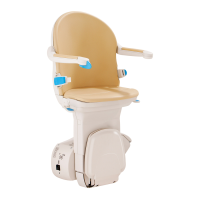
Fitting the seat base / seat back
16 MINIVATOR SIMPLICITY
+
INSTALLATION MANUAL
Fitting the seat back
Items required: Tools required:
• Seat back • 6mm ball ended Allen key
Redundant connections are present to allow
easy re-handing of seats. Connections must
be made according to the handing of the
stairlift; i.e. for a stairlift with left-hand toggle
switch and key switch (always together on
one side), those connections must be made
to left hand arm. The right arm will then
house a powered footplate switch (if fitted).
1 Place the seat back onto the seat base and
using a ball ended 6mm Allen key secure
it with the four bolts and washers provided
(Figure 45).
2 Make the upper seat wiring connections
as follows (Figure 46);
a Key switch connection:
green and orange to green and orange.
b Toggle switch: blue, white and brown
to blue, white and brown
Arm switched powered footplate only
c Powered footplate:
Twin Yellow to twin Yellow
Note: The toggle switch connection must be
made through the interlock loom to enable
the arm interlock functionality (Figure 47).
3 Tidy the cables to the back of the seat
(Figure 48).
Emergency swivel lever
1 Feed the anti-tamper seal through the
emergency swivel lever (Figure 49).
2 Near the front flap of the seat there is a large
and a small hole. Pass the anti-tamper seal
through the small hole, then feed it back
through the larger hole and back on itself
through the hole in the end of the anti-tamper
seal. The lever should be attached on the
down side of the lift.