Figure 70
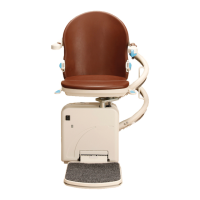
MINIVATOR SIMPLICITY
+
INSTALLATION MANUAL 31
Appendix 2
Slide Track fault finding
Symptom: Intermittent operation
Cause: Copper strip not flat
– brush ‘bouncing’.
Solution: Flatten or replace copper strip
on comms busbar.
Cause: Comms line dirty/non-conductive.
Solution: Clean/polish comms strip.
Cause: Bad earth connection between
MS125 & 126EL PCBs.
Solution: Check power pack earth copper
connection is good for full travel
of lift (visual down track).
Symptom: Lift stops and display blanks.
Lift will not drive.
Cause: Thermal fuse overheated.
Solution: Turn the lift off for 30 seconds
and then turn it back on.
Cause: Short on comms circuit.
Solution: Find short between track and
comms and rectify.
Symptom: Lift shuts down when loaded
on to track.
Cause: Short on comms brush to track.
Solution: Use insulated brush loading tool.
Symptom: Power swivel will not operate.
Cause: Incorrect top limit reed switch
set up on Slide Track.
Solution: Adjust the limit switch position
(Figure 71).
Top limit reed switch adjustment
• The power swivel needs to get a signal
from the reed switch inside the rail to work.
Therefore the reed switch may need moving
upward to the magnet housed inside the
hollow rolled section (captive by M6 hex
head screw facing downward on the fix foot).
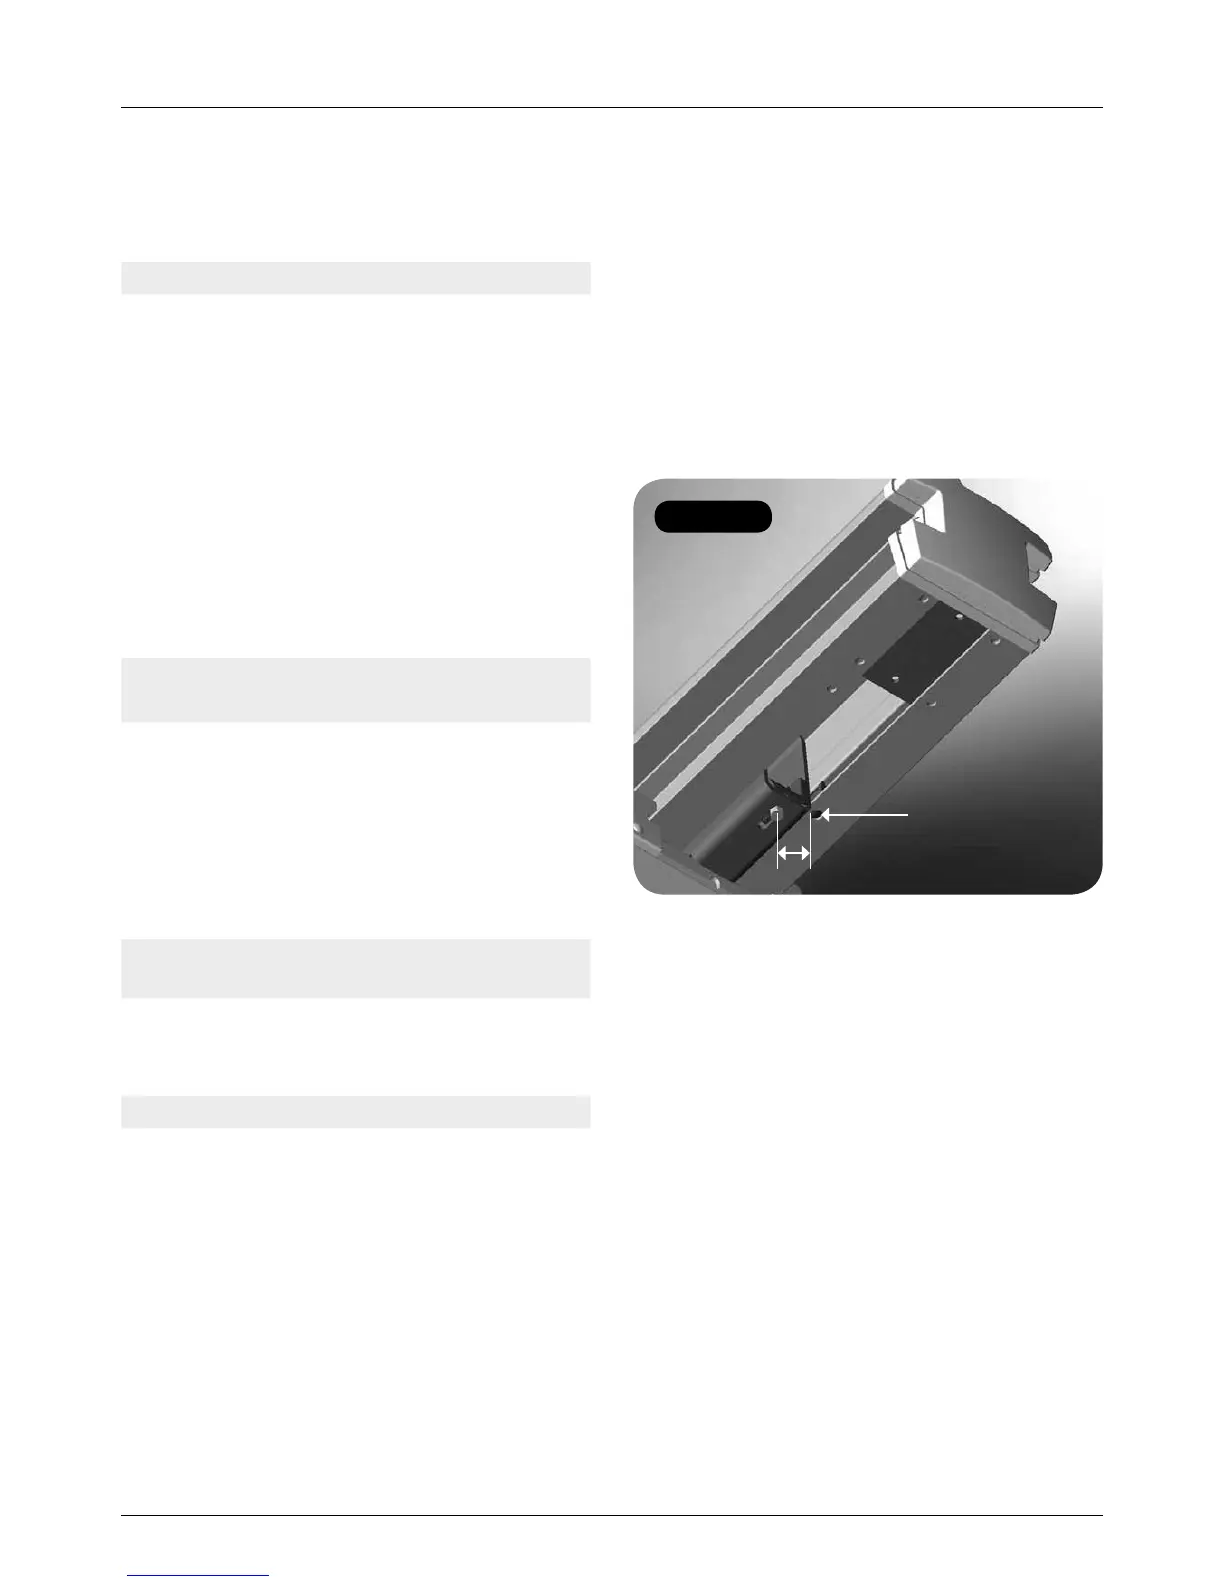
• The centre of the reed switch should be
approximately 20mm away from the centre
of the magnet.
• There is a dogging hole that the reed switch
locates in for a reference. This can be
overridden by depressing the inside of this
hole to depress the catch, and then slide the
reed switch up the channel to get a signal.
20mm
Dogging hole