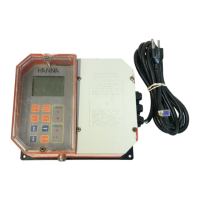
Installation & Controller Start-Up 22
To mount the controller on a panel:
1.
Select the position desired for the controller on the panel, and make the cutout following dimensions
indicated in Figure 9. Smooth the cutout edges so as not to damage the gasket or to scratch the controller
during assembly.
2. Unscrew all six M20 cable glands using an M24 socket or wrench (Figure 11, part A).
3. Keep the venting element in position (Figure 3, label 2).
4. Slide the gasket onto the controller and place controller into panel cutout from the front of the panel.
5.
Using screws and washers, screw the brackets to the controller from back side. Screw M6×12 mm screws
into bracket and tighten against the back of the panel.
6. Screw the six cable glands (Figure 11, part B) back in place.
7. Connect the protective ground wires
g
(Figure 11, part C).
Panel
bracket
Protective ground
connection screws
A B
C
Figure 11: Panel‑Mount Steps, Parts (A) ( B) (C)

 Loading...