Technical Data and Accessories
7–12 Edition September 2000
ABC
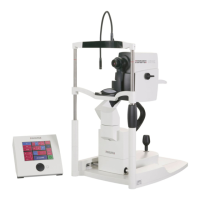
7. Release the interior of the device
(cast alu.) and raise it upwards and out
of the housing through the opening.
3 screws: one in the center at
the front, one in the rear left
and rear right corners.
8. Open the back panel on the rear of
the device
9. Remove the original illumination at
the base of the device, remove the
fluorescent lamp (1x) and the
fluorescent lamp ballast (1x)
10. Open the maxi board at the base of
the device, remove the electronics PCBs
Loosen 2 lateral screws, the lid
of the maxi board can then be
pulled to one side to give access
to the PCBs.
11. Loosen the unions for the plastic
housing (front and back panel) from the
inside, unscrew the plate from the
inside
6 screws in plastic, more at the
base
12. Unscrew the feet (2x)
13. Open the lamp cover on the top of
the camera carriage (inside of device)
Press the plate together by
hand, no union
14. Remove the fluorescent lamps (2x)
15. Unscrew the camera carriage cover
(inside of device)
16. Unscrew the fluorescent lamp
ballast (2x)
17. Use force to remove the electronics
PCBs (2x)
Electronics PCBs are partially
fixed onto an aluminum carrier
Work step Note
 Loading...