Home
HEIDELBERG
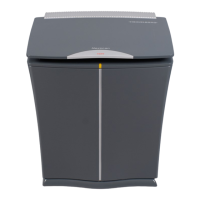
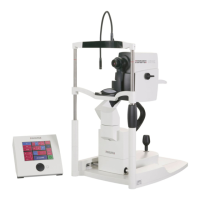
Scanner
Nexscan F 4100
HEIDELBERG Nexscan F 4100 User Manual
4
of 1
of 1 rating
124 pages
Give review
Manual
Specs
To Next Page
To Next Page
To Previous Page
To Previous Page
Loading...
W
orking with the Nexsc
an F 4100/F 4200
4
–
20
Edition September 2000
ABC
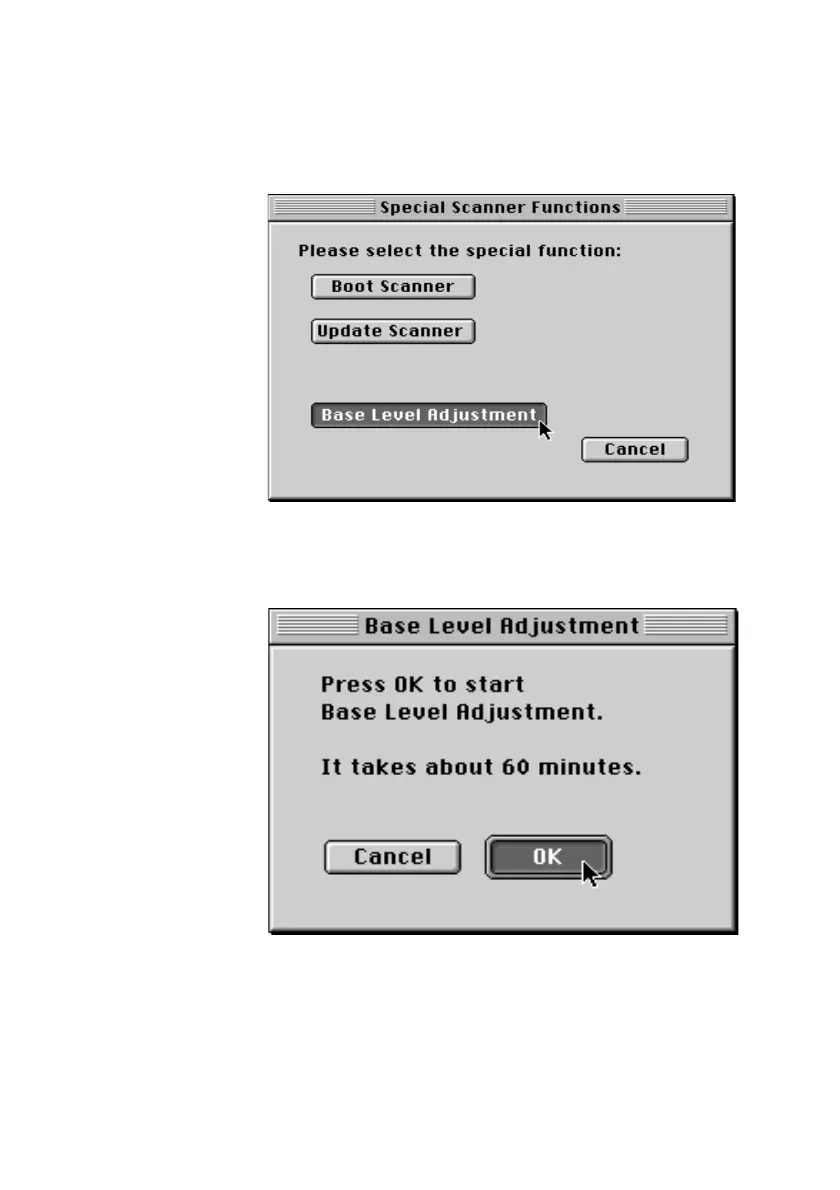
Click on
Base level adjustment
.
Click
OK
. The adjustment proced
ure takes about
60 minutes. The Nexscan F
4100/
F
4200 is
automatically initia
lized after this.
63
65
Table of Contents
Default Chapter
3
Table of Contents
3
Before You Start
9
Notes on Technical Safety
9
Designated Use
9
General
9
Prerequisites
10
Other Documentation
10
About this Documentation
11
Conventions Used in this Manual
11
Important Information
12
Influence of Magnetic Fields on the Monitors
12
Any Comments on this Documentation
13
HEIDELBERG Online
14
1 Unpacking and Installing
15
Dear Customer
15
Power Connection
15
Scope of Delivery
15
Unpacking and Installing
16
2 Connecting
27
Installation
27
Connecting the Nexscan F 4100/F 4200 to the Workstation
27
Connecting the Nexscan F 4100/F 4200 to the Power Supply
29
Switching on the Nexscan F 4100/F 4200
32
Installing the Newcolor Software
32
Installing the Linocolor Software
32
Installing Calibration Data
33
3 Product Description
35
General View Nexscan F 4100/F 4200
35
Product and Performance Features of the Nexscan F 4100/F 4200
36
Nexscan F 4100/F 4200
36
Overall Configuration
38
Scanning Principle
39
Power Switch
41
Scanning Progress Indicator
42
Mounting Rail
43
Scanning Speed
44
4 Working with the Nexscan F 4100/F 4200
45
Operating Sequence
45
Preparing the Tray
46
On the Universal Tray
47
Securing the Originals
48
Close Scanner Lid
49
Scanning Process
50
Scanning Three-Dimensional Objects
52
Selecting the Quality
53
Mounting Procedure
54
Mounting Selection
56
Light Optimization
58
Special Scanner Functions
59
Performing a Basic Level Adjustment (for Newcolor)
61
Performing a Basic Level Adjustment (for Linocolor)
63
Resetting the Scanner (for Linocolor)
65
Updating the Scanner (for Linocolor)
67
Working with the Slide Tray
69
Passepartouts
73
Slide Tray
74
Register Strip
75
Notes on Care and Maintenance
77
Fluorescent Lamps
78
Lamp Change for Reflection Scanning
79
Lamp Change for Transparency Scanning
81
Lamp Change for the Illumination of Originals
83
Replacing the Glass Plate
84
Cleaning the Nexscan F 4100/F 4200
85
Removing Dust in the Lid
86
Cleaning the Glass Surface/Universal Tray
87
5 Accessories
73
6 Service and Maintenance
77
Liquids
89
Streaks, Damp Areas, Fresh Finger Prints
91
Previous Procedures
92
Cleaning Originals
93
Liquids
95
Dust
96
Cleaning with Ethanol
97
General Remarks on Maintenance
98
7 Technical Data
99
Accessories
100
Consumables
101
Minimum Configuration for the PC
102
Scanner System
103
Power Connection
104
Standards
105
Interference Immunity
106
Disposal of the Device
107
Materials
108
Dismantling
109
Pollutants
111
Materials/Plastics
112
Dismantling 1
113
Dismantling 2
114
Dismantling 3
115
8 Quality Assurance
121
4
Based on 1 rating
Ask a question
Give review
Questions and Answers:
Need help?
Do you have a question about the HEIDELBERG Nexscan F 4100 and is the answer not in the manual?
Ask a question
HEIDELBERG Nexscan F 4100 Specifications
General
Brand
HEIDELBERG
Model
Nexscan F 4100
Category
Scanner
Language
English
Related product manuals
HEIDELBERG Spectralis
2 pages
HEIDELBERG TANGO
87 pages