4.
Turn the thumb screws counterclockwise until the cover is unsecured from the chassis.
5.
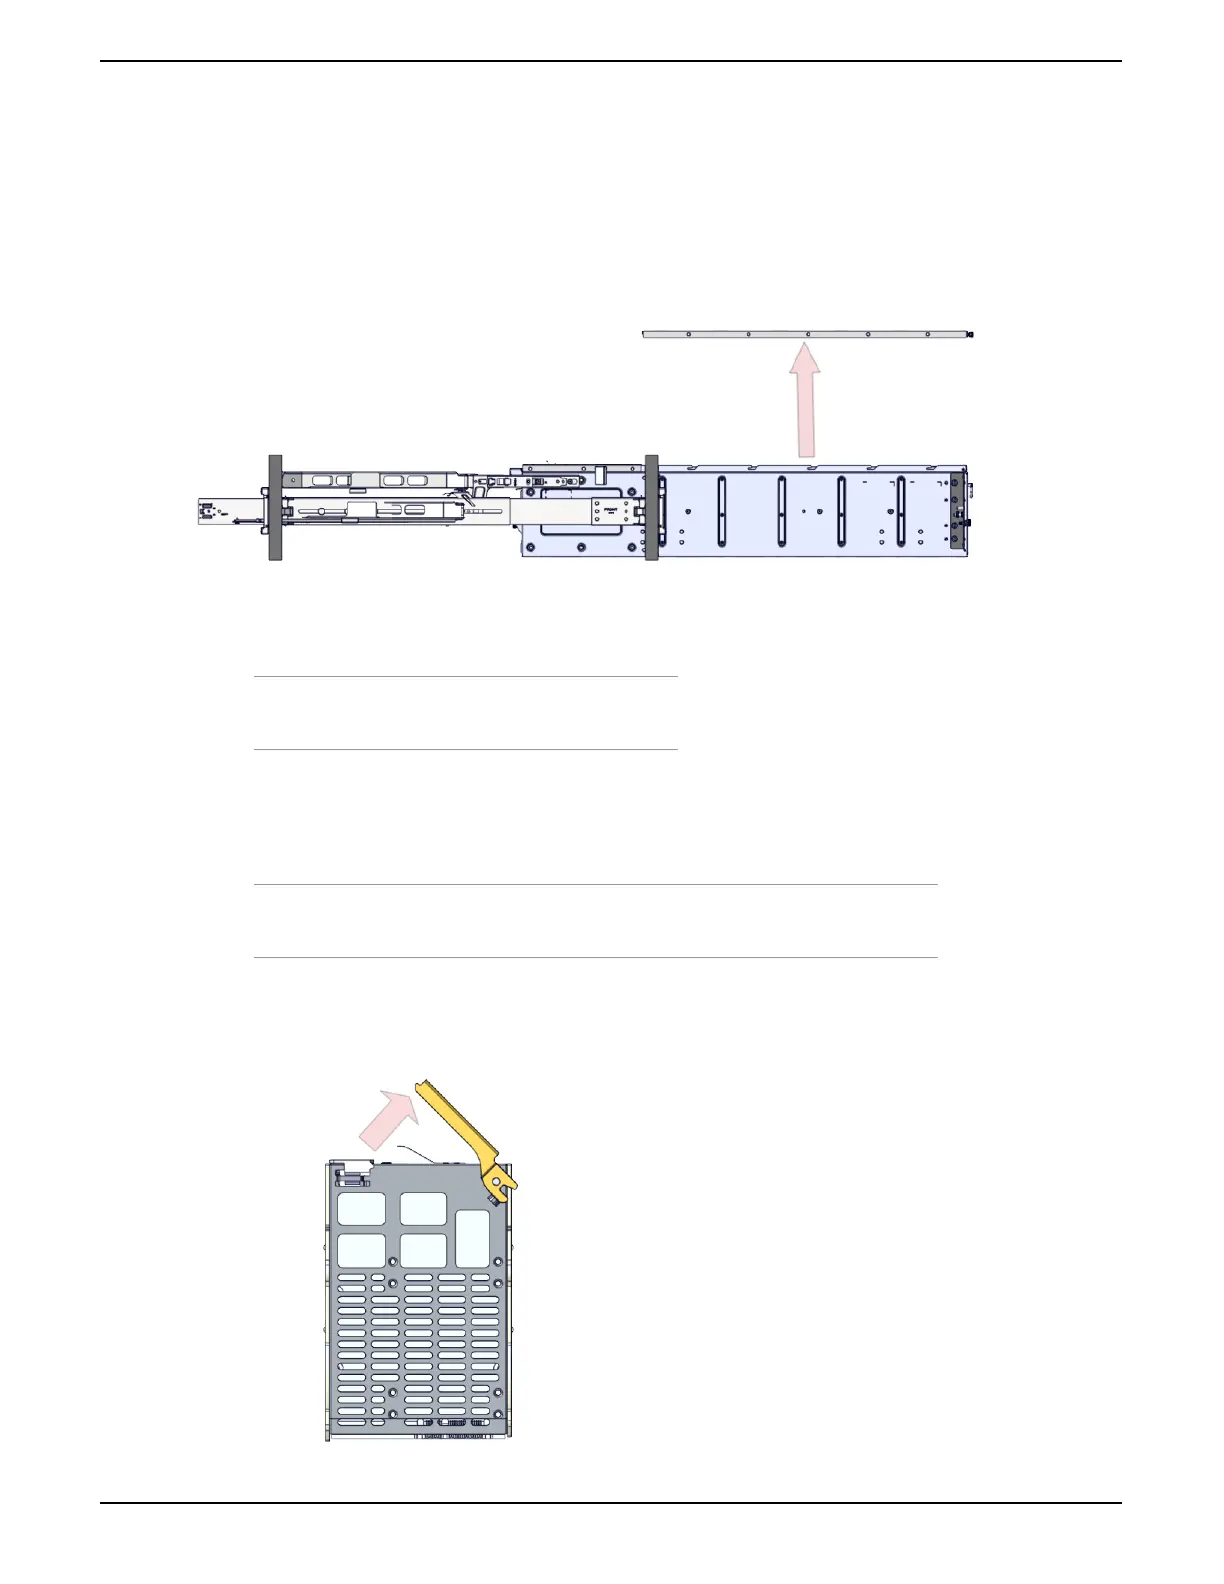
Slide the cover towards the front of the enclosure.
6.
Pull the cover off of the enclosure.
Figure 26: Removing the Enclosure Cover
Note: To avoid damage to the cover, store in a safe
location.
7.
Unpack the replacement HDD.
8.
From the enclosure, locate the empty drive bay.
9.
Line up the HDD with the connector on the board.
Note: Ensure that the arrow on the HDD carrier is pointing towards the rear of the
enclosure.
10.
Using the HDD carrier slider button, push the HDD into the drive bay.
Figure 27: Hard Disk Drive Carrier Handle
44
Installation Guide 11 Installing the 4U60 Storage Enclosure
 Loading...