22
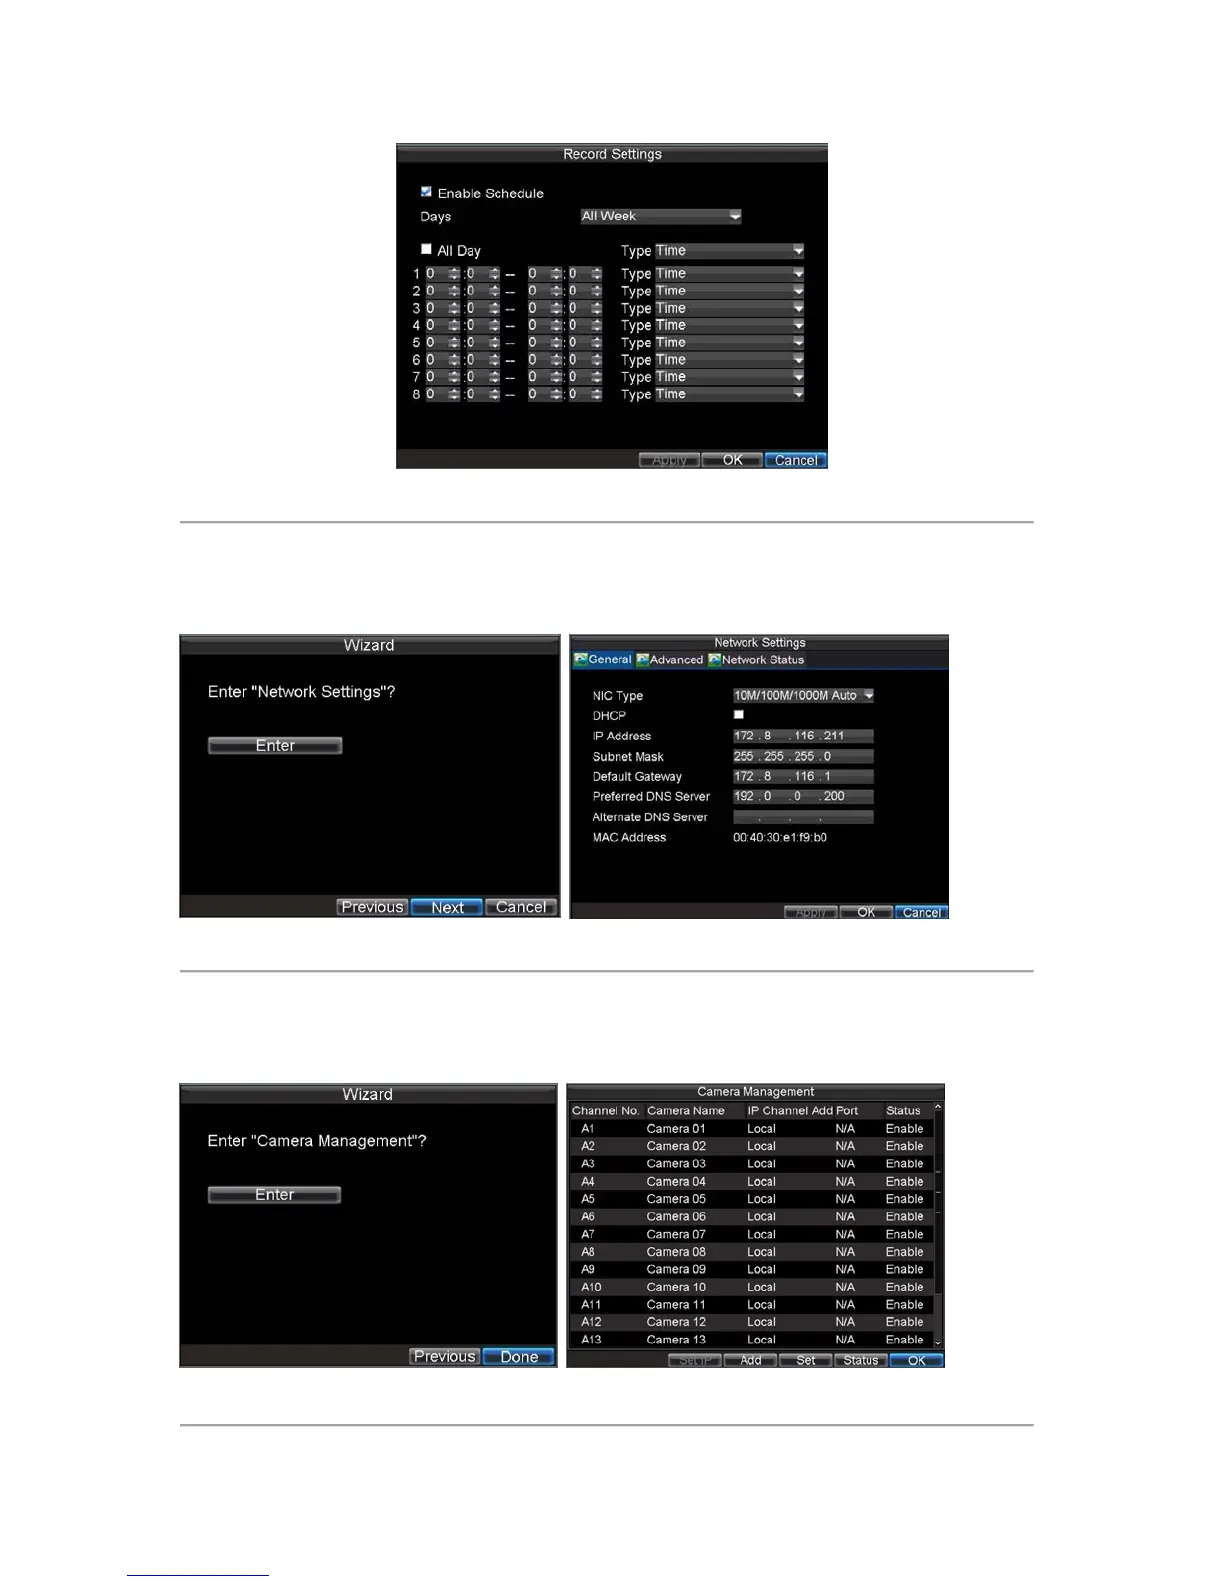
Figure 9. Edit Schedule Settings
20. Click the OK button. This will take you back to the Schedule tab. To copy the schedule to a different
channel, select the channel or all under Copy To and click the Copy button.
21. Click the Next button. This will take you to the Network Settings window, shown in Figure 8.
Figure 8. Network Settings
22. To configure network settings, click the Enter button.
23. Enter the IP Address, Subnet Mask and Default Gateway. Click the OK button to return to the
Setup Wizard.
24. Click the Next button. This will take you to the Camera Management window, shown in Figure 9.
Figure 9. Camera Management
 Loading...