36
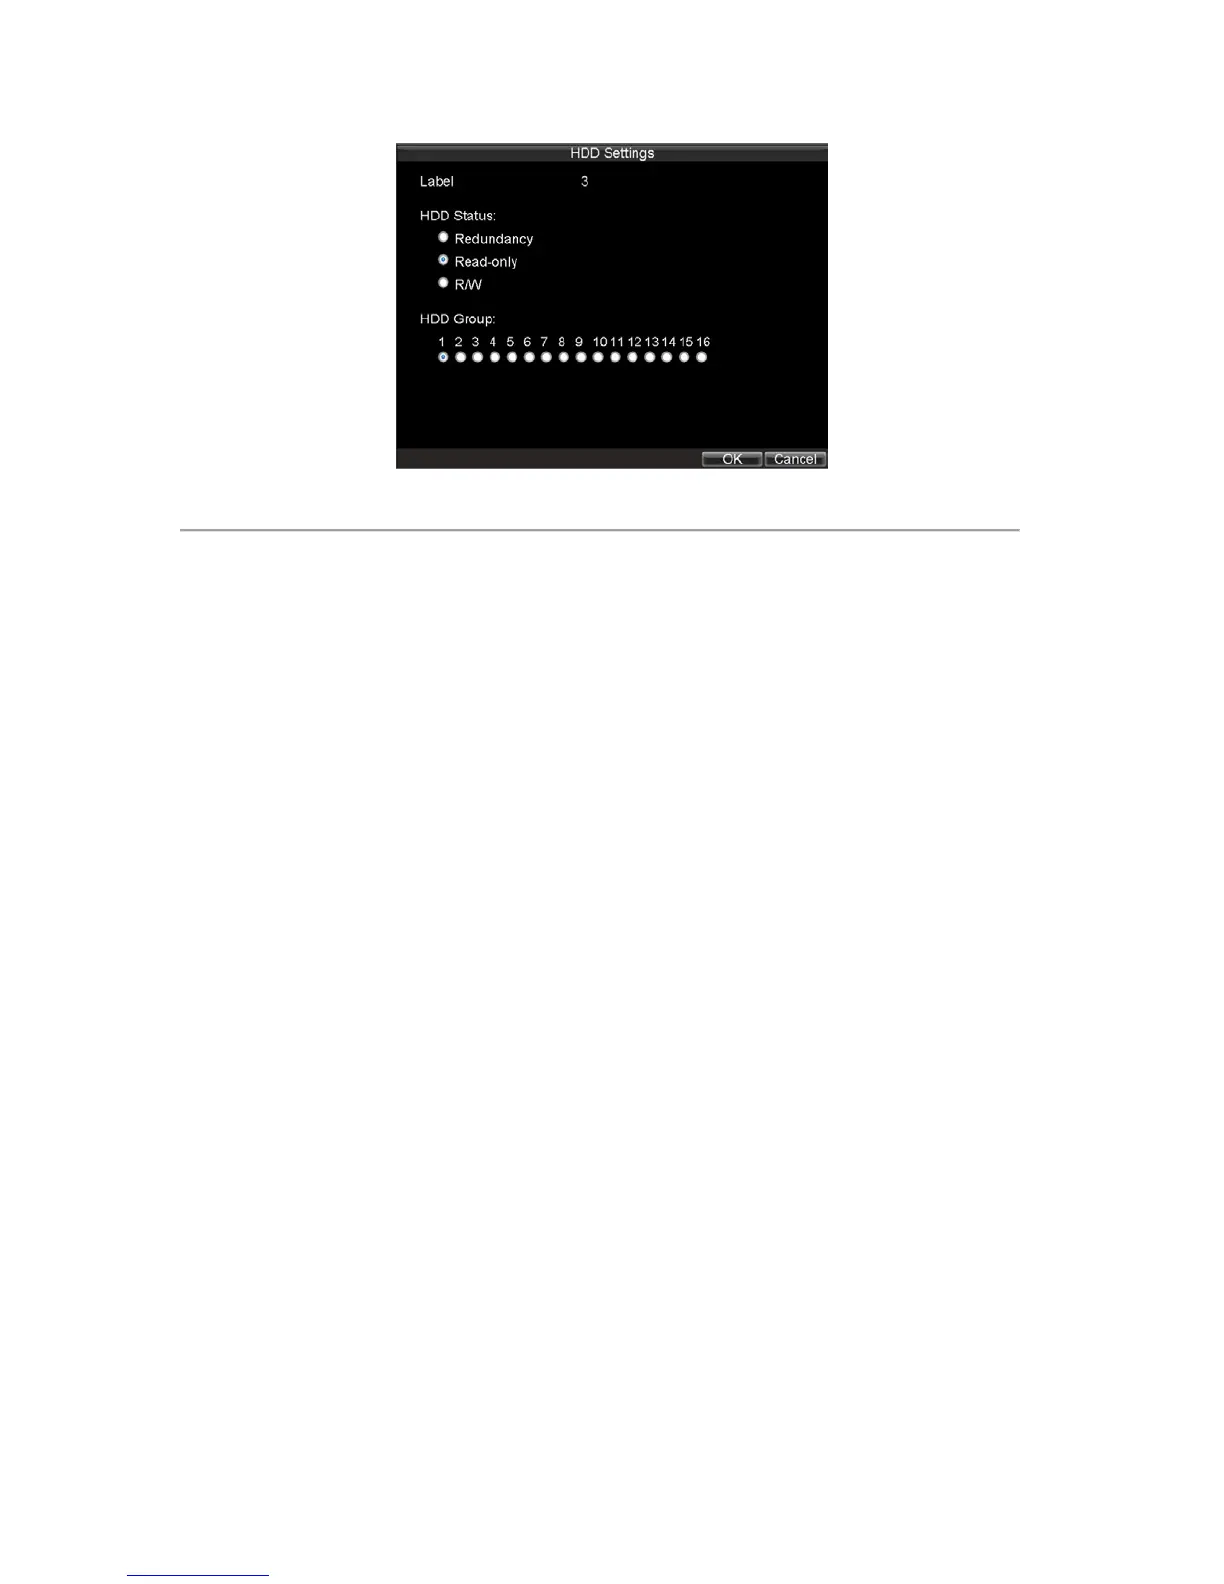
Figure 9. HDD Settings Menu
5. Set HDD to Read-Only.
6. Click the OK button. The HDD is now read-only.
Note: When a HDD is set to read-only, no more recordings can be written to the disk. In order to enable recordings
on that particular disk again, you must set the HDD to R/W (Read/ Write) in the HDD Settings menu. If multiple HDDs
are used, the DVR will automatically record to the next HDD that is not set to read-only.
Configuring Advanced HDD Settings
Setting up HDD Redundancy
To insure unexpected failures of hard disk drives, it’s recommended to set up HDD redundancy. It is important to note
that in order to set up HDD redundancy, you’ll need more than one HDD in your DVR.
To set up HDD redundancy:
1. Navigate to the HDD Management menu by clicking Menu > HDD management.
2. Click on the General tab.
3. Select the HDD to be used for redundancy, as shown in Figure 10.

 Loading...