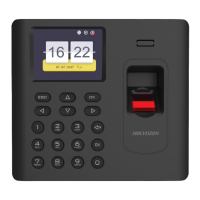
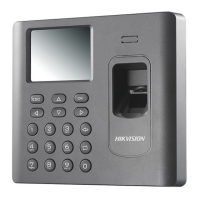
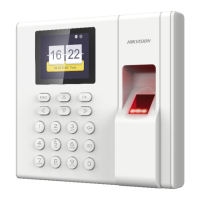
Note
The device's IP address and the PC's should be in the same network segment.
4.
Oponal: Enable DHCP.
The system will
automacally assign IP address for the device.
5.
Press ESC and select Yes to save the parameters and return to the previous menu.
5.4.2 Set Wi-Fi Parameters
You can enable the Wi-Fi funcon and you can transmit the data via Wi-Fi.
Steps
Note
The funcon is supported by parts of the device models.
1.
Move the cursor and select Comm. → Wi-Fi .
2.
Press OK to enter the Wi-Fi page.
Figure 5-2 Wi-Fi Page
3.
Enable the Wi-Fi funcon.
4.
Select a Wi-Fi from the list and set the Wi-Fi parameters, including the Wi-Fi password and
DHCP.
-
Enable DHCP, and the system will automacally assign IP address for the Wi-Fi.
-
Disable DHCP, and you should set the IP address, subnet mask, and gateway.
5.
Press ESC and select Yes to save the parameters.
DS-K1A802A Series Fingerprint Time Aendance Terminal User Manual
16

 Loading...


