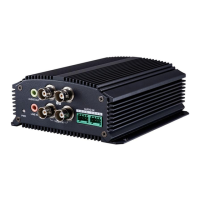
User Manual of DS-6700 Series Audio/Video Encoder
71
Time and End Time of each period.
Note: The time of each period can’t be overlapped. Up to 8 periods can be configured.
2) Select a Record Type or Capture Type. The record/capture type can be Normal, Motion, Alarm, Motion
& Alarm, and Motion | Alarm.
Normal
If you select Normal, the video will be recorded / captured automatically according to the time of the
schedule.
Record/Capture Triggered by Motion Detection
If you select Motion, the video will be recorded / captured when the motion is detected.
Besides configuring the record/capture schedule, you have to set the motion detection area and check the
checkbox of Trigger Channel on the Linkage Method of Motion Detection settings interface. Refer to
the Step 1 Set the Motion Detection Area in the Section 8.4.1 Configuring Motion Detection.
Record/Capture Triggered by Alarm
If you select Alarm, the video will be recorded / captured when the alarm is triggered.
Besides configuring the record / capture schedule, you have to set the Alarm Type and check the
checkbox of Trigger Channel on the Linkage Method of Alarm Input Settings interface.
Record/Capture Triggered by Motion & Alarm
If you select Motion & Alarm, the video will be recorded / captured when the motion and alarm are
triggered at the same time.
Besides configuring the record/capture schedule, you have to configure the settings on the Motion
Detection and Alarm Input Settings interfaces.
Record/Capture Triggered by Motion | Alarm
If you select Motion | Alarm, the video will be recorded/captured when the alarm is triggered or the
motion is detected.
Besides configuring the record/capture schedule, you have to configure the settings on the Motion
Detection and Alarm Input Settings interfaces.
3) Check the checkbox of Select All and click Copy to copy settings of this day to the whole week. You can
also check any of the checkboxes before the date and click Copy.
4) Click OK to save the settings and exit the Edit Schedule interface.
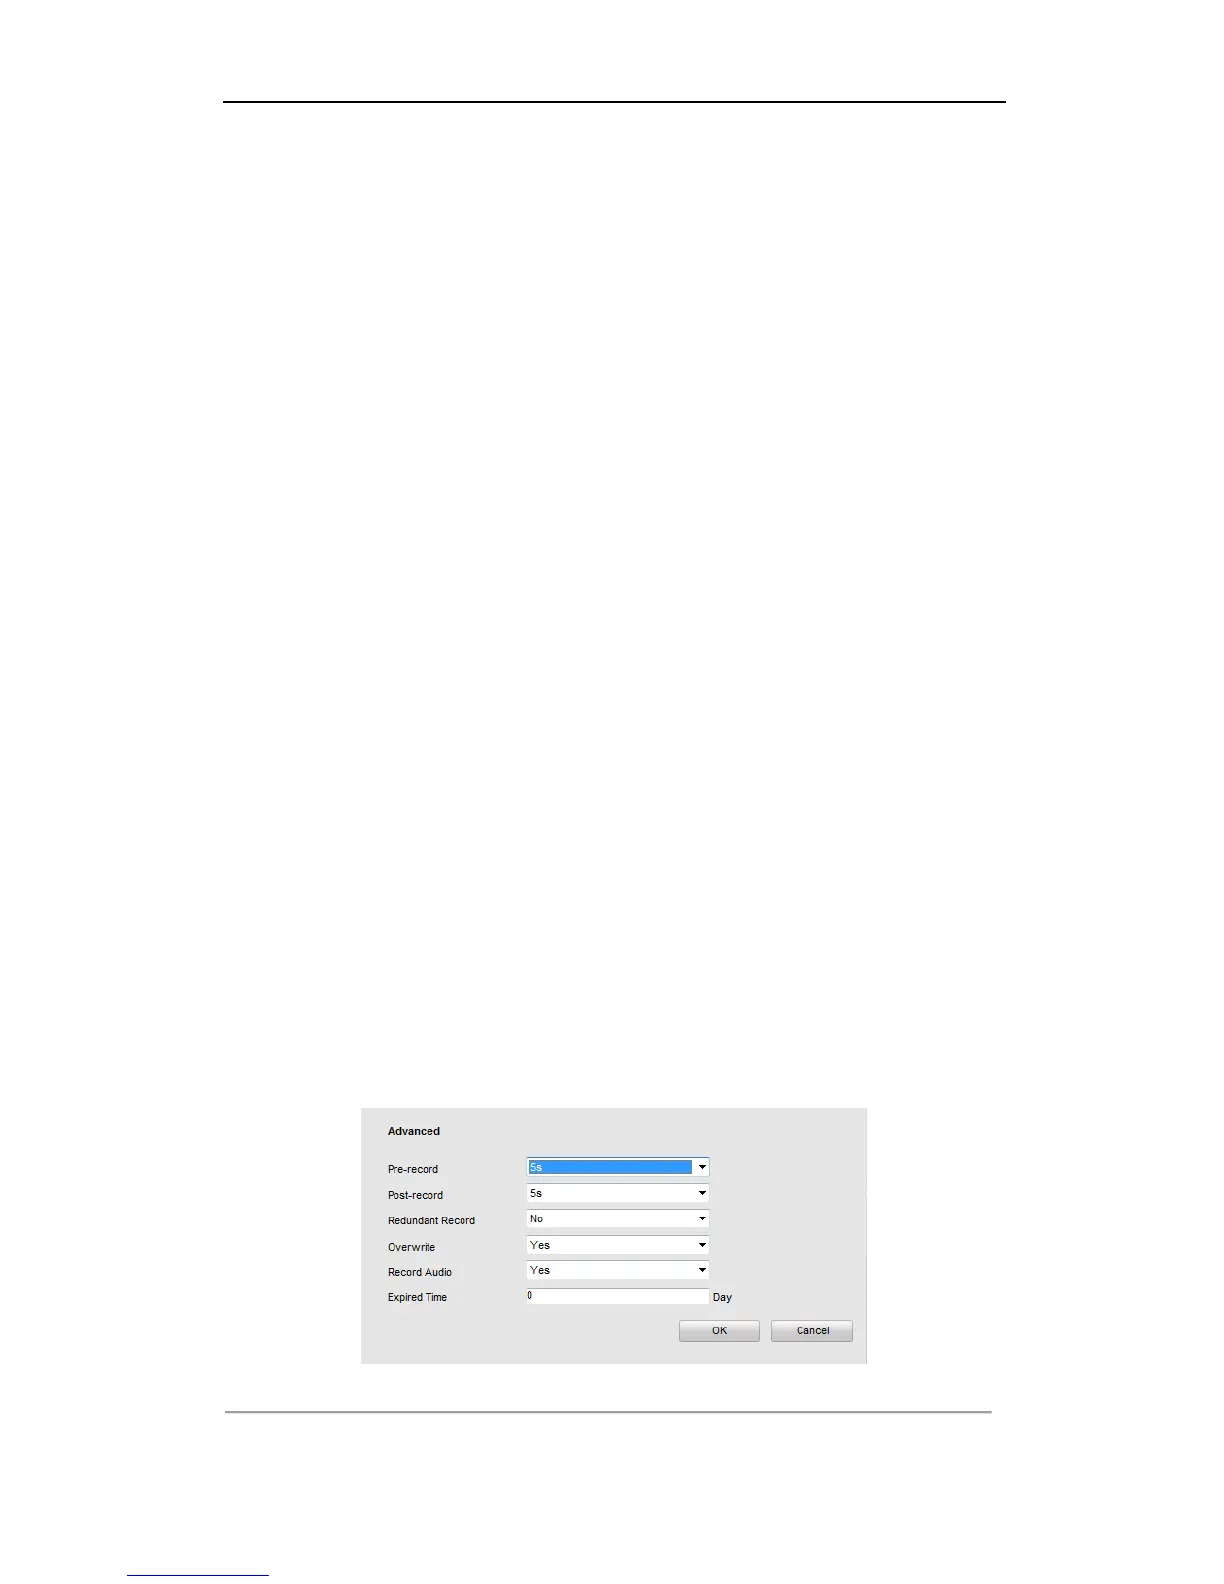
7. Click Advanced to configure advanced record parameters.
Pre-Record: The Pre-Record time can be configured as No Pre-Record, 5 s, 10 s, 15 s, 20 s, 25 s or 30 s.
Post Record: The Post Record time can be configured as 5 s, 10 s, 30 s, 1 min, 2 min, 5 min or 10 min.
Figure 9.6 Edit Schedule