54
reset button
3.2 Safety Device
●
Temperature pressure valve must be tightly
connected with drainage pipe. Drainage pipe
must be connected as shown in Fig.3.3 and
introduced to building downcomer (The water
temperature in drainage pipe may be high, note
burns).
● Temperature pressure valve in water tank can
not be connected for other purposes.
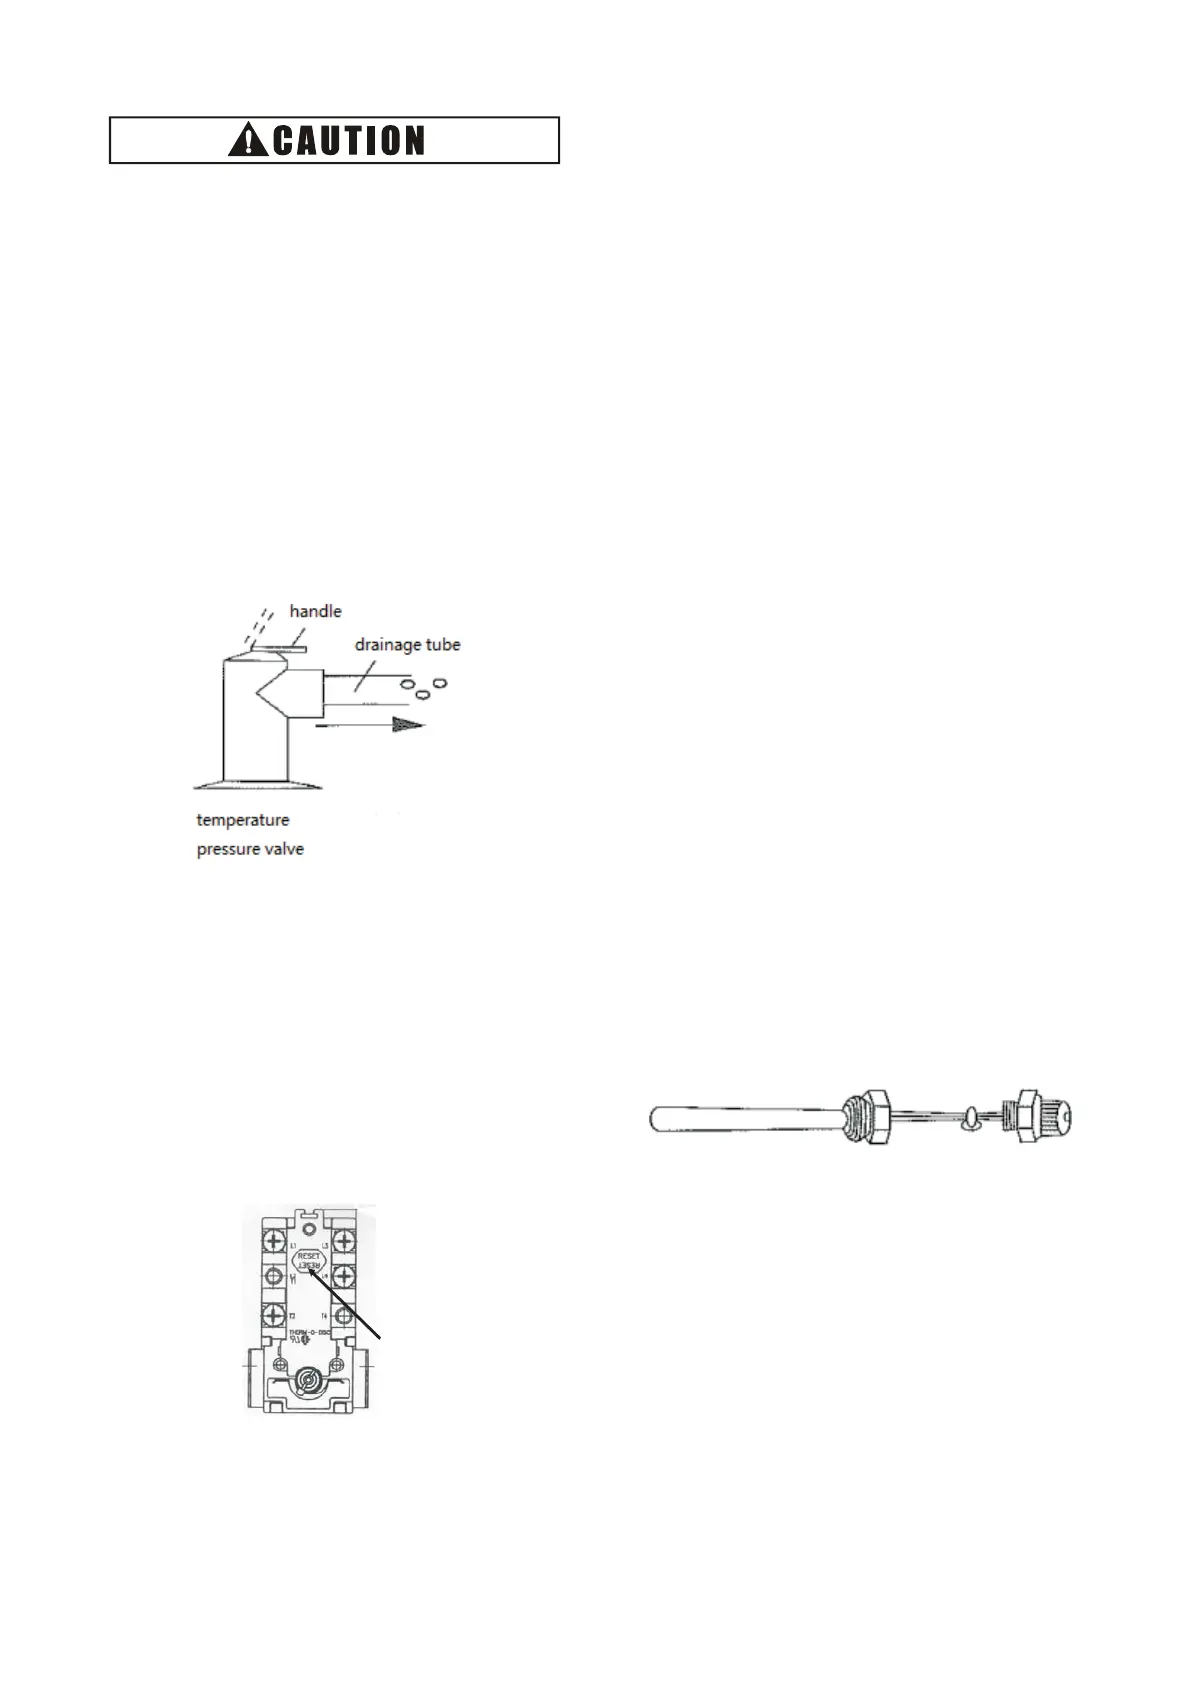
● Check temperature pressure valve once half a
year. When checking, open temperature
pressure valve handle (seen below),
temperature pressure valve will smoothly drain
water out. The water temperature may be high,
note burns. Reset after it is errorless. If drainage
fails, contact local dealer for repair.
●
Temperature pressure valve and its drainage
pipe must keep smooth and not blocked.
● Do not install electric heating without protective
device.
●
Temperature protection device: Water tank
electric heating has temperature protection
device. When temperature is high, temperature
switch will power off . Power will restore
automatically when temperature is lower than
75ºC.
● Temperature protection device cuts off electric
heating power at high temperature. After
disconnected, open electrical box cover and
press red button to reset temperature protection
device. Location of red button is seen below:
● Electrical box cover must be opened by
qualified electrician.
●
Power off before open electrical box cover.
● Temperature pressure valve is used to prevent
too high temperature in water tank (>94ºC) and
water pressure (>0.85MPa).
3.3 Installation Guide
Note when water tank is installed:
● Recommend installing this equipment to balcony
or outdoor at temperature from 0ºC to 43 ºC .
● Water tank is mounted near floor drain to
connect temperature pressure valve drainage
tube.
● Do not install water tank in place with corrosive
gas.
● Installation location is free from frosting.
● Installation location must bear weight of water
tank containing water.
●
Ensure dimension of water pipe is above 1 inch
(recommend DN40 water pipe), provide enough
capacity to pipeline and reduced resistance in
pipeline system.
● Water tank is located in a place that is
convenient for repair and ensuring electrical box
opened. Refer to Fig.3.1-2.
● No accumulated water around installation
location.
●
Arrange filter at water inlet pipe, preventing
domestic water contaminated by impurities.
● Ensure water tank is full of water before
energizing.
3.4 Install Water Tank
1. Check water tank has complete accessories.
2. When mounted on ground, ensure the bottom of
water tank flat and vertically install water tank. If
mounted in bath room where water exists,
recommend installing on a foundation higher
than ground, preventing the bottom soaked by
water.
3. Temperature sensor should be inserted into
temperature probe as deeply as possible. Fix it
with provided cable fastening. (Cable tie must be
between temperature probe and cable fixed
head, seen below).
4. Because water pressure exists in water tank,
when magnesium rod is replaced, first close
water inlet valve and drain outlet for 10-20 sec,
and then replace magnesium rod. After
replacement, open water inlet valve. If water
sprays from water tank through above measures
taken, confirm water temperature in water tank,
preventing burns. Besides, do not place
electrical parts or electrical products near water
tank, preventing electrical shock or fire due to
electrical short-circuit.
3.5 Connect Water Module
Refer to the section 3.2 "Examples
of Application" in part II