Operating the Vehicle
8
-2
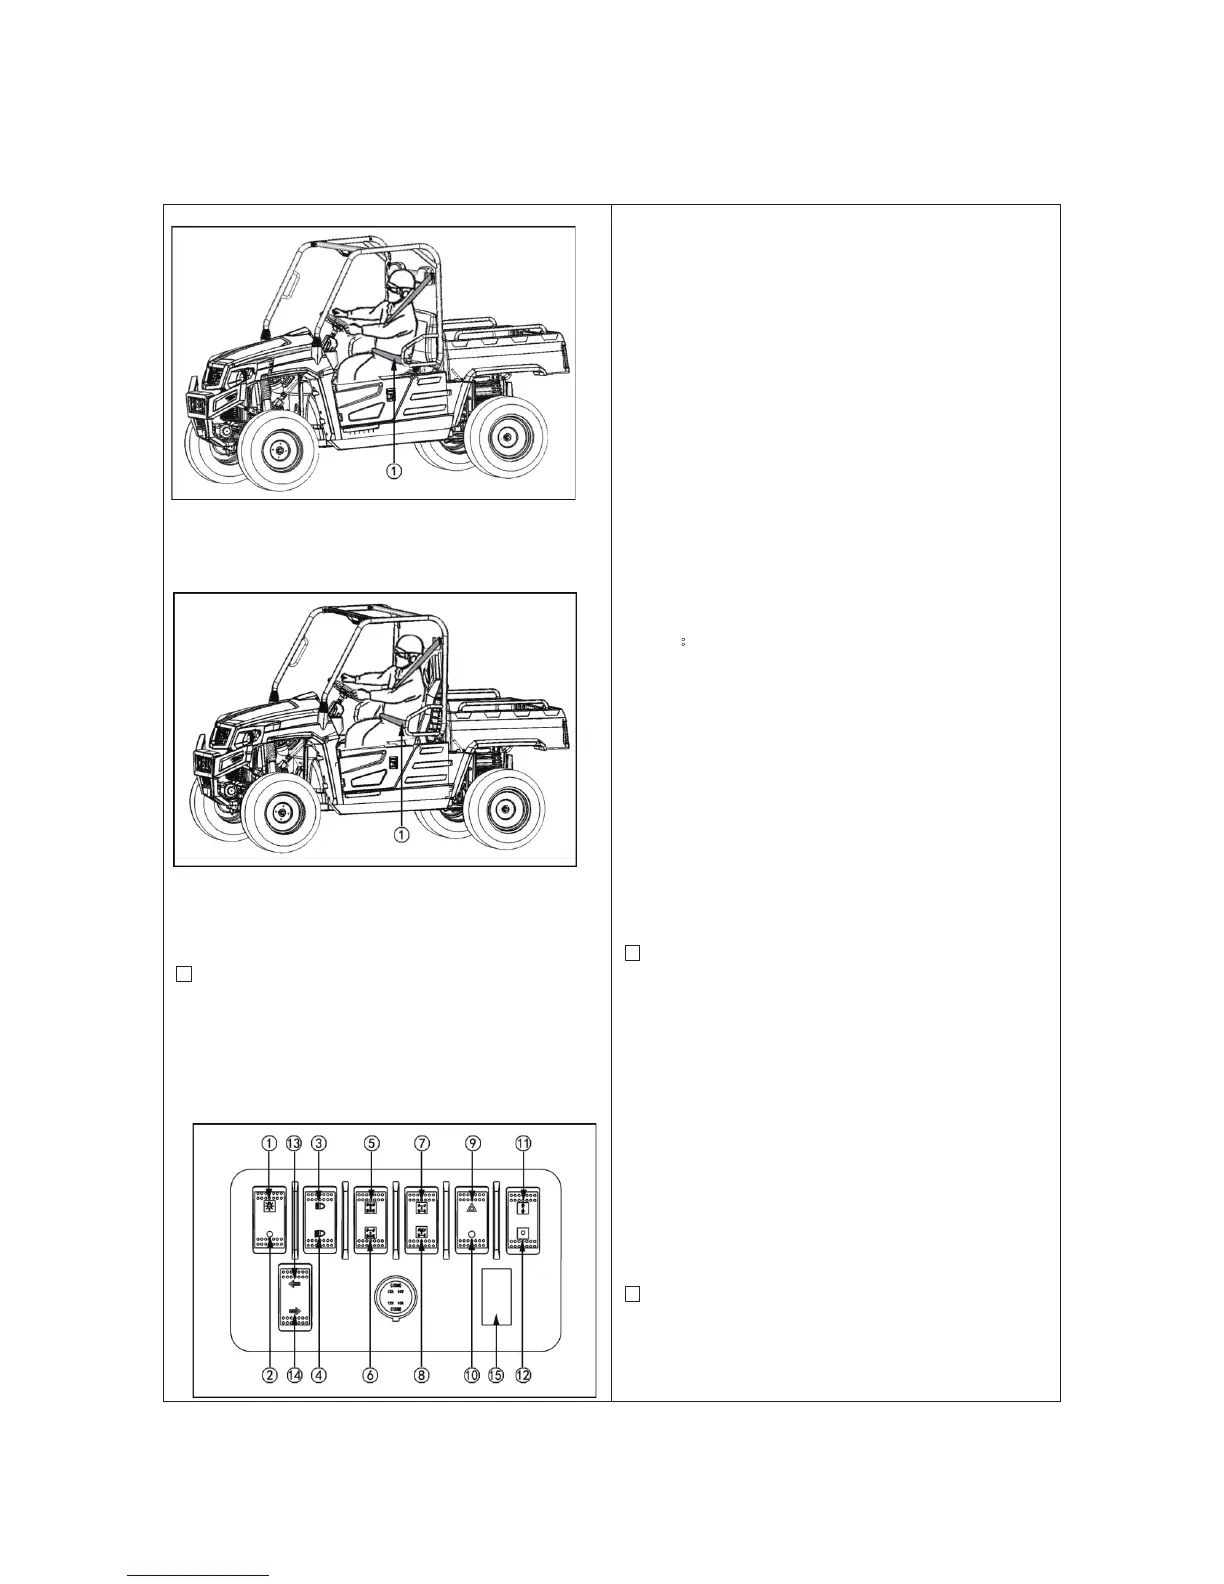
① Seat belt
Bucket seat
①
Seat belt
2. Selecting light switch position.
■
Head Lights Switch
Turn on the key switch and toggle the head
light switch to the “ON” position.
T
oggle the head light switch to the
“OFF”
pos
ition to turn off the head lig
ht.
① Head light switch
② H
ead lights “OFF”
③
High
beam light
s "ON"
④ Low beam lights "ON"
⑤
4WD
butto
n
⑥ 2
WD button
⑦
F
ront axle differential lock
⑧
F
ront axle differential unloc
k
⑨
Emergen
cy
light "ON"
⑩ Emergen
cy light "OFF
"
⑪
Winch
cable releas
e
⑫
Winch
cable pulled up
⑬ Lef
t turning lights
⑭ Right turning lights
⑮ Plug cover
NOTE:
Turning the head light switch to the “ON”
position causes the following lamps to light
simultaneously.
1. Tail lights (lamps at the rear portions of the
vehicle)
2.
Lamp built in the coolant temperature
gauge
3.
Lamp built in the fuel gaug
e
4.
Lamp built in the speedometer
5.
Front left and right position lights
■
Emergency Light Switch
Press the top half of the emergency light
switch, the light flash along with the indicator
on the instrument panel. Press the bottom hal
f
of
the emergency light switch to turn off the
light.
N
ote:
The emergency light switch will operate
when the key switch is in the “ON”
position. Be careful that keeping the
switch “ON” causes the battery to run out.
■
Turn Signal Light Switch
[if equi
pped]
T
o indicate a right turn, push on the lower
half of