RPK-(2.5-4.0)FSN2M
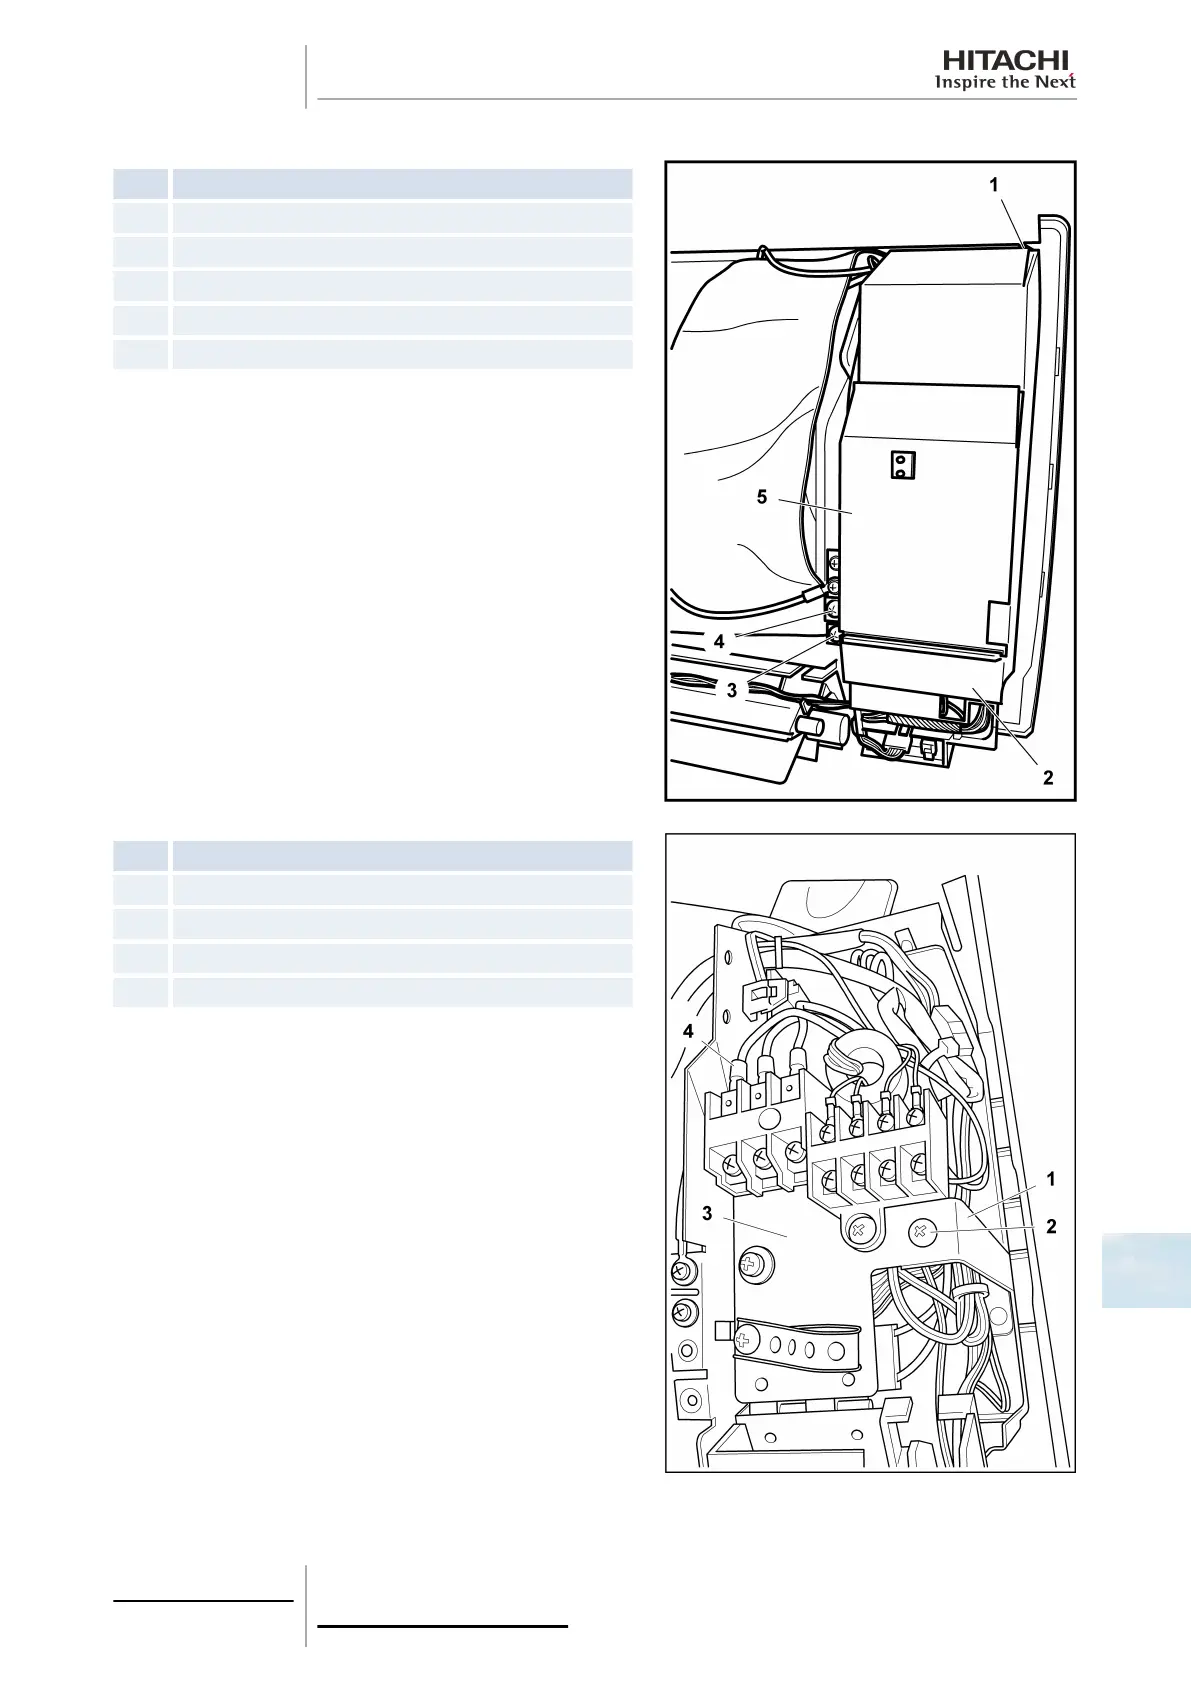
Nº Part
1 Electrical box cover screw.
2 Electrical box cover
3 Electrical box cover screw
4 Terminal board cover screw
5 Terminal board cover
Remove the front panel as indicated in section Removal of the front
panel, see on page 323.
Remove a screw from the terminal board cover and remove it.
Removal two screws from the electrical box cover and remove it.
After replacing the PCB, fit the main PCB. To connect the main
PCB, first insert it into the groove in the rear spacers.
Nº
Part
1 Electrical box fixture
2 Electrical box fixture screw
3 Terminal board fixture plate
4 Terminal board fixture screw
Remove the 2 screws from the electrical box fixture to remove it.
10 Servicing
335
SMGB0063 rev. 1 - 10/2010
10
 Loading...


