4
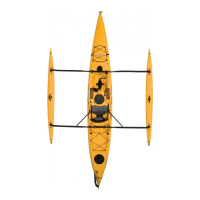
1. Position the hulls in parallel with the inner
sides facing the ground.
Lift the right hull. One person straddles the hull
to hold it in place. The other person applies the
silicone sealant (for waterproofing) around the
screw holes.
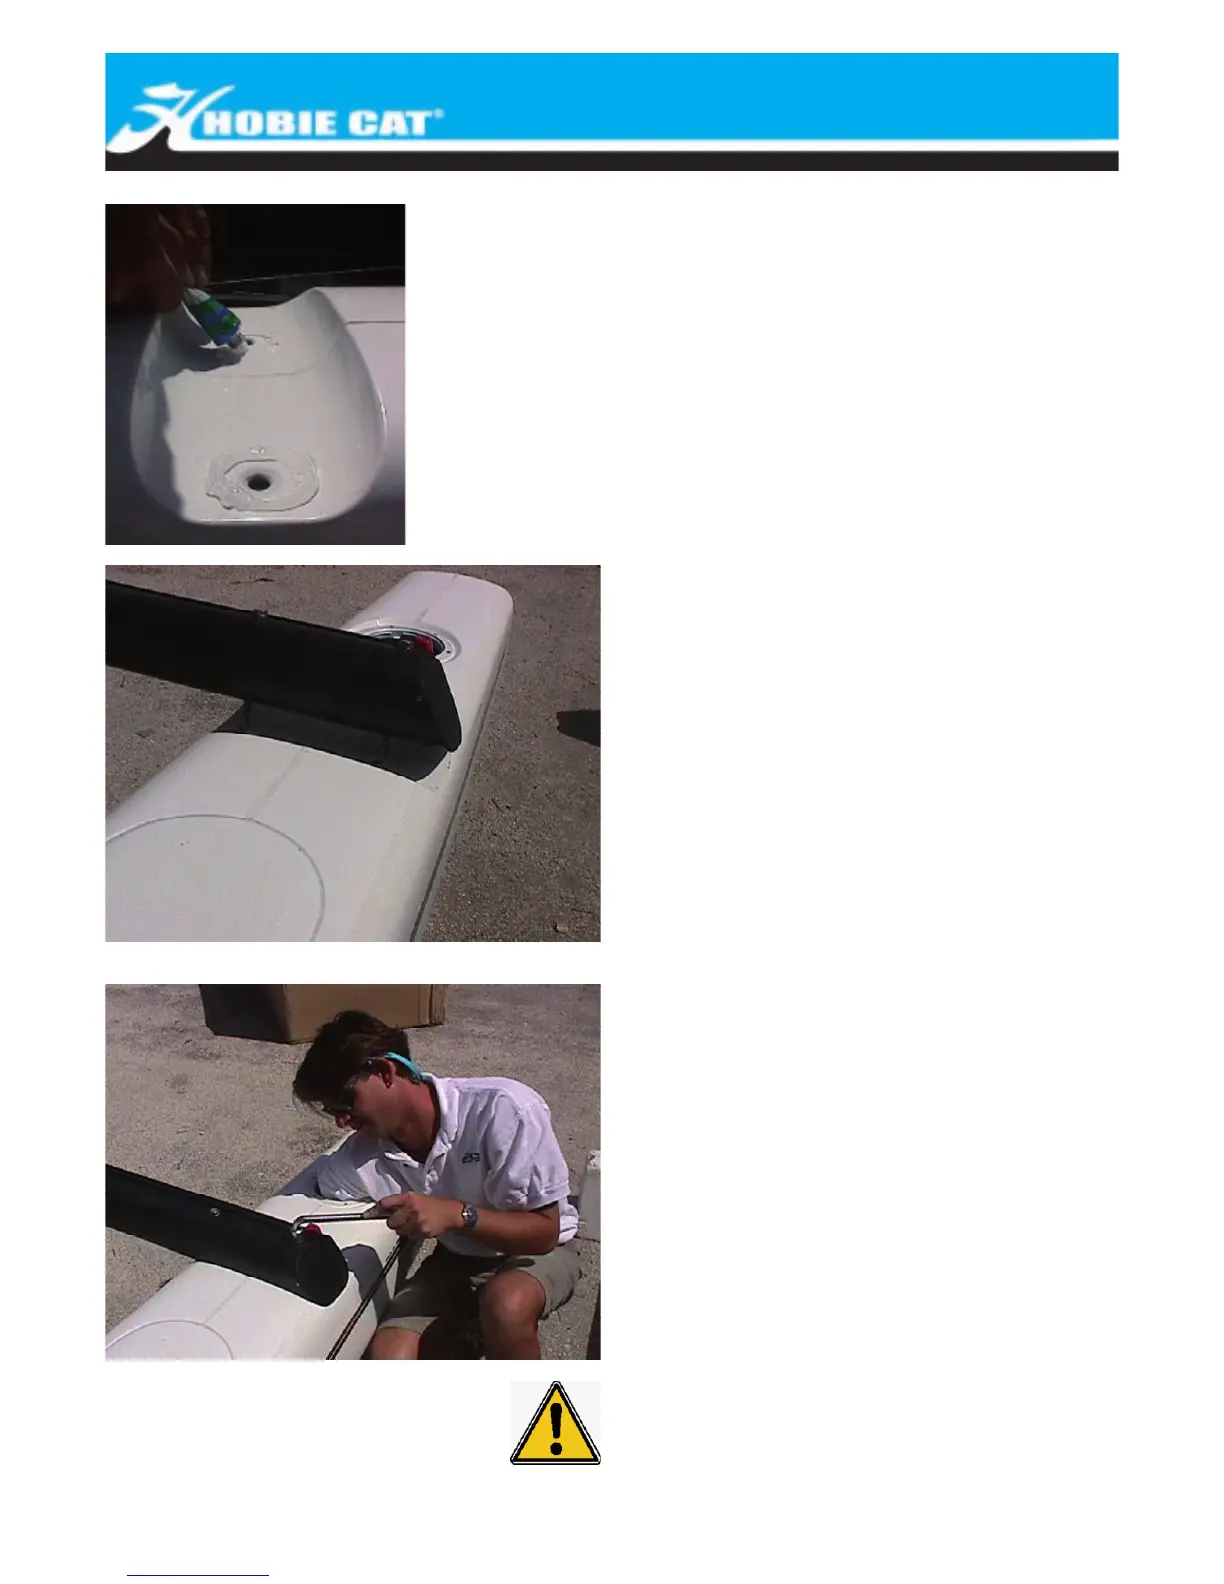
2. Take the front crossbar (with dolphin striker).
Place it in its support so that the trampoline
track faces the rear of the boat. Insert the two
bolts. Pass your hand through the inspection
port to position the nuts and washers onto the
screws photo). Fasten loosely.
Lift the left hull, and follow the same steps as for
the right hull. Do not fully tighten the screws.
***Respect same order for the washers as as-
sembled at the delivery***
3. Apply silicone sealant around the screw holes
at the back of the hulls. Place the rear crossbar
on the right side. Insert the bolts, washers and
nuts as shown for the front crossbar. Do the
same thing for the left side.
Once the frame has been mounted, tighten all the
bolts fully and then install the lock nuts.
It is advisable to check the fastening of the bolts
after the first trip out onto the water, and re-
check these at regular intervals.
Hull assembly
 Loading...