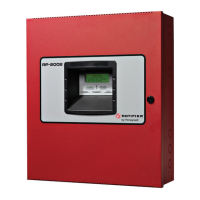
ID2000 Series Installation & Commissioning Manual
Commissioning
42997-433-000-5, Issue 5
May 2010
8.3 Powering the Panel
1 Connecting power, ALL front panel LED indicators
should be extinguished with the exception of the green
‘POWER’ LED.
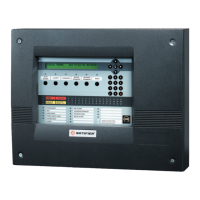
2 View the liquid crystal display. It should momentarily
display the start-up message ‘NOTIFIER ID200x
Version x.xx Intelligent Fire Detection System’ where
‘x’ is either ‘0’ or ‘2’ and ‘x.xx’ is the software version
number. The display should then read ‘Status:
NORMAL (Date and time)’ unless faults are present
on the system (if the panel has already been
configured, then faults indicating the loss of all loop
devices will be shown).
Note: If faults are shown (other than the loss of loops on a
configured panel), these must be cleared before you
proceed further with the commissioning procedure.
3 Externally isolate the AC mains supply at the third-
party-supplied isolation unit.
8.4 External Wiring
Refer to the appropriate module cable and wiring
instructions to identify the terminals for cable
connections:
5.7.2 Base PCB Cables and Wiring. (Loops 1 & 2,
Sounder outputs 1 to 4, Auxiliary outputs 1 & 2,
Fault Relay and Fire Relay outputs).
5.9.1 Loop Interface PCB Cables and Wiring. (Loops
3 to 8 [as applicable]).
5.10.1 Isolated RS232 Interface PCB Cables and
Wiring. (RS232 output).
5.11.1 Isolated RS485 Interface PCB Cables and
Wiring. (RS485 output).
8.4.1 Introduction
There are five stages to commissioning the external
wiring:
a. Checking the loop wiring for continuity, reversed
devices, short circuits and open circuits.
b. Connecting the loop wiring to the panel.
c. Checking for faults after the loop wiring is connected
to the panel.
d. Checking the 24V auxiliary outputs wiring and
selecting the resettable status.
e. Checking the sounder circuits.
Note: The total length of the communications loop pair
cannot exceed 2000 metres.
 Loading...

