Chapter 3 — Troubleshoot and Maintain the Printer
PC42t Desktop Printer User Guide 37
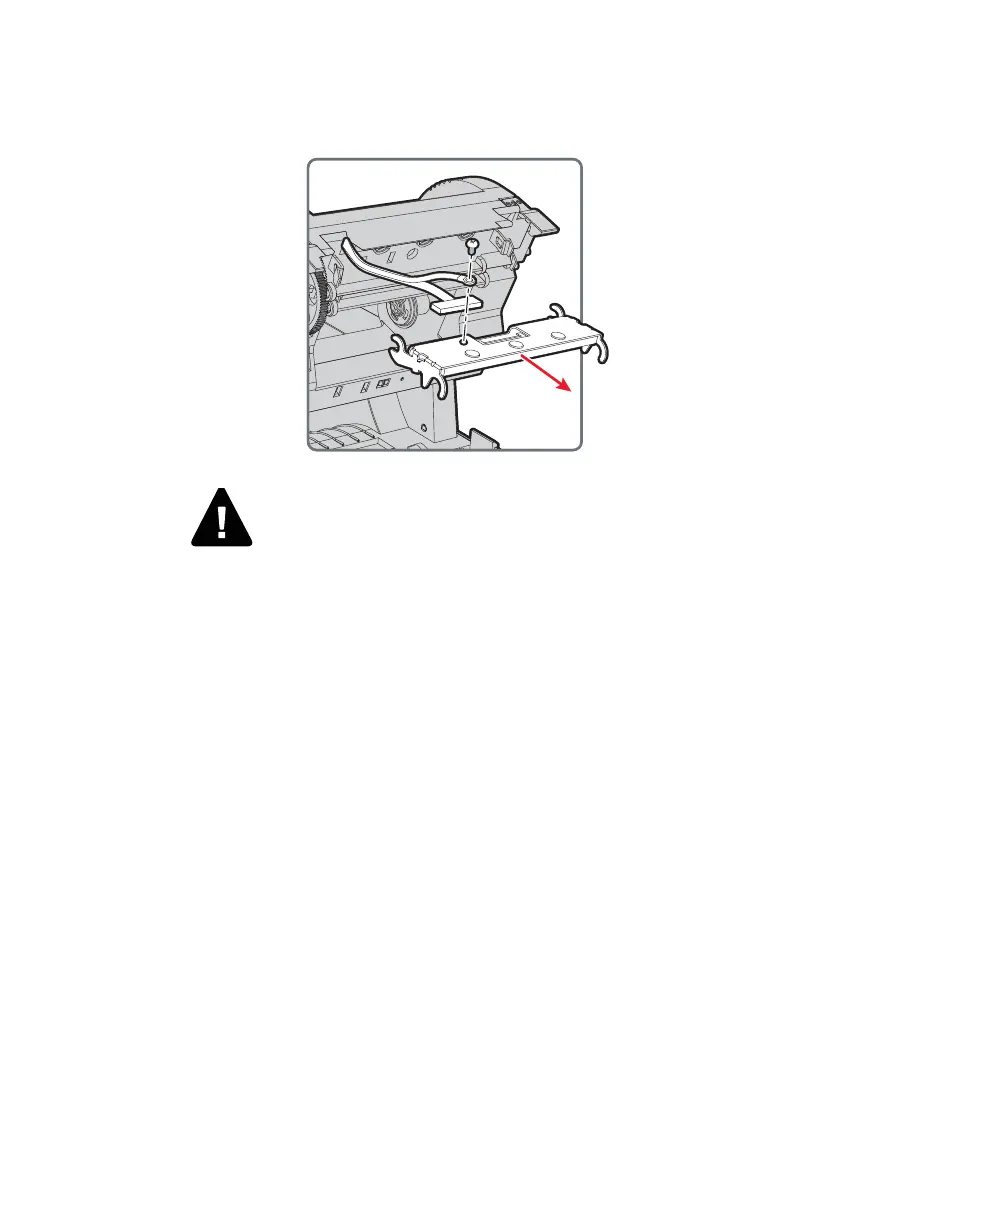
7 Disconnect the cable from the printhead and remove the printhead
from the printer.
8 Insert the grounding screw into the grounding cable lug and then
fasten the screw to the new printhead.
9 Connect the ribbon cable to the new printhead.
10 Slide the printhead into the holders in the print mechanism.
11 Tilt the printhead up into the printer lid and press it into place.
12 When the printhead is in the correct position, the printhead latches
snap into place on the sides of the printhead.
For a thermal transfer printer, install the ribbon.
13 Close the print and ribbon mechanism and the cover.
Warning: Do not touch the printhead surface area.

 Loading...